
Homemade Raisins (& the painstaking truth)
For full recipe archives, instructional videos, and searchable categories, join our Cooking Community here.
It doesn't happen very often, but once in a blue moon, I'll take a step back and assess the amount of input into a homesteading activity versus the output of said activity: maybe don't do that if you want to make homemade raisins.
The idea of homemade raisins is very simple: clip off all the clusters of gorgeous, purple marbles hanging from the winding vines that the rogue chickens haven't already stolen, lay the fresh grapes onto dehydrator trays, and allow the warm air to take the moisture from said grapes.

Yes, in theory, homemade raisins make much sense.
But then there's the little bit they tend to leave out of the instructions. And by the "little bit" I mean the teeny tiny little bit of stem that will break off the cluster but not out of the single grapes resulting in the painstaking process of using fingertips to pinch off the very last bit of stem out of each and every grape.
I want to make sure you heard me. Every. Single. Grape.
I'm not saying homemade grapes aren't worth it. Of course they are! Grapes are an amazing perennial that will happily bear you more fruit each year. They're not only ridiculously productive but also strikingly hardy and a wonderful landscaping plant. They win - grapes, on my farm, always win.
So fine. Fine. I'll stand in the kitchen and pluck every single grape from the stem before plucking every single stem from every single grape.
I want to make sure you heard me. Every. Single. Grape.
Fine.

(I lied. I'm totally going to make my kids do it for me. Good thing they're already used to doing chores.)
Homemade Raisins
You will need:
Ripe grapes of any kind
Dehydrator
Add all of the grapes into a large tub. Fill it with water and allow the grapes to hang out in the water for five minutes. This will help to flush out any earwigs or bugs.
Remove all of the grapes from the stems (and any bits of broken off stem from the grapes). Spread the grapes in a single layer on dehydrator trays.
Dehydrate for 24 hours or according to your dehydrator's specific temperature and instructions. The homemade raisins should be soft, but not overly squishy. And not yet hard. Dehydrated fruit is all about finding that balance. (I'm assuming you know what a raisin feels like. Dehydrate your homemade raisins until they feel like that). See how helpful I am?
Homemade Raisins (& the painstaking truth) | The Elliott Homestead
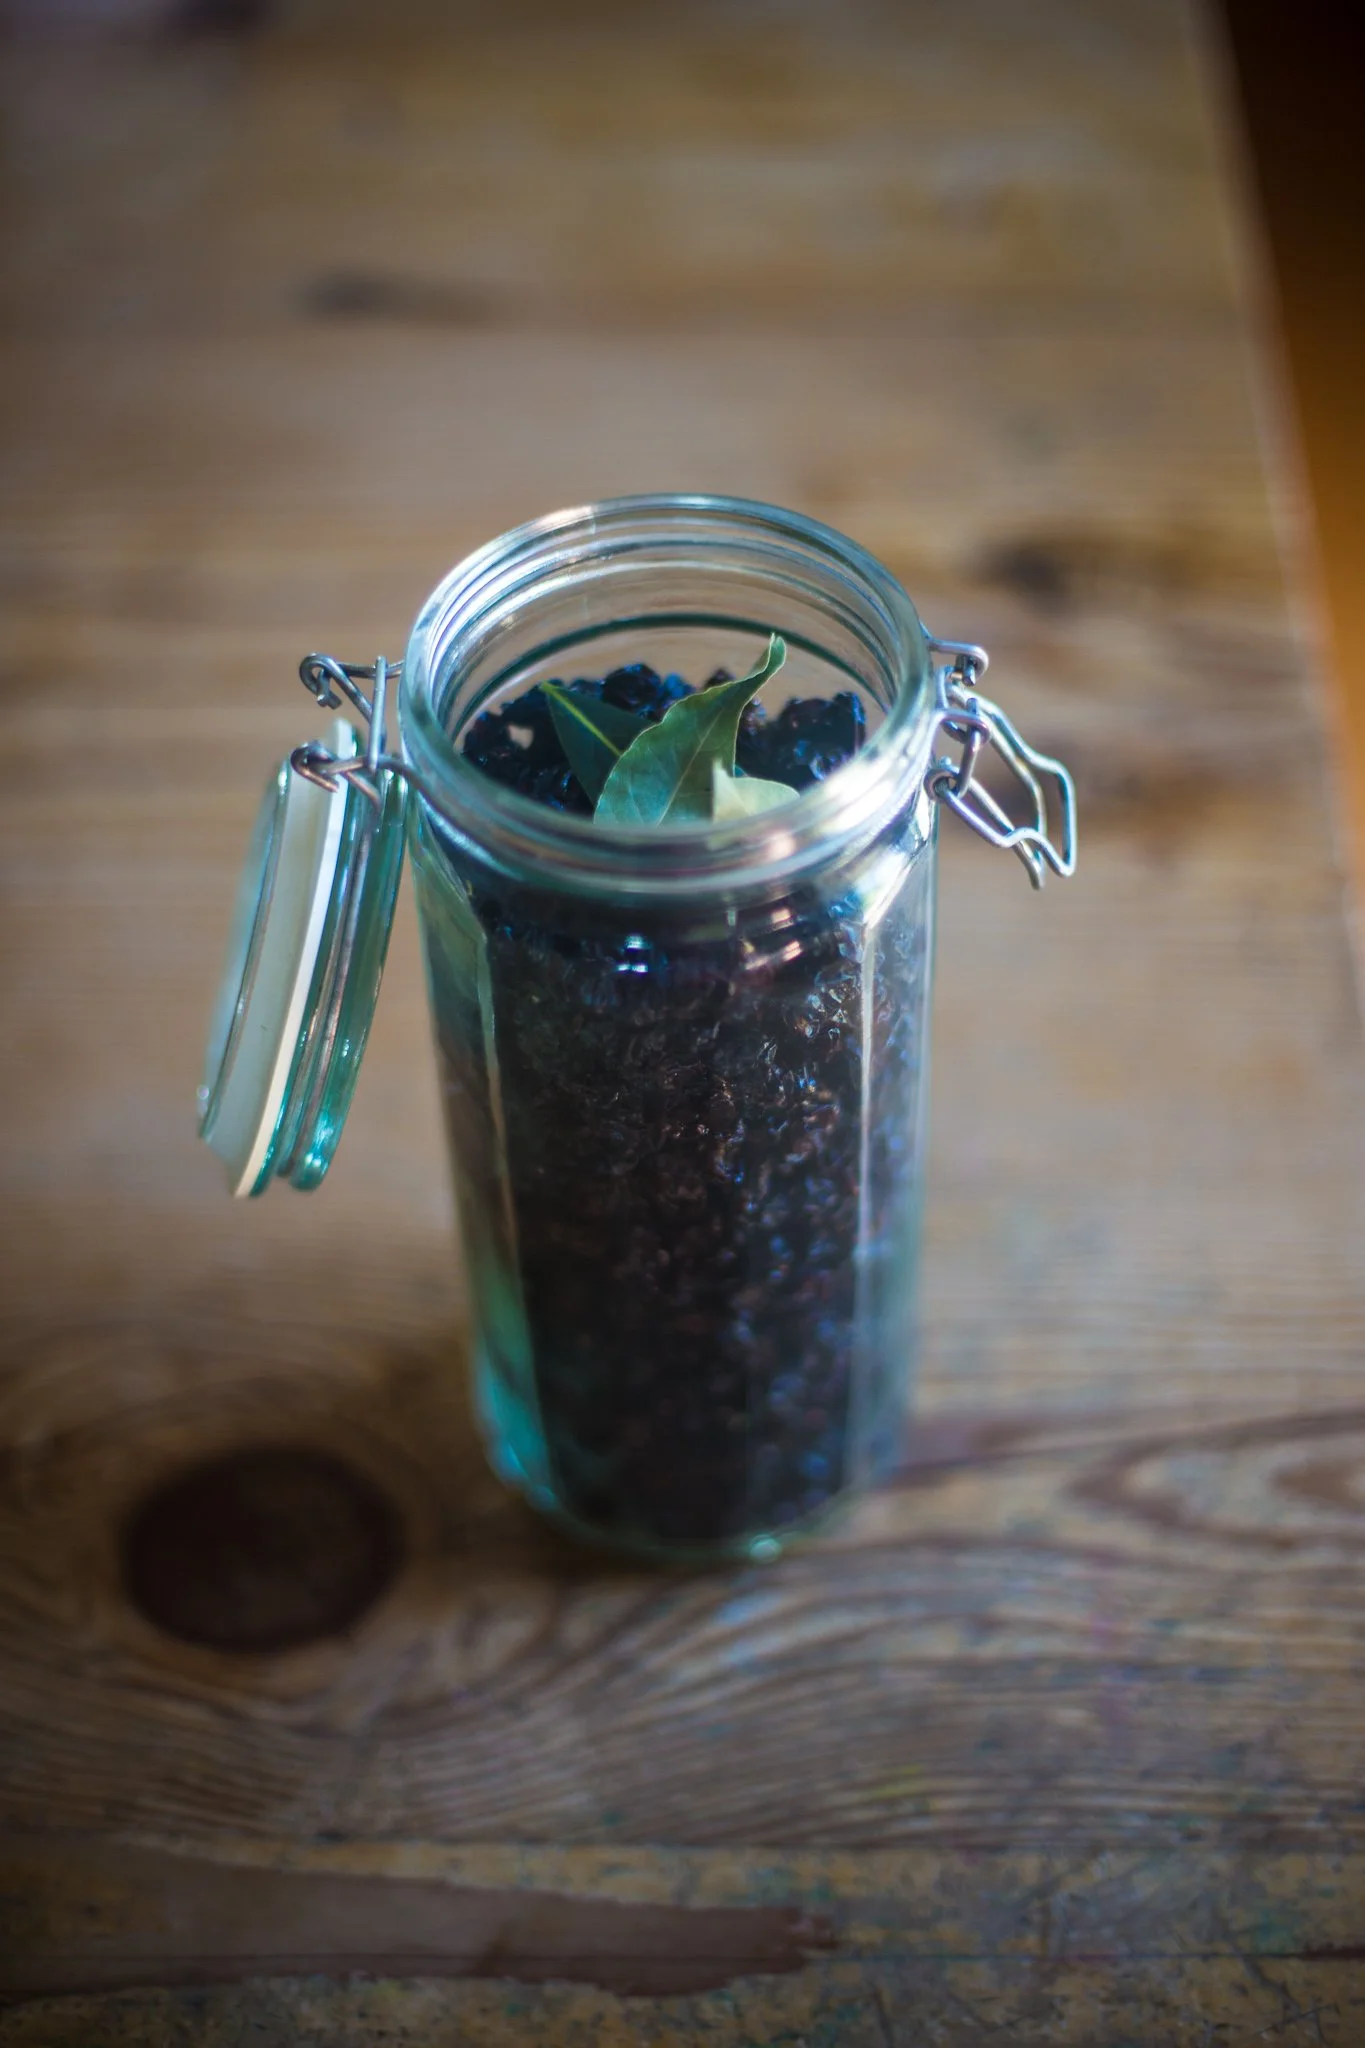
I like to store my homemade raisins in well-sealing glass jars with a few bay leaves tucked inside. Pests don't like the smell of bay and will often avoid it (but don't worry - the bay doesn't change the flavor of the homemade raisins at all).
All that plucking and dehydrating this year and we ended up with a gallon of raisins. Not bad. Not great, but certainly not bad.
Now that the pain of the stem-picking has passed, I sit and stare at that gallon of homemade raisins like it's an Olympic gold metal.
I'm sure they're delicious.
But no one will ever know because my kids are only allowed to look at them. No homemade raisins for you! These raisins are for looks only.
And that's why they always tell me I'm the best Mom in the world.
(Hardy har har.)
The end.
PS: Not quite the end. If you'd love to do some cooking with me (we will not be making homemade raisins), make sure to checkout our Cooking Videos over on YouTube! See you there! Now the end.
Fo' real.