How To Distress Wood: My magic secret!
How to distress wood: yes, there is a secret. And yes, I'm happy to share. Because I'm been doing a lot of it these past few days. You see, I have a terrible, horrendous habit. It's called micro-controlling. Ever heard of it? No? Just me? If I can't control macro-things, like (for instance) the cookbook launch, launching a new online whole foods kitchen course, or this gigantic kitchen renovation we're currently in the middle of, I try and wrap my sweaty little fingers around the smallest of details until my knuckles turn red. I may not be able to control the installation of the new countertops, but I can control if my dining floor is clean. So I sweep it twelve times and follow the family around with a broom. See? I told you. Micro-controlling. So while Stuart spent the last week on the beaches of North Carolina with family and two of the littles, I spent my time micro-controlling the few elements of the house that I could in his absence. Hello paint! Thank you for being you. And only requiring a brush and some elbow grease to help me micro-control my living room that needed a bit of life breathed back into it. And allowing Baby Will to "play" with you without too much damage.On the subject of paint, I need to show you how to distress wood. I've been trying to get that really worn, rustic, farmhouse/cottage look for years and it wasn't until a few months ago that I finally found the magic ingredient that makes it simple and attainable.
How To Distress Wood
You will need:
Wooden object
Paint (optional)
Valspar Dark Antiquing Wax
Cheap'o brush
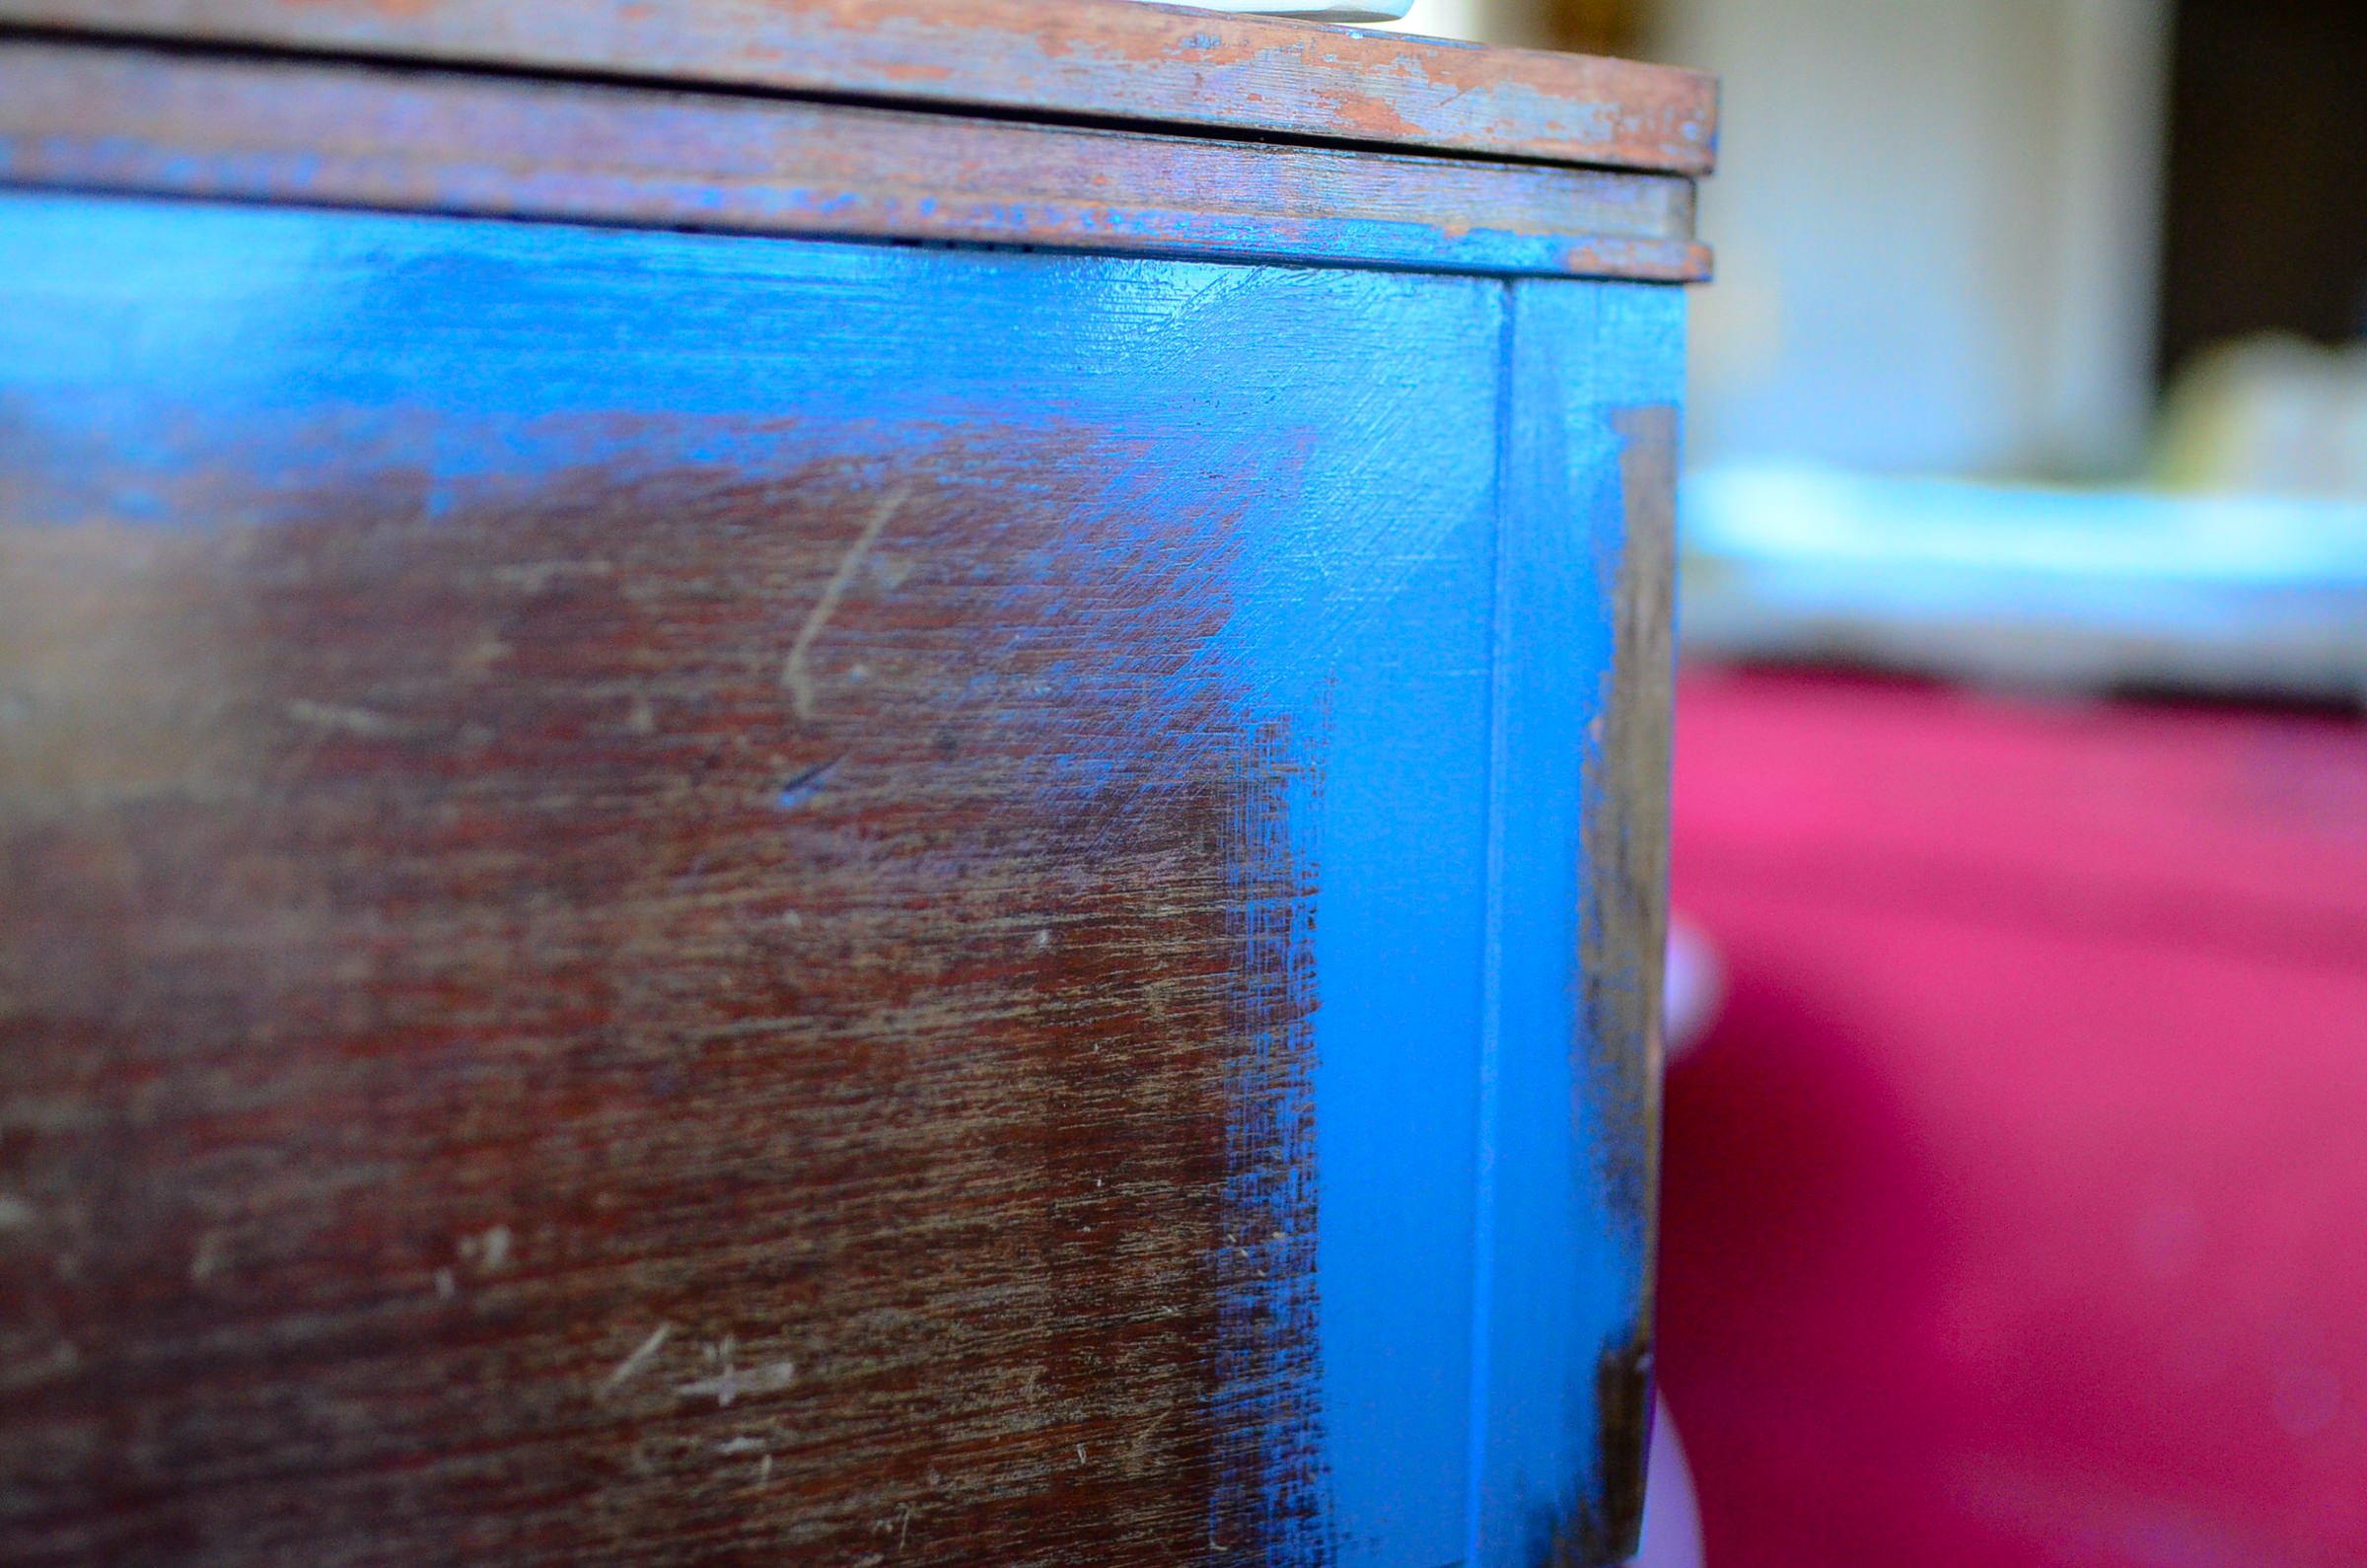
1. If your wooden object needs to be painted before being distressed, have no fear. This works just as well, dare I say even better, over paint than just over wood. This go round, I was painting an old end table that I snagged for free off the side of the road. So there's that.If you ARE going to paint, before I show you how to distress wood, lemme show you how I like to paint my wooden pieces:First off, use a cheap'o brush because it'll give you those streaks and rustic pulls through the paint. Then, always start with the seams. Completely saturate the seams of the wooden item because naturally, this is where paint will stay the thickest over time. Corners, legs, and sides will get easily rubbed off with natural wear and tear. Seams - not so much. So lay it on thick, baby.Also, I'm not sure why my navy blue is showing up like periwinkle, but so-be it. Just know it's navy blue - both in person and in my heart.After the seams are painted, pull the paint inward in a cross/cross pattern. Don't do thick, saturated color. We have the opportunity here for texture! And depth! And that shan't be missed.After the criss/cross pattern has set just a bit, cover over the remainder of the wood. Swirl. Criss/cross. Dab. But don't be boring with it - it makes a difference in how the antiquing wax takes to the piece.Repeat the painting technique on the remainder of the piece:Let the paint dry while you sip a honey latte and then come back to it with the MAGIC TRICK in distressing wood: antiquing wax (get it HERE!).I've used this can of wax on over 6 projects and it's not even half gone. Well worth the investment when you're trying to get that shabby, rustic look that us cottage dwellers seek. Bring out another cheap'o brush and put some wax on it. Don't be too stingy now, we can always wipe off the extra. Like the paint, work the wax into the seams, creases, cracks, holes, and details of the piece. This will sink in and highlight all those great features! On it goes... before being worked in:You can see that as you spread the wax with your cheap'o brush, you're going to get lines and such. Perfect. We like that. Work the brush at odd angles. Slam it around. Swirl it. Twirl it. Jab it. Scratch it in. Don't be afraid to hurt it! You've gotta work, work, work that wax. Any excess wax can be wiped off with a rag before it dries. "Buff" it a bit with the rag to create even more texture. If the paint below the wax hasn't quite dried yet, you can also use the rag it rub through the wax and rub up a bit of the paint on the edges as you wish. You can see that I layered my wax heavier on the cracks and seams than in the middle to give it texture.This antiquing wax is the very best I've found. Don't substitute unless you have to! I've tried lots of different brands - this is the big daddy. The consistency, color, and dry-time are ideal for distressing wood. It ain't that hard, learning how to distress wood. Just some elbow grease. But we've got plenty of that around these parts...And by "we"... well, you know what I mean.


