
Sourdough made easy: Keeping, maintaining, and converting to a dry-sourdough starter.
For full recipe archives, instructional videos, and searchable categories, join our Cooking Community here.

Stiff sourdough starter | The Elliott Homestead (.com)
Here is my starter! Fed, happy, and ready for baking. I feed my starter about once a week. Each batch of starter makes about 5 batches of levain with enough starter left over to feed and begin the process again. More on that below.
I keep a sourdough starter. A very healthy one. Right now, a small jar of my starter is living in the refrigerator where it sits, waiting for its moment in the sun. “What will I be?” it wonders. “Maybe English muffins? Bagels? Focaccia? Oh the possibilities!”
I bake almost every day with my sourdough starter, but I only feed it once a week.
If you've ever baked with sourdough before, I hope you’re intrigued.
ONCE. A. WEEK.
Ever since I learned to utilize a “stiff” or “dry” sourdough starter from Carla at Jovial Foods (that was years ago now), I’ve become a dry-starter-sourdough-evangelist. Let’s talk about it.
The Problem With Wet-Starters
Any sourdough baker will tell you - especially if they’re a beginner sourdough baker - that maintaining a sourdough starter is probably the hardest part of the entire process.
Feed in the morning.
Feed at night.
Feed more the next morning.
Feed more the next night.
Watch it explode out of the jar.
Take starter out.
Make something with it? Throw it away?
Feed some more.
Why does it smell like that?
And on and on the cycle goes. I’m not saying it’s bad - I’ve kept a wet starter before, happily. I was best at feeding my wet starter when I was also nursing babies and kept to a stricter schedule: feed the baby, then the sourdough. And while the labor involved with a wet sourdough starter is fairly minimal, it’s also hard to remember to do anything twice a day. Or even once. More than a few times, my wet sourdough starter got stuffed in the cupboard and sat - unfed - for days on end. The result was an unhealthy starter that, how do you say, failed to thrive. And in order to revive my weak and wet starter, I would have to feed it for days before it would rev up enough to bake with it. Which basically made me spiral into a baking-guilt-cycle:
I love you wet-starter!
Sorry for forgetting you for days.
I love you again! Come back!
So sorry. I did it again.
I’m a decade into my sourdough baking and I’m simply here, being a dry-sourdough-starter-evangelical, telling you there’s an easier way.
The Easier Way To Keep A Sourdough Starter
I could use a lot of words (and I want to) but I’m really trying to refrain for the sake of clarity. I want you to realize just how simple this method of keeping a dry-sourdough starter is. Instead of keeping a large jar of wet-starter that needs to be constantly fed (most wet-starters are kept at 1:1 flour/water ratio), I advocate instead for keeping your starter at a 2:1 flour/water ratio. That may not sound like a huge difference, but to our natural yeasts, it is. On top of the new feeding ratio, a dry-starter starter is also kept in small amounts. When one wants to bake anything with their starter, a small piece (think a large pinch… about a tablespoon), is removed from the starter. It is then fed a 1:1 ratio of flour/water at that point and allowed to rev up for a few hours before baking.

Dry-Sourdough Starter | The Elliott Homestead (.com)
Dry-sourdough starter ingredients: 1 tablespoon (30 grams) starter, 1/3 cup water (I do 50 grams), 2/3 cup flour (I do 100 grams).

Converting a wet sourdough starter to a dry sourdough starter | The Elliott Homestead (.com)
A small piece of sourdough starter always carries on.

Converting a wet sourdough starter to a dry sourdough starter | The Elliott Homestead (.com)
Add in the water to the sourdough starter piece.

Converting a wet sourdough starter to a dry sourdough starter | The Elliott Homestead (.com)
Add in the flour to the sourdough starter + water.

Converting a wet sourdough starter to a dry sourdough starter | The Elliott Homestead (.com)
Combine.

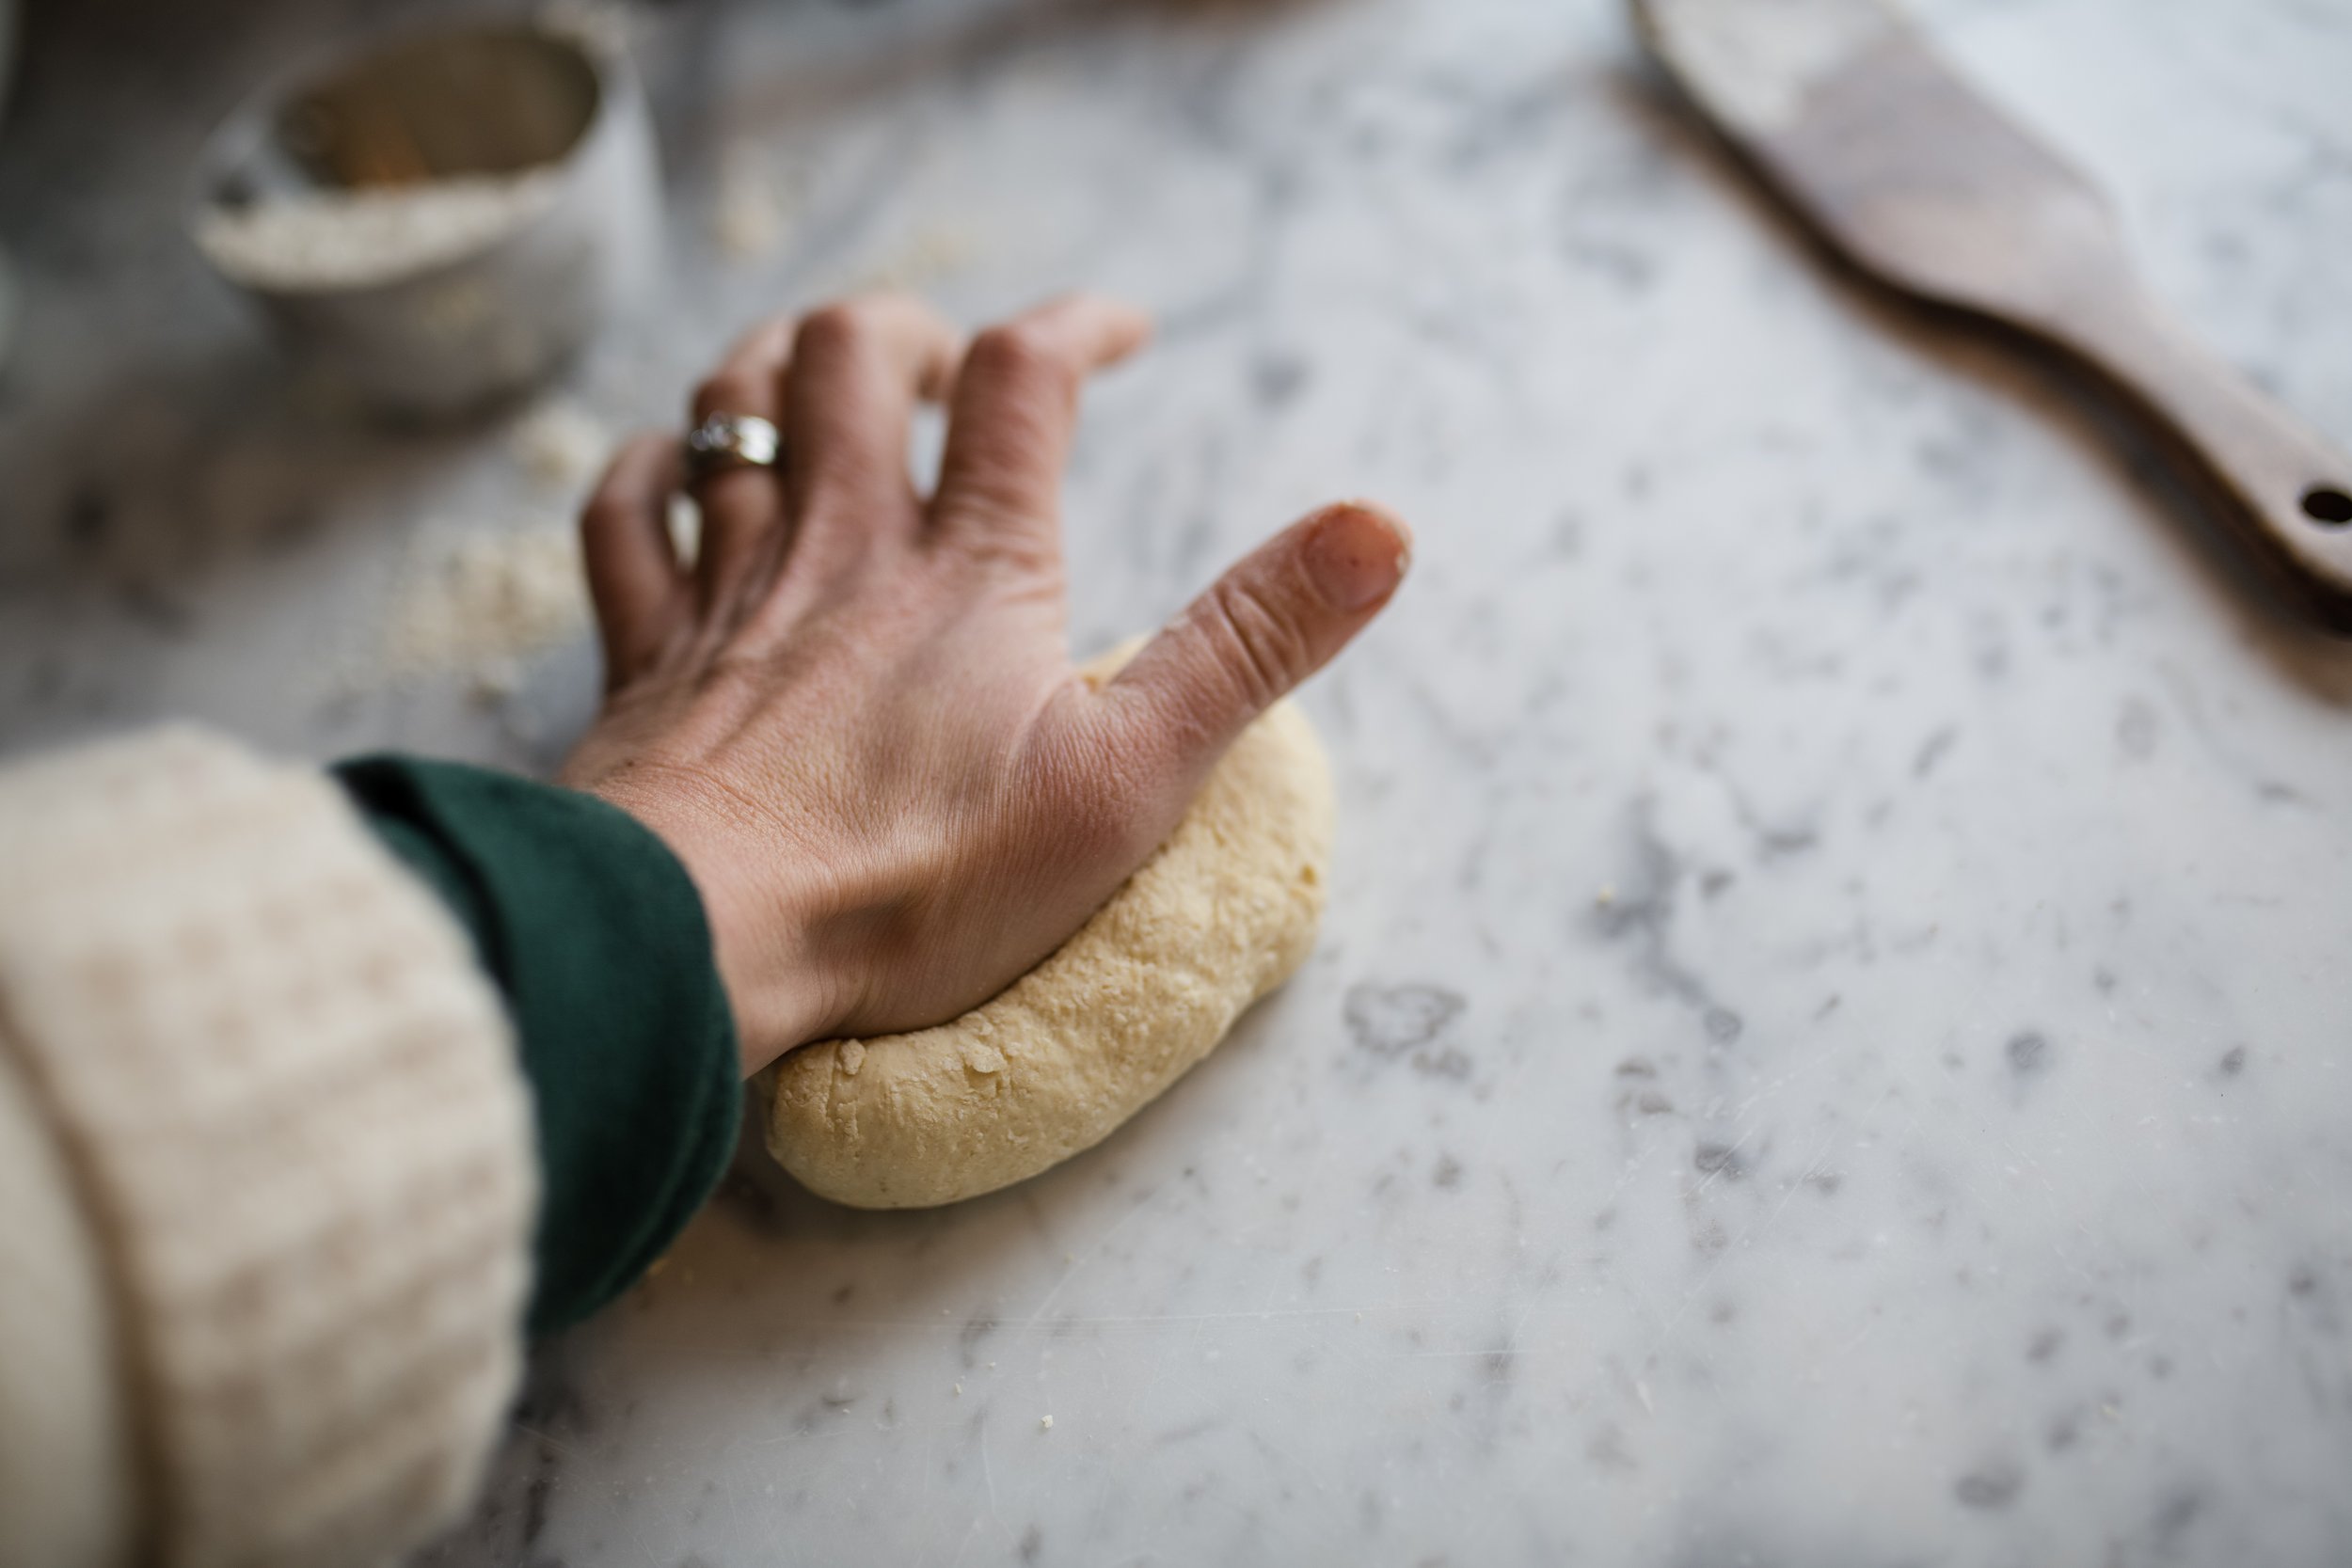
Maintaining a dry sourdough starter | The Elliott Homestead (.com)
Knead your dry-sourdough starter gently until it's smooth.

Maintaining a dry sourdough starter | The Elliott Homestead (.com)
It'll look like this when it's done.

Maintaining a dry sourdough starter | The Elliott Homestead (.com)
Move the newly fed starter to a clean jar. Make sure the lid is nice and snug so it doesn't dry out. That's it!
Feed 1 tablespoon (about 30 grams) of sourdough starter with approximately 2/3 cup of flour (I do 100 grams of all-purpose einkorn flour) and 1/3 cup filtered water (I do 50 grams). Mix the starter thoroughly with a wooden spoon before transferring it to a smooth work surface. Knead the starter for just a few minutes, until it’s well combined and smooth. It should feel like smooth, slightly tacky Playdo. This is your STARTER. This is the ratio you will always feed your STARTER. Never use all your starter. Always keep that 1 tablespoon at the end to feed.
Transfer the starter to a clean jar with a lid. I use various Le Parfait jars for this. Close the lid and let it sit at room temperature for a day. In that time, you’ll see the starter gently bubbly and aerate. Note, it will not bubble like a traditional wet-starter. This is still your STARTER. Your STARTER is now fed and happy! Here's how bubbly mine looks after a day out on the counter:

Dry-Sourdough Starter | The Elliott Homestead (.com)
The amount of bubbles after a newly-fed dry-sourdough starter sat out at room temperature for 1 day.

Dry-Sourdough Starter | The Elliott Homestead (.com)
What the inside of the sourdough starter looks like after being fed and spending a day out on the counter.
At this point, you can use a piece of the starter to bake with or transfer the whole jar to the refrigerator where it will happily sit until you need it. It can sit for weeks. Months even. If you let it sit for a really long time - like months - it'll be beneficial to feed it before baking with it, but you certainly don't have to.
If you don’t need to bake for a week, two weeks, three weeks, that’s fine. Just leave your starter in the jar, in the refrigerator.
Making Levain
Levain is the first step in baking bread. It's stage one of sourdough. The place where all sourdough recipes will begin. If you're making pancakes, english muffins, bakes, bread, waffles, or most anything: it all begins with making a levain.

Dry-Sourdough Starter | The Elliott Homestead (.com)
Levain ingredients: 1 tablespoon (30 grams) dry-sourdough starter, 1 cup (130 grams) water, 1 cup (120 grams) flour.
When you’re ready to bake something, remove the starter from the refrigerator. Remove 1 tablespoon (30 grams) of the dry-starter. Add this piece of dry-starter to a bowl. To the bowl, add in 1 cup (about 130 grams) of filtered water. Stir with a wooden spoon to combine the two, best as you can. Finally, add in 1 cup of flour (about 120 grams). Stir to combine the mixture well. It will be the consistency of cake frosting. Cover the bowl with a lid or plastic wrap and set in a warm location in your kitchen (I put mine on the top of my espresso machine) for a few hours (up to 12 is fine!). This is your LEVAIN. This is the step you’ll take before you bake anything.

Making sourdough levain from a dry sourdough starter | The Elliott Homestead (.com)
Levain begins with 1 tablespoon of your sourdough starter + 1 cup of water. Filtered water is best.

Making sourdough levain from a dry sourdough starter | The Elliott Homestead (.com)
Stir to combine. It won't mix in perfectly. That's okay.

Making sourdough levain from a dry sourdough starter | The Elliott Homestead (.com)
Add in 1 cup of flour. I use all-purpose einkorn flour for my baking.

Making sourdough levain from a dry sourdough starter | The Elliott Homestead (.com)
The texture of your prepared levain will be like a thick frosting. At this point, the levain should be covered and placed somewhere warm for a few hours (up to a day is fine, though it will lose a bit of its spring after 8 hours).
The mixture will have a few bubbles and smell of yogurt. This is your levain and it can be used in any sourdough recipe that calls for a standard wet-starter. For the sake of clarity in baking, this is called levain or pre-ferment. For example, if you’re wanting to make a bagel recipe that calls for “1 cup of active sourdough starter”, you can use this levain that you’ve just made!
The Exact Recipe. Again.
1 tablespoon reserved sourdough starter + 50 grams (1/3 cup) water + 100 grams (2/3 cup) flour= REFRESHED/FED STARTER.
1 tablespoon dry-starter+ 130 grams (1 cup) water+ 120 grams (1 cup) flour= LEVAIN.
Can I convert my wet starter to a dry starter?
Yes! If you’ve got a wet-starter right now, no problem! Just take a tablespoon of your starter and follow the starter recipe/ratio above. It may take your yeast a few days to adapt to the new ratio. Feed it, per the recipe. Then, the following day, remove a tablespoon of the now dry-starter and feed it again, per the recipe. This should be enough to get it on track.
Learn To Speak Sourdough
Ultimately, it's up to you to learn to speak sourdough.
Meet and greet your starter. Introduce yourself. I always like to touch mine with my hands when I'm feeding it to say hello.
The more you bake with your starter, the more those natural yeasts will populate your kitchen and the better your baking will get! I do not clean my kitchen with anti-bacterial cleaners that will destroy the natural and beneficial yeast and bacteria population in my kitchen. I embrace it.
Your sourdough starter should smell like a healthy yogurt! It should not smell off, gross, or rotten.
Flour (especially einkorn flour) does oxidize. Sometimes this will result in a darker covering on top of your sourdough (this will only happen if you forget to put the lid on or the lid is not put on tight). If this happens, no big deal. Feed your starter fresh, scrape off any that is particularly dark or off-putting to you, and carry on.
Don't have 30 grams left in your jar to feed? No problem! You can feed 5, 10, 15, 20, 25 grams... really, even the smallest bit of sourdough starter left over is enough to start with. In desperation once, I even just scraped the edges of my sourdough starter jar and that was enough to populate my fed starter! If you don't have 30 grams exactly, don't worry about it.
Which brings me to my final point in this long winded post: chill out. Sourdough baking is meant to be enjoyable! Do not fret over every gram, every exact time. We are embracing principles here, not exact methods. This fretting over teeny-tiny details tends to come from a lack of confidence. That's okay! We all start somewhere. Try to keep it fun and enjoyable. If you misjudge something by an hour or two, that's fine. If you leave your starter out for 2 days instead of 1, that's fine.
Relax. Keep going. Bake on!