Happy Saturday, my friends!
Late post today, as this morning was full of errands and moving! Ty and Tye have officially moved out of their hobbit-hole, into a much more sufficiently spaced apartment. We are happy that they now have room to have us all over for dinner. No more excuses, guys. I expect an invitation pronto.
A fun recipe today. Well, I consider it fun, but I realize that boiling a carcass may not be on every one's list of “exciting things to do!” It's sure on mine though.
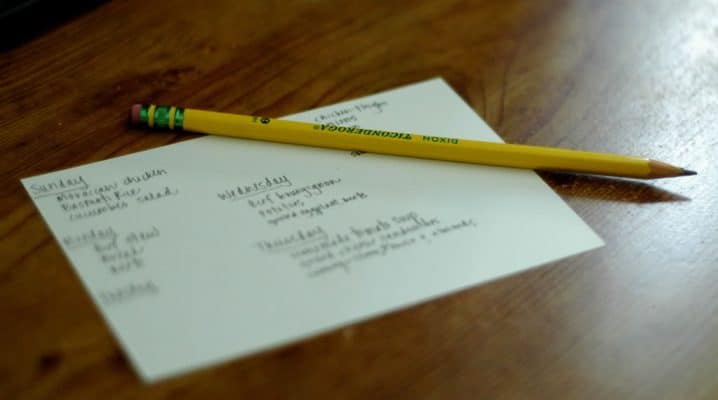
Every Saturday, we go to the grocery store. I always buy an uncooked, nice, free-range, all natural broiler chicken. Usually priced around $8, it's an inexpensive way for us to get some meat into our diet! We can eat on the chicken for two to three meals, plus I make chicken stock with the carcass. Not a bad way to spend $8!
Homemade Chicken Stock
You will need:
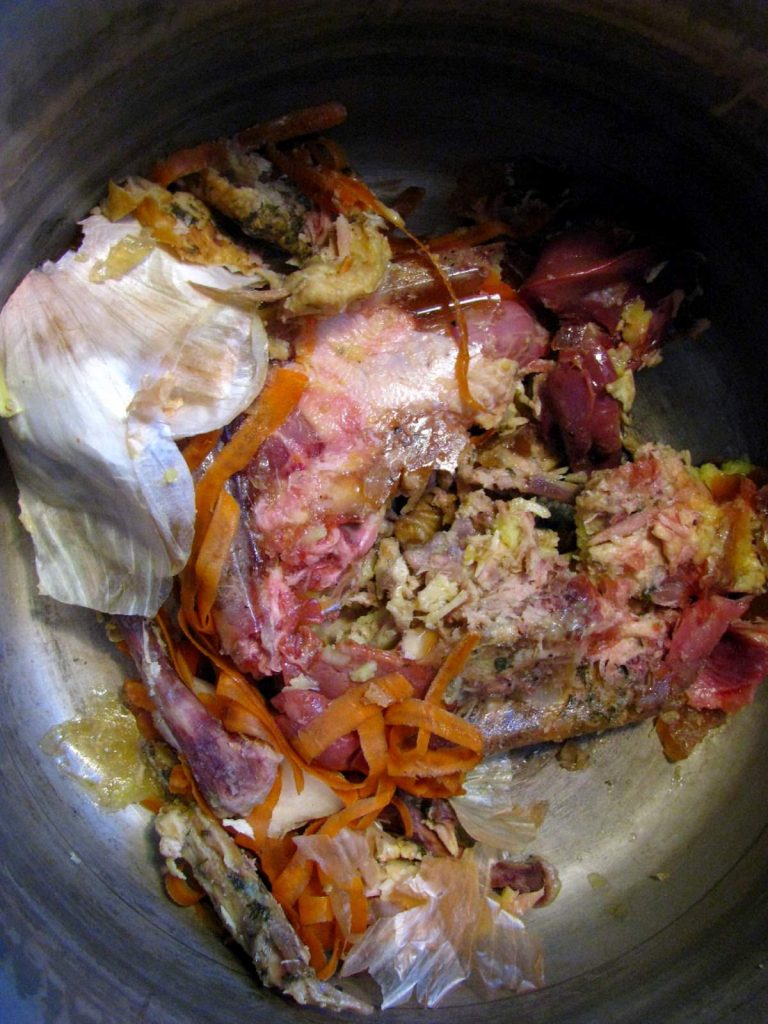
– The carcass of a roaster chicken (I include the gizzards and skin!) picked free of most all the meat
– Any vegetable “waste” (carrot peelings, potato peelings, etc.)
– An onion
– Vinegar
– Celery (if you got it!)
– Salt and pepper
– Herbs of your choice
Step One: Combine the carcass (bones included!), the gizzards, and the hodge-podge of vegetable waste. Don't worry too much about what you use, we're just going for flavor here, nothin' pretty. A lot of times, I will keep the carcass in the fridge and just add vegetable waste as I have it. Then, on the weekend, when I am ready to make the stock, it is all there in the fridge! Nothin' goes to waste on the homestead. Yummy…
Step Two: Put all the fixins into a large stock pot. Fill the pot up with water. I usually fill mine until it is 3 inches or so from the top.
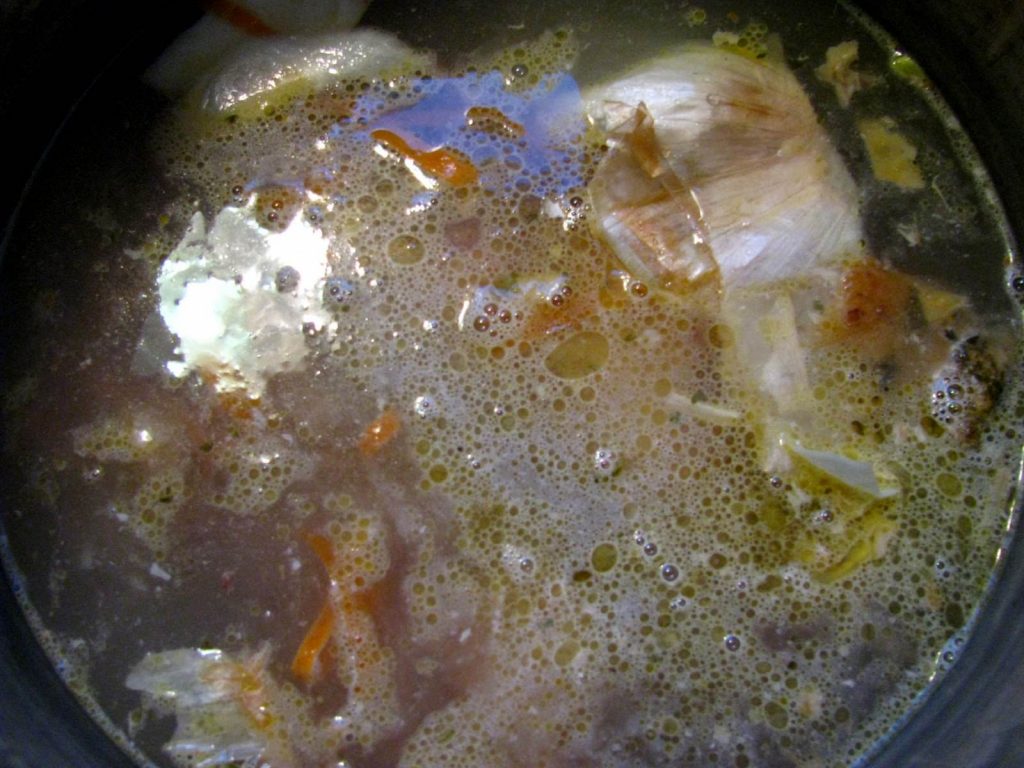
Step Three: Add half a cup of vinegar to your pot. I just use white vinegar. This helps to draw all the nutrients out of the dense, mineral rich, bones!
Step Four: Add your herbs! I use dried thyme, salt, and dried parsley from the garden. Use however much, or however little, you like.
Step Five: Bring the stock to a boil. Once it boils, cover the stock and turn down the heat so that it remains at a very slow simmer.
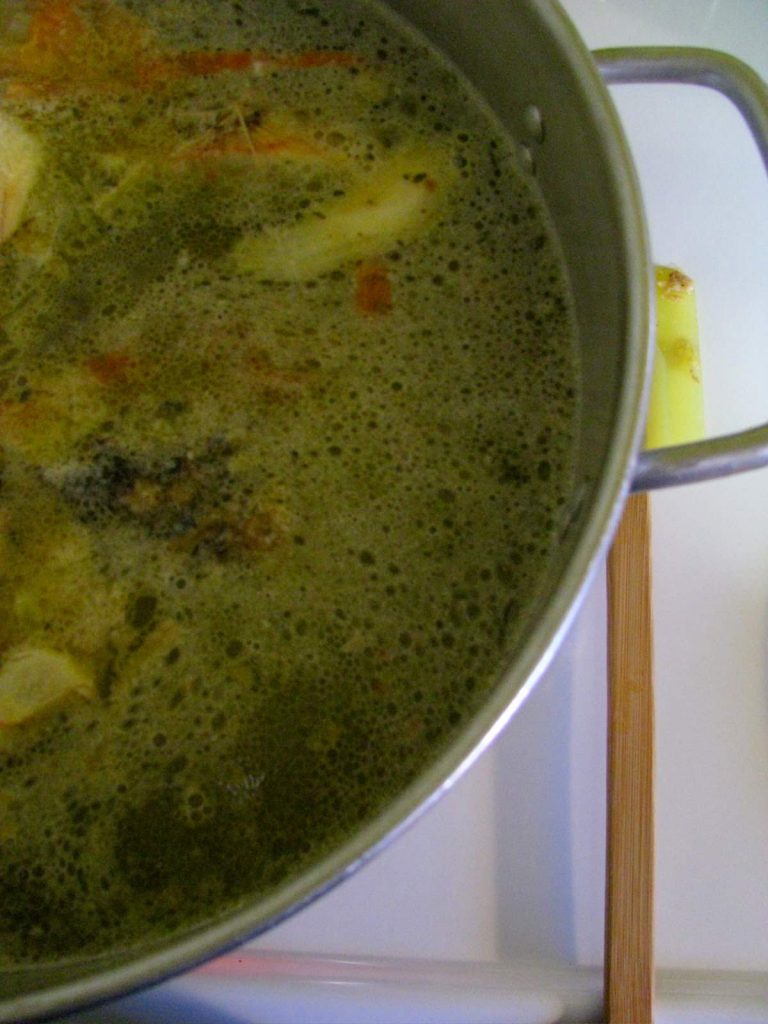
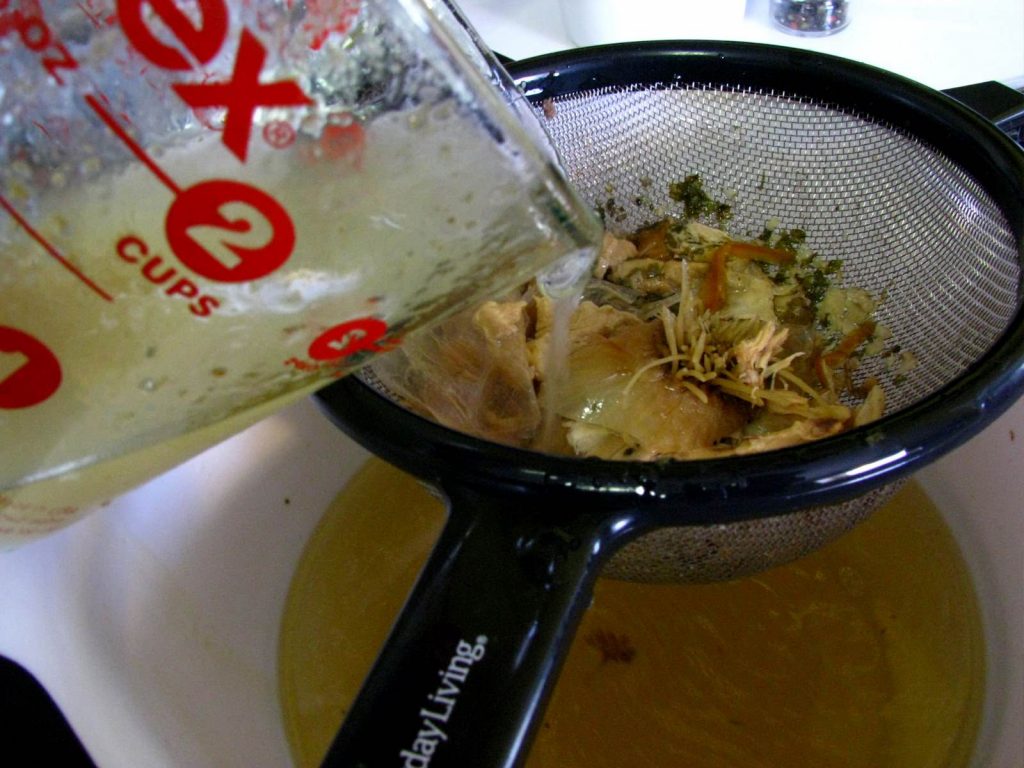
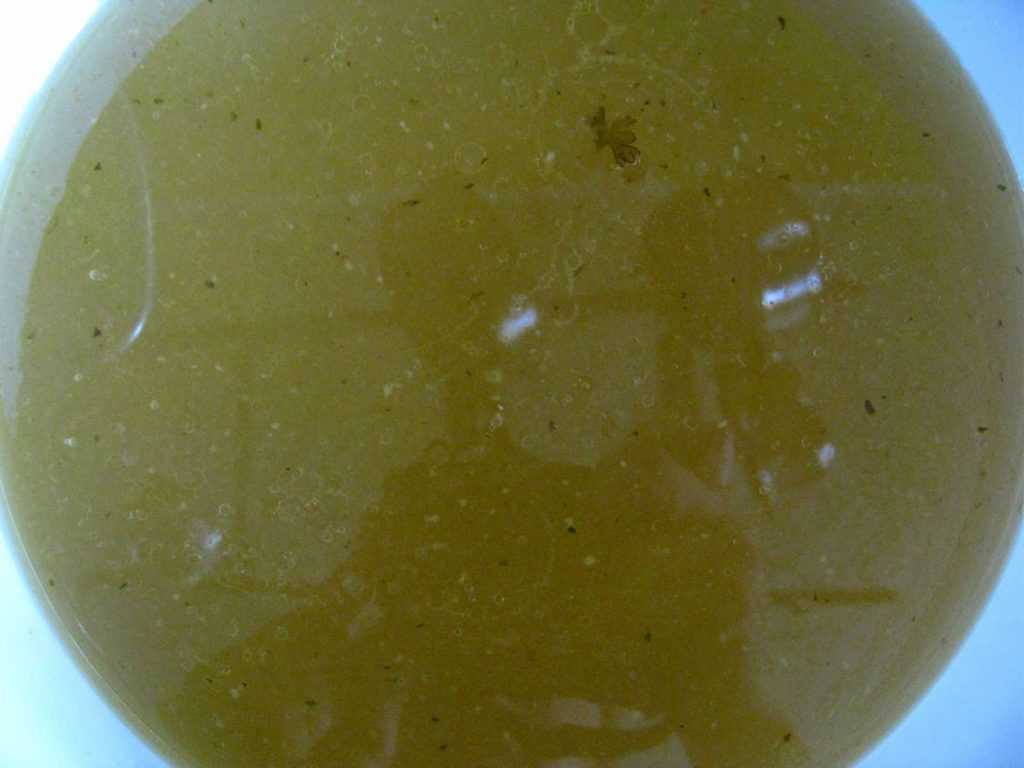
Step Six: Allow the stock to simmer for 12-24 hours. I usually let mine go 24 hours. After it's done, allow the stock to cool down to room temperature. Strain the stock free of all the chunky-stuff left over, so you have a nice thin broth left.
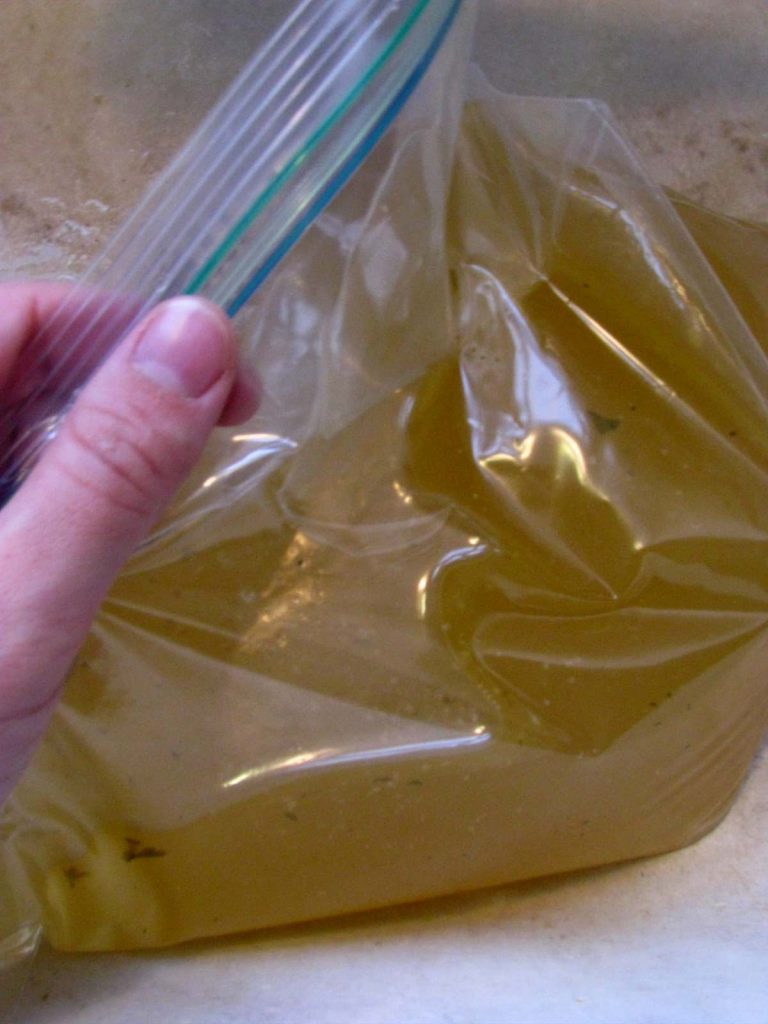
I store my stock in freezer ziplocs and then ship them off to my sisters so she can house them in her chest-freezer for me (thanks sister!)
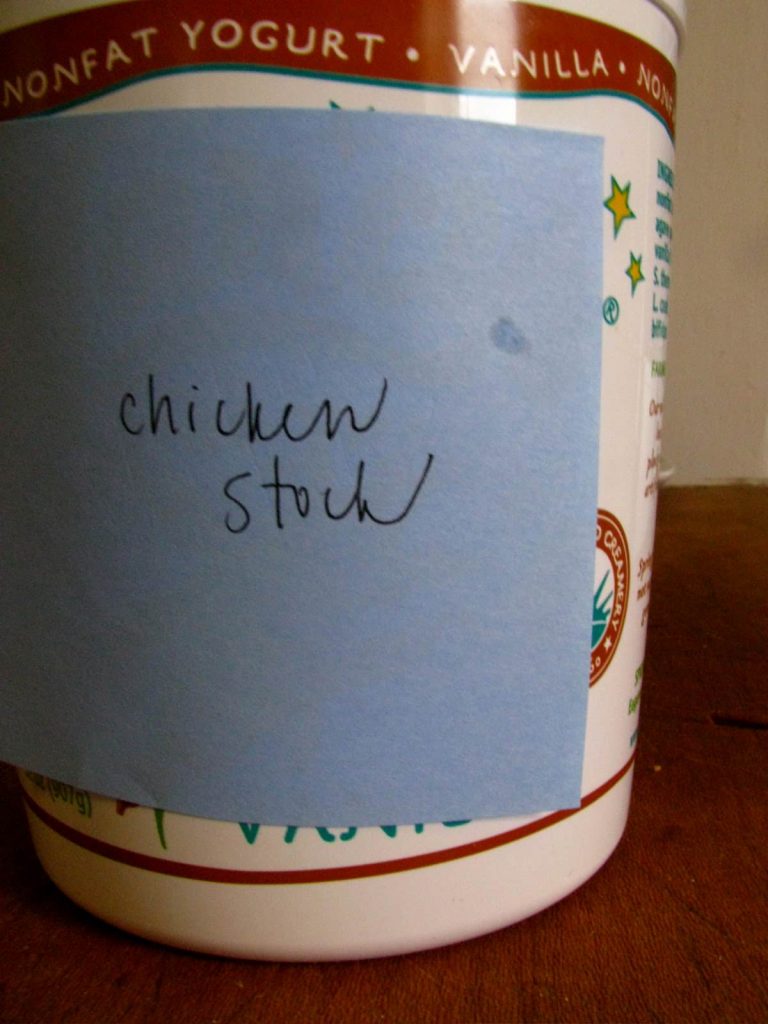
I also keep some in a tupperware in the fridge so I have easy access to it throughout the week. It is so good for cooking grains in or for a quick soup base! I like to think of homemade chicken stock as free groceries. It just takes a few minutes and it's made from something you would normally throw away! What a great way to get the most of our goods! Homemade stock has many health benefits, which you can read about here. It is rich in minerals like calcium, magnesium, phosphorous, silicon, sulphur, trace minerals, and amino acids. Don't throw any bones away without making stock first!
Georgia keeps me company when I do projects such as this. I am trying to enjoy the time when she can still easily be contained in a swing or playpen. I know, before long, my homesteading projects will not be nearly as easy. She still requires some attention though – especially right before she eats, when she gives me this face:

Which is when I have to put down the strainer full of chicken bones and snuggle her because I can't stand it anymore.
I'm such a sucker.
Happy chicken-stock-adventures my friends! Cheers to frugal, healthy, simple homemade goods!

?, and please don’t laugh, are the carcass and bones cooked or raw? I assume cooled and the neck etc, raw.
Lisa, you can either use raw or cooked chicken. Sometimes, I use whats leftover from a cooked chicken. Other times, I throw in an entire raw chicken, allow it to simmer, and then pick the meat from the bones. Either way works!
exactly how we make it at our little urban abode – and it’s truly wonderful stuff! i use apple cider vinegar – what kind do you use (i’m always up for suggestions)?
i also separate out the fat, strain it, and use it to make tortillas and savory pastry crusts. beats the heck outta lard/crisco!
I’d never thought about straining out the fat to use…what a fantastic idea!
Does your stock ever gel? I can’t for the life of me get mine to. I am using the highest quality pastured chicken raised by my family. Also I am adding the ACV and letting it sit in the cold water for at least a half hour prior to turning on the heat source (and simmering for at least 12 hours or more). I just can’t figure it out… Any suggestions? Or does it even really matter if it doesn’t gel?
i read somewhere that if your stock doesn’t gel, you could be adding too much water. 🙂
Put some chicken feet in with your bones. They have lots of collagen. When I cook chicken feet the juice turns to jelly when it gets cold in the refrigerator.
How long does the stock last in the freezer?
Forever and ever. Though mine never does because I use it every day!
If you’re using good chicken, I wouldn’t worry about it ‘gelling’. If you can get ’em, adding chicken feet to the stock will really help with this…but it’s not necessary for a good, mineral rich broth. Don’t fret! 🙂
How much water would you say you add? or I guess how much is the stock pot?
Probably about two gallons worth.
thank you for all this information . Love your humor . I plan to get some feet and add it my stock ..thank you thank you !!
Rather than shout a loud ‘No! Never cover your stock as it simmers!” this old ex-chef challenges you to not cover it the next time, and then taste it. Mind you, you’ll need to watch and likely add water, but you should have a richer stock.
The theory is, if covered, you don’t get some of the evaporation of water (which assists with the gelling that some folks mentioned), which leads to a more rich stock (think condensed or reduced/reduction). Also, some of the impurities that may be in the pot (dirt, mostly, probably a few bugs too), will rise to the top and form a ‘raft’ (or just plain old scum), which can be ladled out and discarded (or tossed in the compost).
And, if room, that stock can go into the fridge (once cooled) and the fat will form a hard layer, which can (carefully) be removed and used as a fat (not an everyday fat, though), used to make schmaltz, etc. The quick method of removing that fat and cooling down the stock (albeit adding a bit of water too it) is to pour it through an ice cube-filled strainer. The fat coagulates on the cubes (mostly) and there ya go. I’ve always thought that a bit of fat in the stock does wonders for the flavor, but I like my fat 🙂
Cool blog.
What do you think of simmering the stock for 12 hours, putting it in the fridge overnight and then simmer it for another 12 hours? And what about Don M’s idea of not covering the pot as it cooks? I must say, I understand how impossible it would be to ignore the sweet look Georgia is sending you!
What stock pot do you use? I have been reading about stainless steel and need to make the switch to a brand that doesn’t leech, but I have no idea what to get.
From an old ex-chef myself also and the son of a genuine, full blooded Cajun mother that could probably make cat poop taste good if she had to, I agree 100% with Don, never ever cover your stock as it cooks. you get a richer and more flavorful stock. Also never ever bring you stock to a boil, just let it simmer!
Aug.13,2017. Today is the first time i saw your web-site I’m fascinated by it, I’m from Colombia S.A. A and love Chichen feet broth i did not know I’m not suppose to cover it and simmer, so i love your web-site
I spent 2 or 3 hours reading about different subjects, I’m always reading about nutrition , i signed up for the recipe how to clean and cook chicken feet, in Colombia they eat the whole feet, some Americans are very scrupulous they don’t know how nutricious chichen feet is. I’ve been here for many years I’m US citizen, love this country. I apologize the way i write i wish i can express myself better.
Love your web-site This is Maria Delosh from Naples
My suggestion is, cook the feet in the slow cooker this is the easiest way to make bone broth.I generraly use lamb’s feet, very delicious.
Love,
From kamini.
Scotland.