Though I've been heavily debating which recipe to share with you next, the wonderful crispness in the morning air made it nearly impossible for me to resist sharing this wonderful one with you.
As I've told you before, this beautiful season, we have been blessed with as many pears as we can possible handle. We've been canning & dehydrating like madmen!
I use the term “we” loosely, and by loosely, I mean I use “we” to mean “me” (as Stuart has yet to share in my preserving enthusiasm). “All by myself… don't wanna be… all by myself… anymore…”
Anyway. For the past few years, I've been wanting to make pear butter, yet for one reason or another, had never gotten around to it.
Well this year, I did. And oh, am I so glad.
A few nights ago, Georgia and I ventured into the orchard with buckets in hand. I filled the buckets completely with fruit that had fallen on the ground, specifically choosing the pears that were very ripe. Bruises? Sure! Rotting spots? You bet! Mush on half of it? I'll take it!
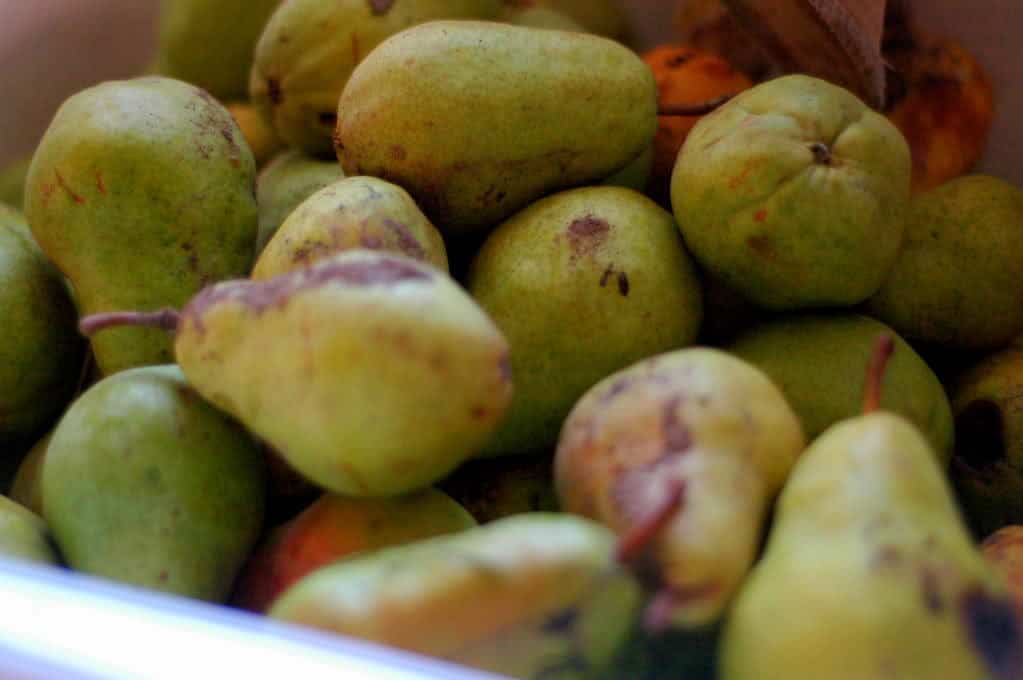
You see, the beauty of pear butter is that you don't have to use your beautiful pears to make it. In fact, the more ripe the fruit, the sweeter the overall butter will be at the end. So use this recipe to utilize all of those past-prime & less-than-gorgeous pears you've happened across this season.
Side-note: This recipe is a “low-sugar recipe”, meaning I am mostly relying on the sweetness of the fruit for my sugar. I can't stand preserve recipes that are 50% fruit and 50% sugar! Yikes! Instead, I chose to opt for a recipe that would utilize all the goodness already in the ‘ol pear and one that is simply enhanced by the addition of a natural sweetener.
Okay. Enough jabbering. Let's party.
How to Make Pear Butter
You will need:
– 3 lbs. of overly ripe pears
– 2 teaspoons of lemon juice (optional)
– 1/4 cup rapadura or honey
– 1 cinnamon stick
– 5 cloves
– 5 allspice berries
– 1 tsp. vanilla extract or 1 vanilla bean
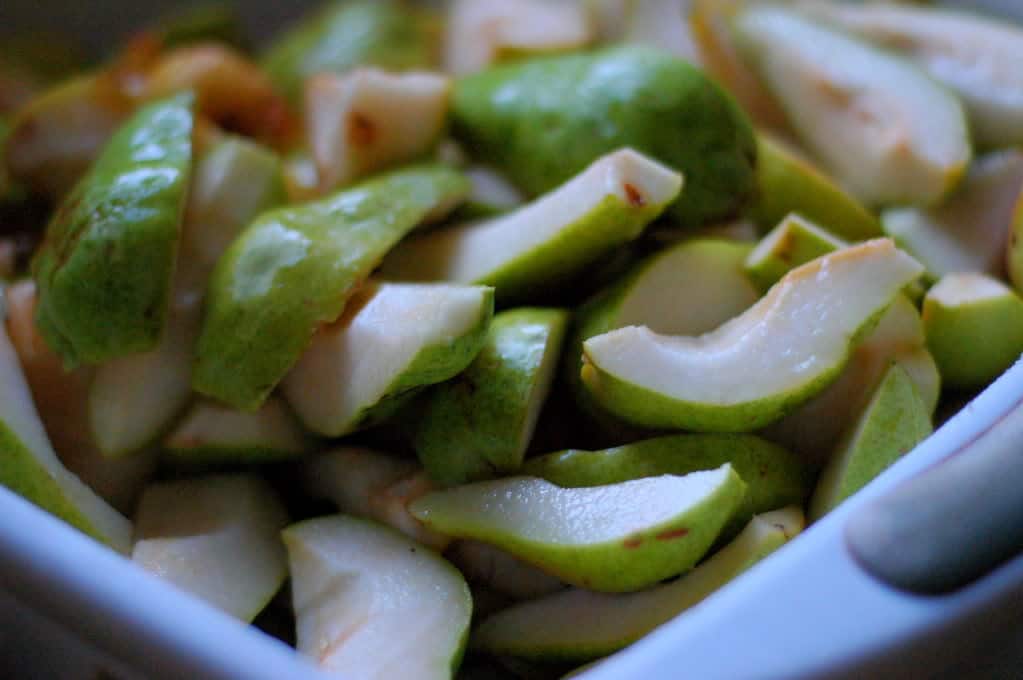
Step One: Clean the pears up. Give them a water wash, and using a paring knife, cut out all of the rotten spots and such. Bruises are really no big deal…but we don't want anythin' too grody in here. Be sure to remove the stem and core too.
Step Two: While I sure wish I had a wonderful food mill (like this one) to run these pears through, I didn't. But what I did have is a food processor (like this), though I think a blender would work wonders here too! I simple put a load of pears into the food processor and pureed them until they were nice and smooth! Sometimes, I had to stop it to scrape the sides of the bowl, then re-run for a few more seconds in order to get all the chunks. The overall goal of this step is simple: Puree the pears by any means necessary. Something tells me you're inventive enough to figure out the “how”…
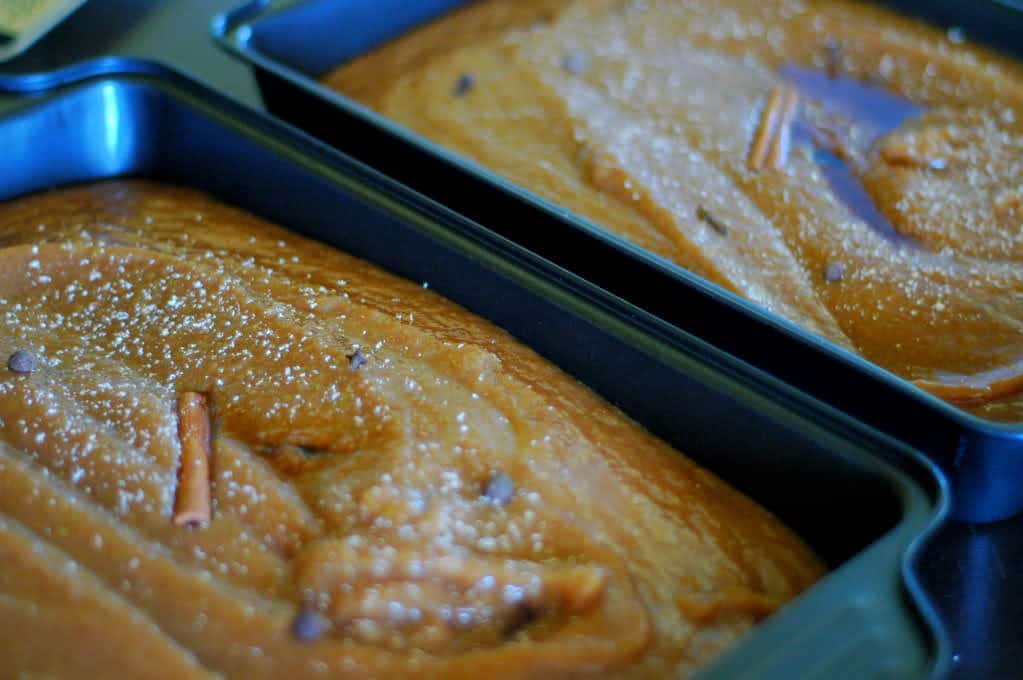
Step Three: After the pears are pureed, mix in the lemon juice, sugar or honey, vanilla, and spices. Mmm. Then, pour the pears into a 9 x 13 pan (or two!).
Did someone say fall?
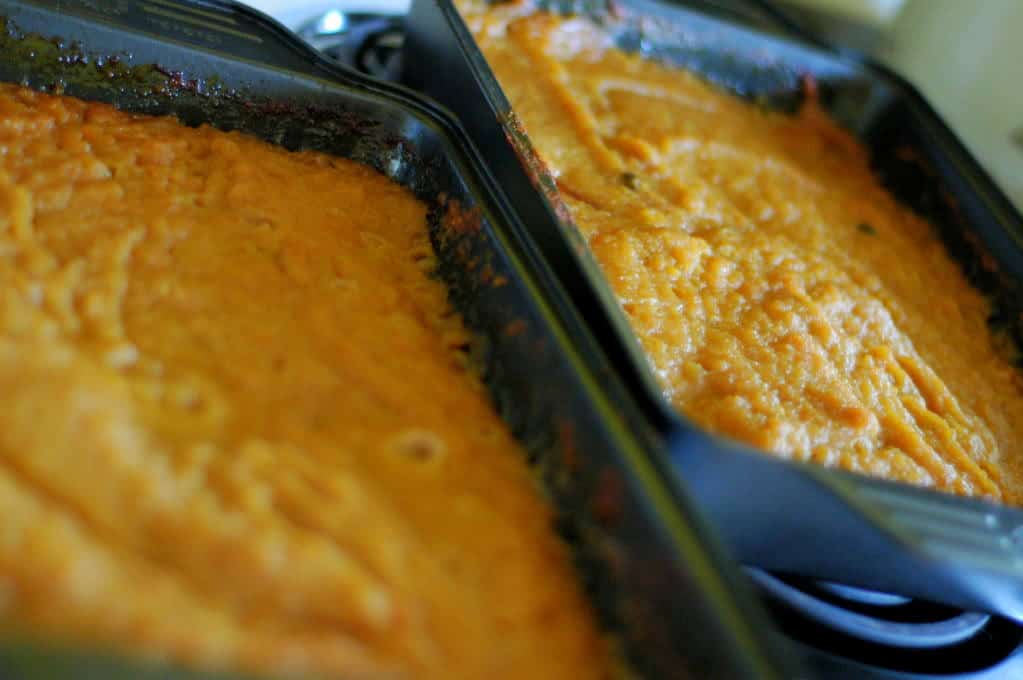
Step Four: Bake the pears in a 300 degree oven for 2-3 hours, stirring every 30 minutes or so. The longer you cook the pears, the thicker the resulting butter will be. I left mine in for 2.5 hours, and was pleased with the overall thickness at the end.
Step Five: Once the pears are thickened to your liking, remove them from the oven. Then carefully remove the cinnamon sticks, allspice berries, and cloves.
Step Six: Try to not stick your face in the pan and lap this pear butter up like a thirsty dog. Trust me, you'll want to. It made my house smell like a fall-fairy had come to party. It. Was. Amazing.
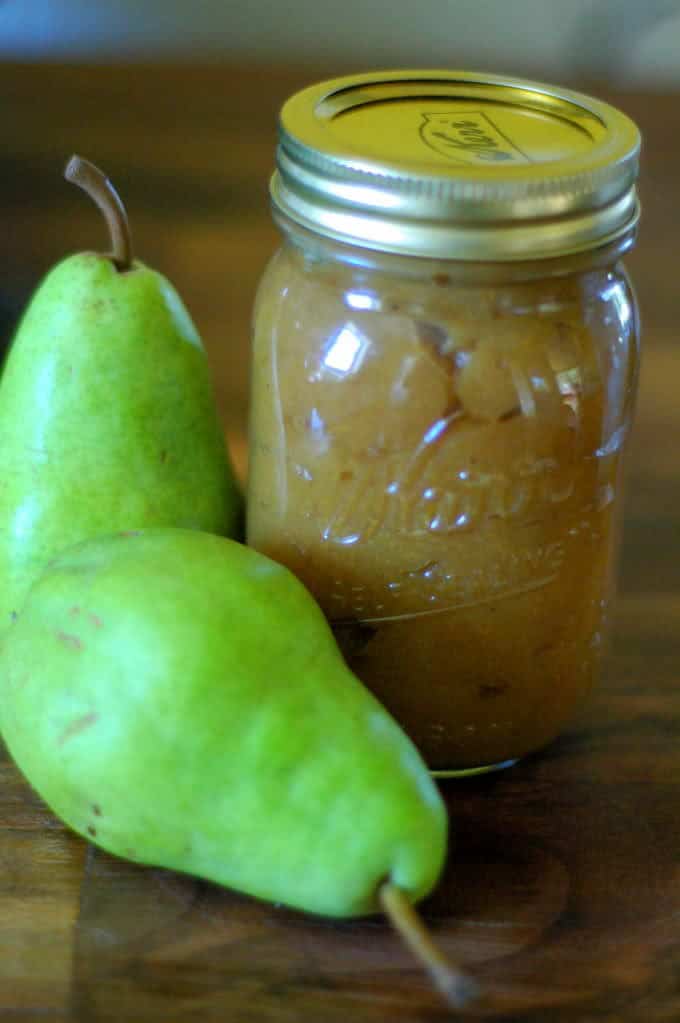
Step Seven: Okay. Now, you can either store this in your refrigerator (it will last for about a month and a half…) OR you can do what I did and can it! Simply ladle the pear butter into sterilized half-pint, pint, or quart jars, adjust your two-piece lids on, and process in a water-canner for 10 minutes. Though I won't elaborate on the details, make sure you follow all the canning-protocol to ensure success!
Note: This recipe is easily doubled or tripled to your delight. I tripled it. Because that's how I roll.
And that's all folks.
Pear butter a la ice cream.
Pear butter a la toast.
Pear butter a la biscuit.
Pear butter a la oatmeal.
Every single morsel of this wonderful preserve shrieks of the goodness of fall. And though I am still sad to see summer fading, smelling this wonderful treat makes me eagerly anticipate all the goodness that fall brings with it.
Like applesauce. And football games. And sweatshirts. And pumpkins.
Mmm! I can hardly wait!
But until then, I must keep busy with my task at hand: Survive summer harvest.
If you don't hear from me for the next few weeks…send help!
For other great meal ideas, no matter what your dietary restrictions, check out the meal planning service I use: Real Plans.
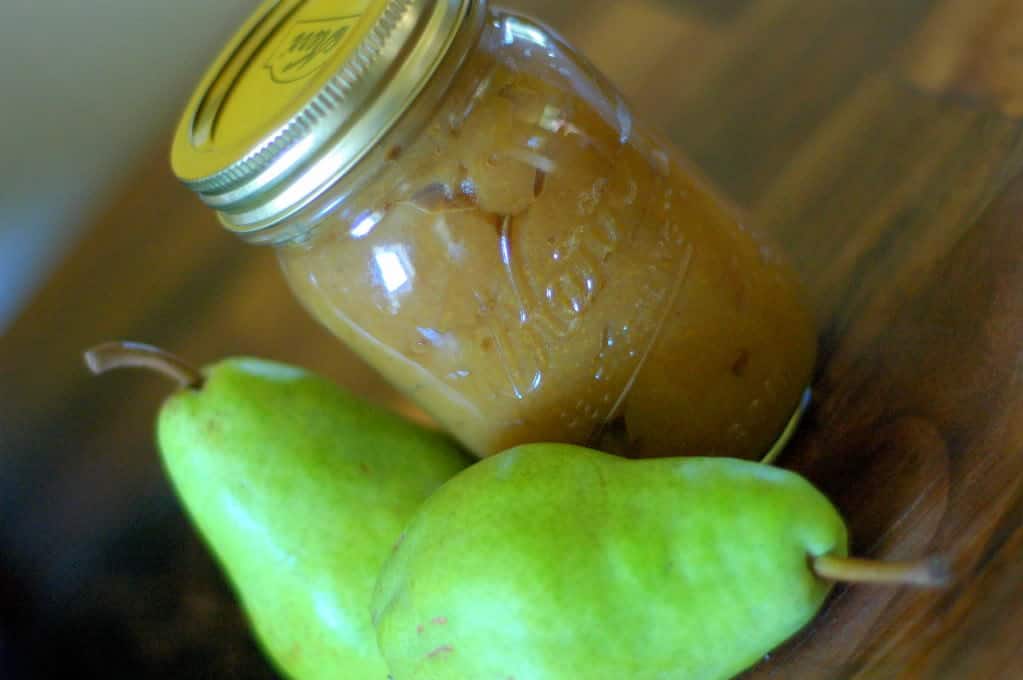
Pear buttery goodness.
Pear Butter is a tasty way to prepare for fall season.
- 3 lbs. of overly ripe pears
- 2 teaspoons of lemon juice (optional)
- 1/4 cup rapadura or honey
- 1 cinnamon stick
- 5 cloves
- 5 allspice berries
- 1 tsp. vanilla extract or 1 vanilla bean
- Clean the pears up. Give them a water wash, and using a paring knife, cut out all of the rotten spots and such. Be sure to remove the stem and core too.
- Puree the pears with a food processor, blender, or whatever you have.
- After the pears are pureed, mix in the lemon juice, sugar or honey, vanilla, and spices. Then, pour the pears into a 9 x 13 pan (or two!).
- Bake the pears in a 300 degree oven for 2-3 hours, stirring every 30 minutes or so. The longer you cook the pears, the thicker the resulting butter will be. I left mine in for 2.5 hours, and was pleased with the overall thickness at the end.
- Once the pears are thickened to your liking, remove them from the oven. Then carefully remove the cinnamon sticks, allspice berries, and cloves.
- Once cooled, add to your favorite glass jars. Store in the refrigerator or water bath can them.

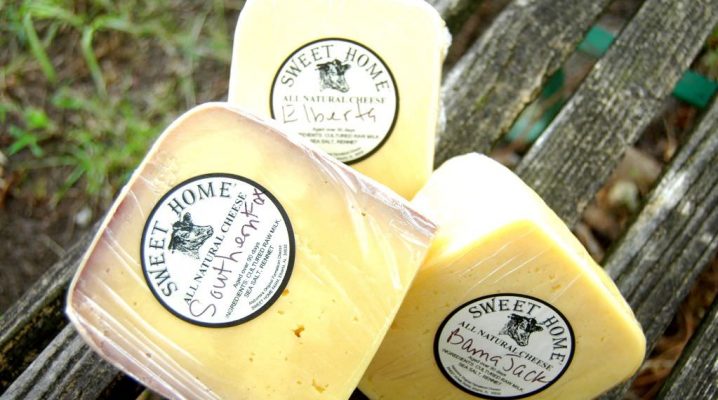


Hi! I ve made pear butter a few weeks ago! It goes really well with cheese and with meats like duck too if you like sweet/savoury combinations. 🙂
yummyyyy!
Just wanted to tell you how much I love your blog. I’m subscribed to about 7-10 health blogs and I am always excited to read yours each day. You’re just so clever and hilarious and I feel like we would have a blast if we ever hung out together (I don’t mean that to sound weird-stalker-like..just saying, if we were to ever meet and hang out, we’d have fun). Thanks for being inspiring and awesome all at the same time. How’s that book writing going? Get on it, would you?
Happy Friday!
-Tiff
Awww thanks Tiff 🙂 Don’t worry, I don’t think you’re a stocker. 🙂
This looks super delicious. I am going to have to try this! By the way, your blog has super gorgeous design, really. I stopped over from Fat Tues.
Thanks for linking your great post to FAT TUESDAY. This looks amazing! Hope to see you next week!I wonder if you can cook it in the crock pot?
Be sure to visit RealFoodForager.com on Sunday for Sunday Snippets – your post from Fat Tuesday may be featured there!
http://realfoodforager.com/2011/10/fat-tuesday-october-18-2011/
If you have grain-free recipes please visit my Grain-Free Linky Carnival in support of my 28 day grain-free challenge! It will be open until November 2.
http://realfoodforager.com/2011/10/grain-free-real-food-linky-carnival/
Hi,
Your great post was featured at my Sunday Snippets this week. Come and check it out!
http://realfoodforager.com/2011/10/sunday-snippets-october-23-2011/
This looks great and I hope to try it soon. Just wondering – could you use ground spices rather than whole? That is all I have right now. How much of each? Thank you!