Oh what a wonderful weekend it was.
Even though the bite of the wind was rather frigid, the sun still warmed our backs as we raked the 50 billion loads of leaves we had in our yard from our giant 700 year old maple tree.
Note: “we racked” means Stuart.
Note #2: It wasn't 50 billion loads. More like 40 billion.
Note #3: Our tree is not 700 years old. But it is about 100.
Needless to say, when we came in from the cold (yes, I did go outside – not to work, but to at least keep company), we needed something warm and homey to warm our bellies. Insert: homemade bread, baby.
Turn away, all ye Nourishing Traditions fans. Traditionally prepared, this recipe is not. Properly soaked and fermented to break down the phytates and add nutrients, it is not. Whole food, it is not. I shall hide my head in shame forever more. Forgive me, oh lovers of whole wheat!
But this bread is good.
Oh, the audacity of me! How can I bear this?! After all the nutritional goodness I stand for!?
Try it. You'll find it pretty easy to bear as well.
Homemade Baguettes
You will need:
– 8 cups of unbleached, organic all-purpose flour (I use King Arthur brand)
– 4 teaspoons sea salt
– 4 cups of warm water
– 2 tablespoons instant yeast
– More flour, as needed
Step One: Combine the flour and the salt, stirring well. Divide the flour mixture in half, reserving half in a separate bowl. Place the other half of the flour mixture in a bowl large enough to allow for plenty of rise.
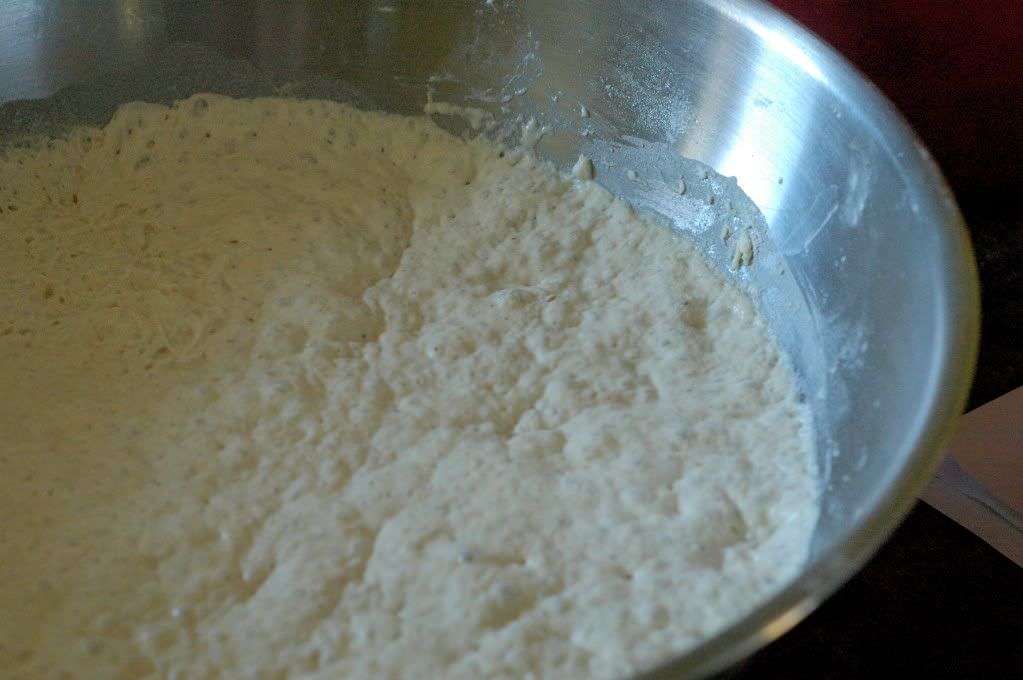
Step Two: Mix the yeast with the warm water until just incorporated. Add this to the flour-mixture in the big bowl. Stir until the flour and the water are incorporated nicely. Cover and leave somewhere nice and warm for 3 hours.
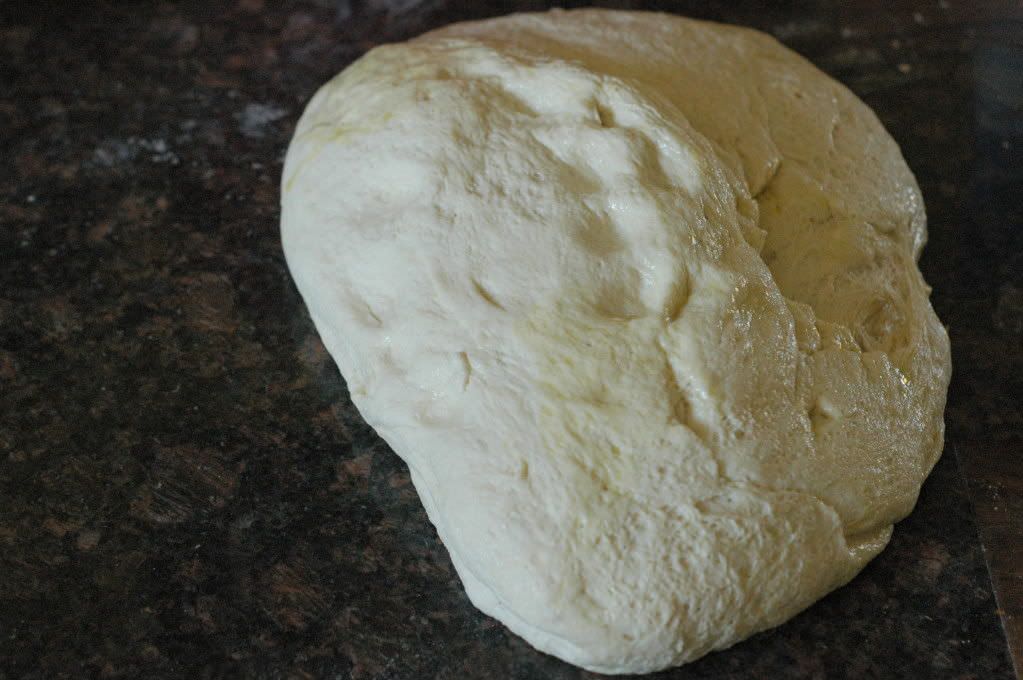
Step Three: After 3 hours of rising, add the remaining flour mixture to the big bowl. Knead for ten minutes, adding more flour as needed. When you're finished, you should have a nice smooth dough. If it's too sticky, simple add a wee bit more flour at a time until the dough is manageable and keep kneading until smooth. Let this dough rise for another hour in an oiled bowl.
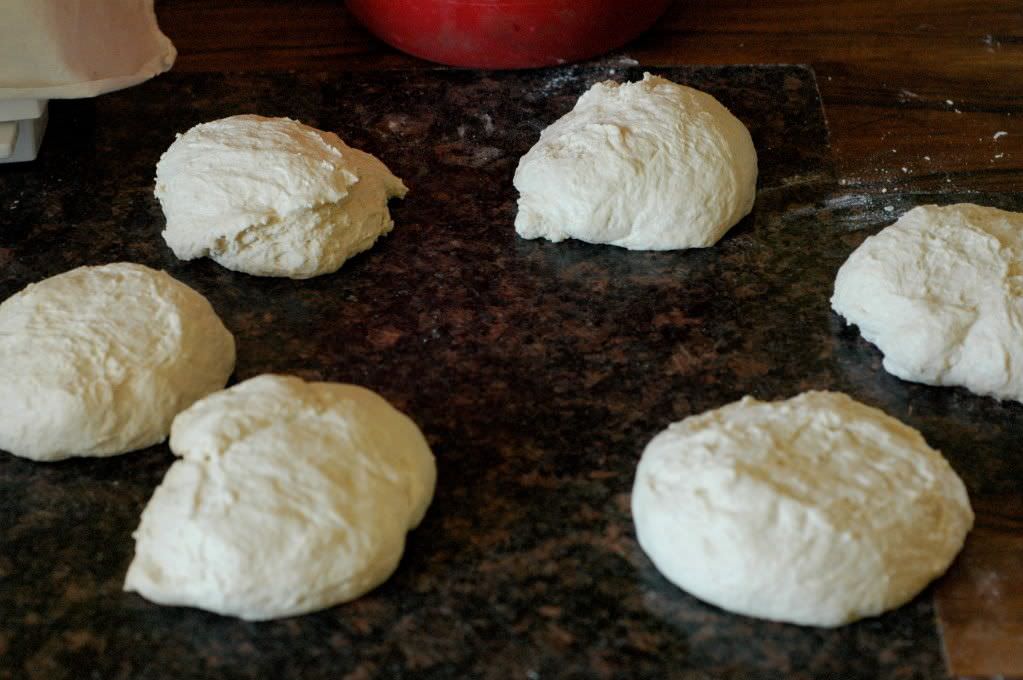
Step Four: After the extra hour of rising, knead again. Separate the dough into 4-6 pieces, depending on how big you like your loafs. Sometimes, I want a crunchier bread – so I do smaller (thinner) loafs (more crust, less inside).
Shape into a baguette (this part takes practice, and while I could try to explain, it may be easier just to find a video on YouTube – it's taken me many-a-time to even come close to a baguette shape!).
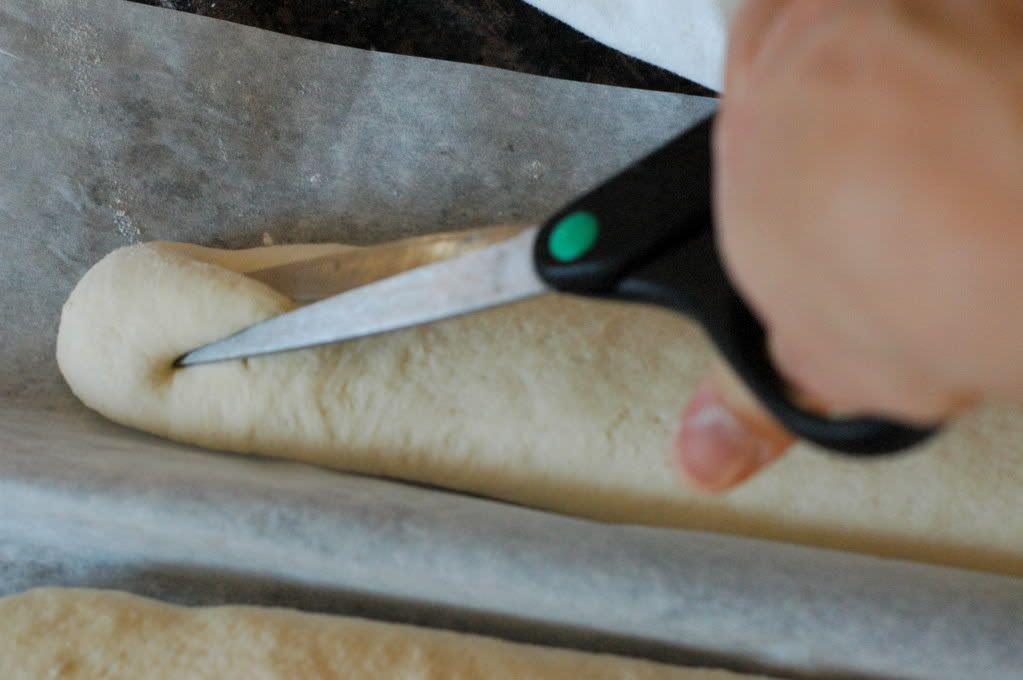
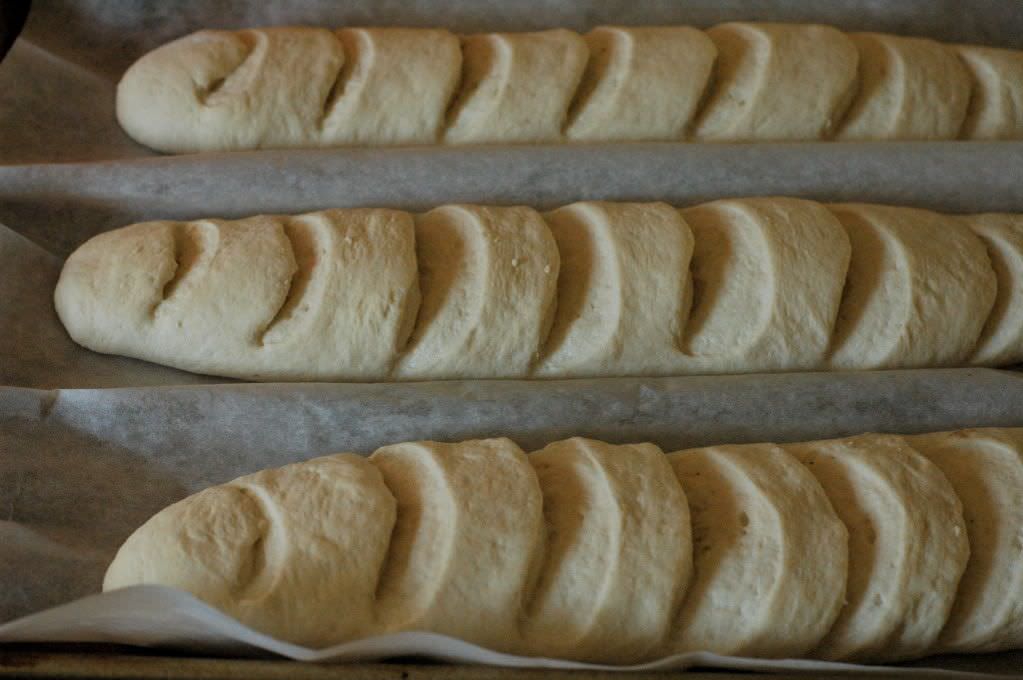
Place the shaped baguettes on a floured baking sheet (I do 2 or 3 per baking sheet and cook them one sheet at a time), careful to allow them plenty of room to rise without touching, and scoring with a knife or scissors if desired. Cover and allow the loafs to rest while the
oven preheats.
Step Five: Preheat the oven to 450 degrees. Here's the tricky part: Put a cast iron skillet (or other appropriate baking-safe dish) in the oven with about 4 cups of warm water, allowing this to preheat as well. This will create steam in the oven, which will help to develop that nice, crunchy crust.
Step Six: Once the oven is preheated, bake the baguettes for 15 minutes with the water IN the oven. Then, remove the water dish, and bake for another 10-15 minutes (depending on how brown you like your baguettes). Note: I cook up a batch of these bad boys and just keep them in a bread bag in the kitchen – whenever we're ready to eat some, we just preheat the oven to 300ish degrees and pop a loaf in there for 15 or so minutes, until it's nice and warm. These also freeze well.
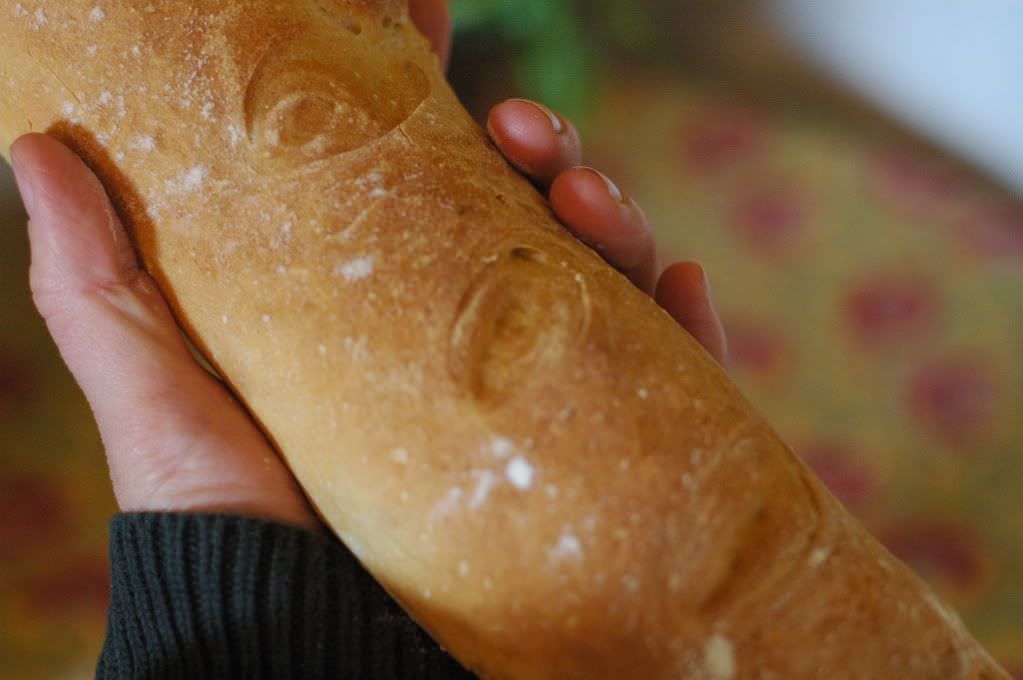
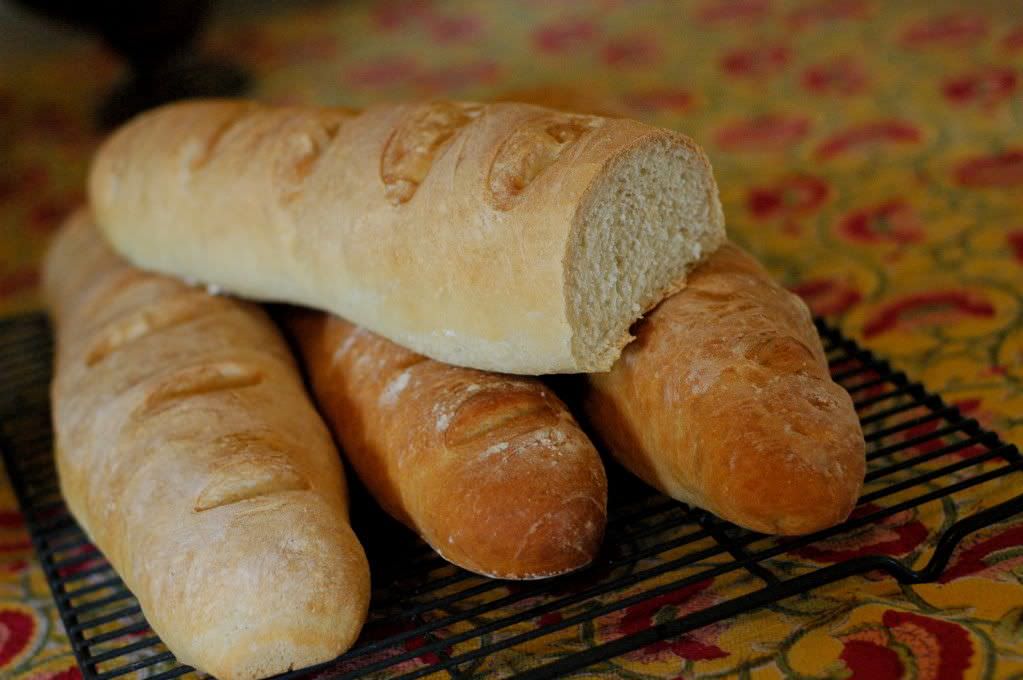
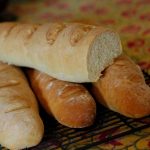
Voila. Baguettes. Crusty on the outside – soft on the inside. Just like from a Paris bakery.
Except I'm positive, without a doubt, that their's are shaped much nicer than mine. Oh well – I'm getting better! It just takes practice. Practice, practice, practice. And all that means is that we need to keep eating this bread so that we always have a reason to make some more and thus; keep practicing!

I know this recipe sounds scary – but I promise, it's not. Even if you have kiddos, the kneading could be very fun! I've make this recipe a dozen or more times and I've found it to be very forgiving, so don't be too hard on yourself.
You can even add herbs or roasted garlic to spice it up, baby! It's your bread, do with it whatever your little heart desires. This bread is perfect for the type of bread eating that we do – we need a bread that we can dunk into warm soups, smear with pear butter, grill into sandwiches, and serve with hummus – and this ‘ol baguette fits the bill. It's wonderful.
And I know, I KNOW, it's not whole wheat. Shame on me. But trust me, I've tried, and there ain't no way a whole wheat bread is going to have the lightness and crunch that a baguette requires. And at least by making it at home, I am able to control what type of flour and other ingredients go into it (I figure that's still got to be better than store-bought!). I'm still working on a way to properly ferment the bread, so as to at least add some of the lost nutrients back and improve digestion. Any suggestions?
Well, there you have it my friends. My food sin for your viewing pleasure. Enjoy.
Seriously.
Enjoy.
For other great meal ideas, no matter what your dietary restrictions, check out the meal planning service I use: Real Plans.
Homemade Baguettes
- 8 cups unbleached, organic all-purpose flour ((I use King Arthur brand))
- 4 tsp sea salt
- 4 cups warm water
- 2 tbsp instant yeast
- More flour, as needed
Combine the flour and the salt, stirring well. Divide the flour mixture in half, reserving half in a separate bowl. Place the other half of the flour mixture in a bowl large enough to allow for plenty of rise.
Mix the yeast with the warm water until just incorporated. Add this to the flour-mixture in the big bowl. Stir until the flour and the water are incorporated nicely. Cover and leave somewhere nice and warm for 3 hours.
After 3 hours of rising, add the remaining flour mixture to the big bowl. Knead for ten minutes, adding more flour as needed. When you're finished, you should have a nice smooth dough. If it's too sticky, simple add a wee bit more flour at a time until the dough is manageable and keep kneading until smooth. Let this dough rise for another hour in an oiled bowl.
After the extra hour of rising, knead again. Separate the dough into 4-6 pieces, depending on how big you like your loafs. Sometimes, I want a crunchier bread – so I do smaller (thinner) loafs (more crust, less inside).
Shape into a baguette (this part takes practice, and while I could try to explain, it may be easier just to find a video on YouTube – it's taken me many-a-time to even come close to a baguette shape!).
Place the shaped baguettes on a floured baking sheet (I do 2 or 3 per baking sheet and cook them one sheet at a time), careful to allow them plenty of room to rise without touching, and scoring with a knife or scissors if desired. Cover and allow the loafs to rest while theoven preheats.
Preheat the oven to 450 degrees. Here's the tricky part: Put a cast iron skillet (or other appropriate baking-safe dish) in the oven with about 4 cups of warm water, allowing this to preheat as well. This will create steam in the oven, which will help to develop that nice, crunchy crust.
Once the oven is preheated, bake the baguettes for 15 minutes with the water IN the oven. Then, remove the water dish, and bake for another 10-15 minutes (depending on how brown you like your baguettes). Note: I cook up a batch of these bad boys and just keep them in a bread bag in the kitchen – whenever we're ready to eat some, we just preheat the oven to 300ish degrees and pop a loaf in there for 15 or so minutes, until it's nice and warm. These also freeze well.


These look amazing! I’ve pinned these and will try making these soon.
My one true weakness! I can’t wait to try out this recipe
Hi all I’m Jen and I’m a breadaholic! lol
Must try this, glad to read I’m not the only that can’t shape bread!
I’m so excitited about this (shame on me too). This will be great for the grain eaters in my family 🙂
Hi there, I just wanted to write and ask if you’ve ever had trouble with this recipe. I ended up needing 11 + cups of flour and couldn’t get the bread to brown……any ideas or suggestions.
Wow Donna, I have no idea. Are you at a different altitude? Or perhaps there was a problem with the yeast?
Can you use this recipe and technique to make bread bowls?
Made these on Saturday and they are AMAZING. So good with butter. You also get a lot of bread with this recipe. I made four of these bad boys for less than $1 each! If you make four the loaves are HUGE! Great recipe. Great blog.
I always failed to do baguettes and this time after reading your recipes and tips I am feeling I can do it,, interesting and nice recipe
https://www.quichentell.com/