Oh, oh, oh! Guess what I did?! Guess what I did?!
No, really…guess!
Anyone?
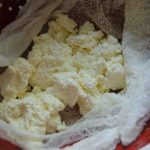
Okay, fine, then. I'll tell you. I made ricotta cheese! It's a miracle!
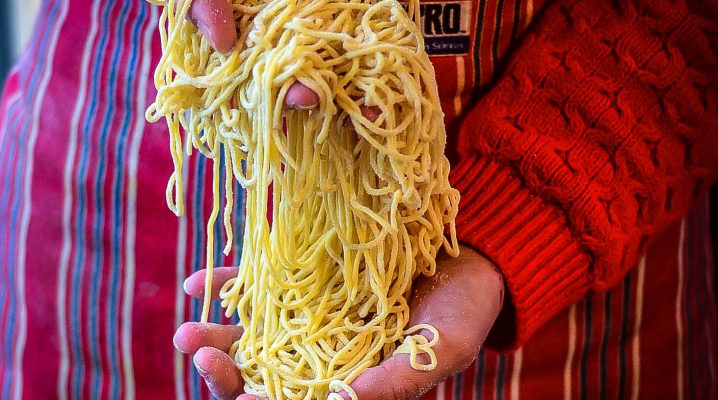
While I've longingly yearned to learn and make cheese for some time, I've kept putting it off for one reason or another. But then, as my mouth watered for homemade pasta with fresh ricotta cheese, the learning commenced. And here we are.
I've heard that ricotta and mozzerella are good introductory cheeses for beginners. And this ricotta couldn't be easier. There are absolutely no cheese make supplies required, other than some cheese cloth, which made it super easy to jump into.
And, on top of that, it's divine. So much richer than store-bought ricotta. The flavor is absolutly wonderful.

Homemade Ricotta Cheese
You will need:
– 3 1/2 cups organic whole milk (NOT ultra-pasteurized)
– 1/2 cup heavy cream (NOT ultra-pasteurized)
– 1/2 teaspoon sea salt
– 3 tablespoons freshly squeezed lemon juice
Step One: Heat the milk and cream together on a stove until they reach 190 degrees, stirring to prevent a scorched-pan.
Step Two: Remove the pan from the heat. Add in three tablespoons of freshly squeezed lemon juice. Gently and slowly stir one time.
Step Three: Let the pan sit undisturbed for 5-10 minutes.
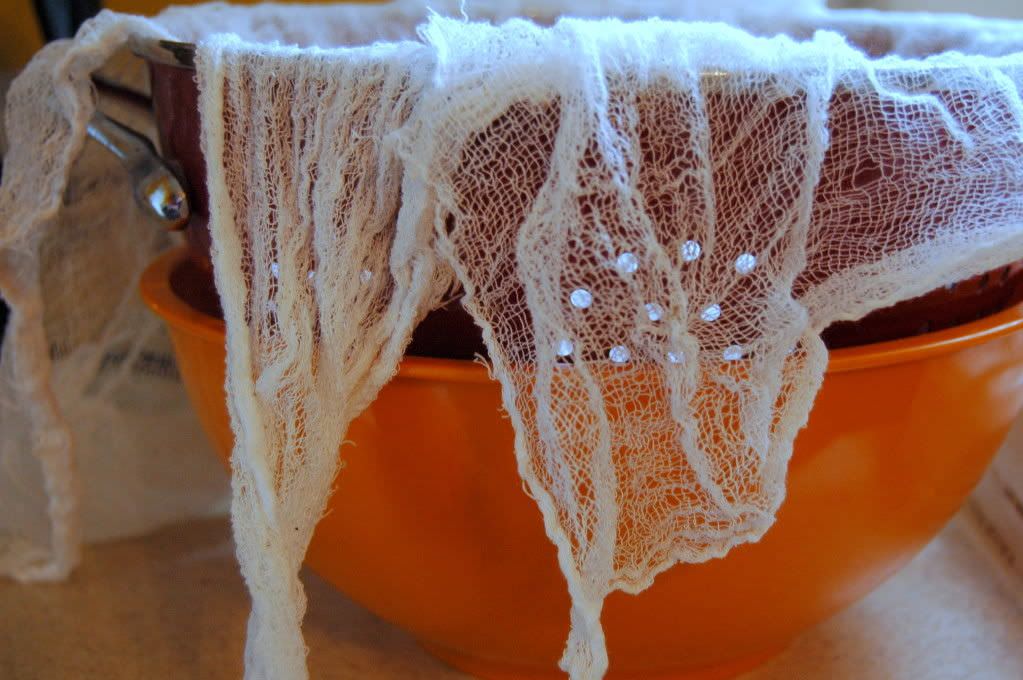
Step Four: While the mixture sits, line a colander with a cheese cloth (folded in half for double the thickness). Place the colander over a large bowl so that it will catch the runoff liquid (also know as, whey).
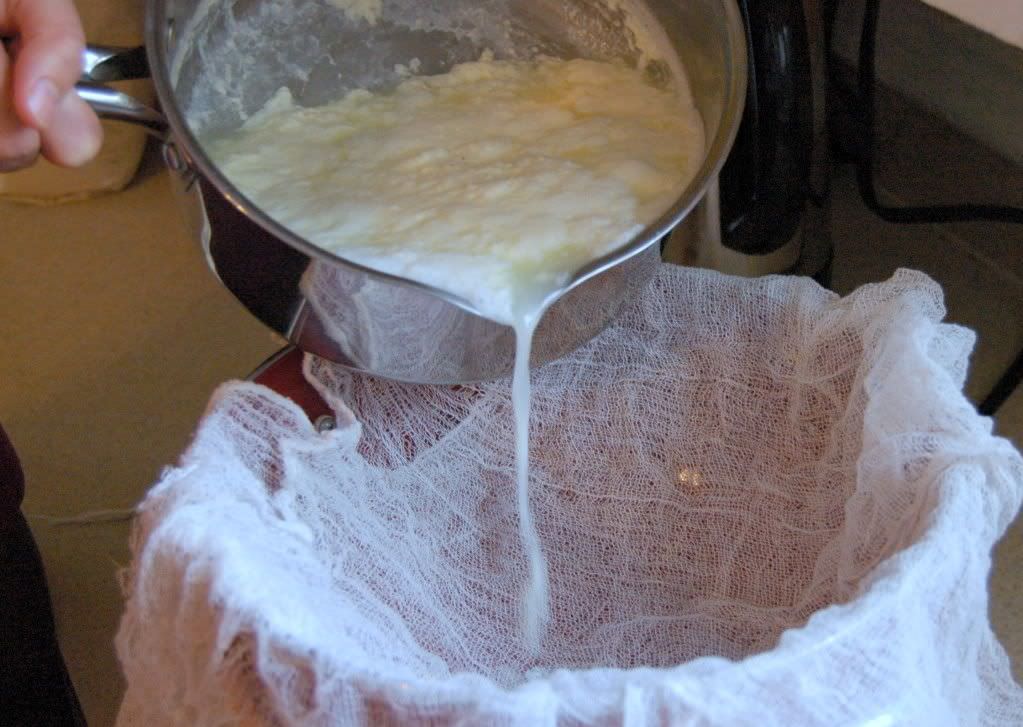
Pour the milk mixture over the cheese cloth and allow it to strain for two hours. Do you understand why they call it cheese cloth now? Get it? Cheese cloth? For cheese? Nevermind.
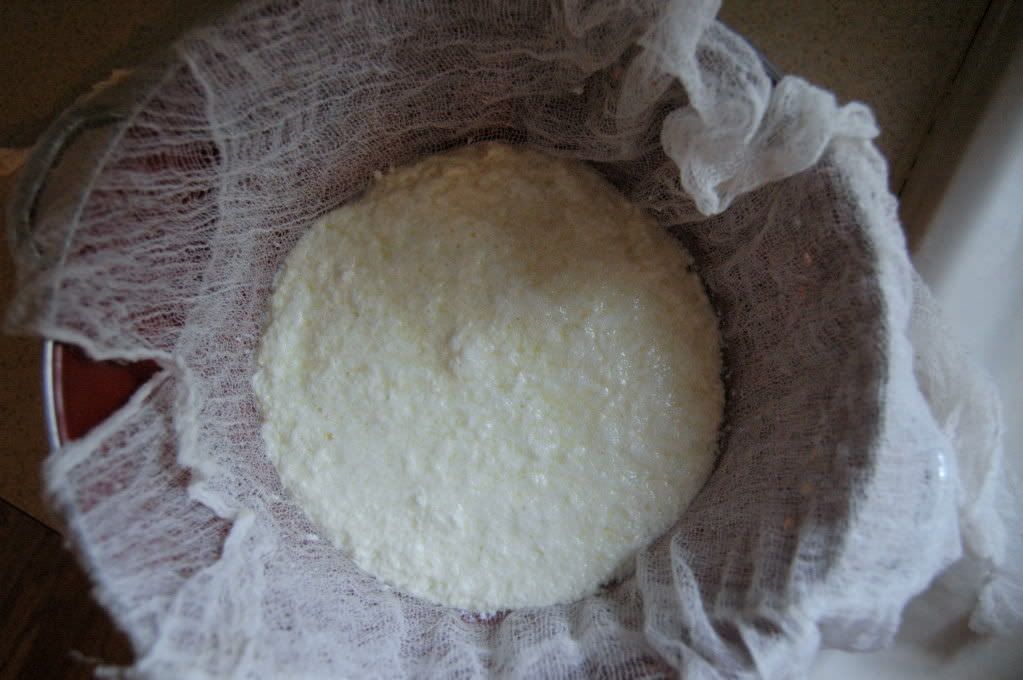
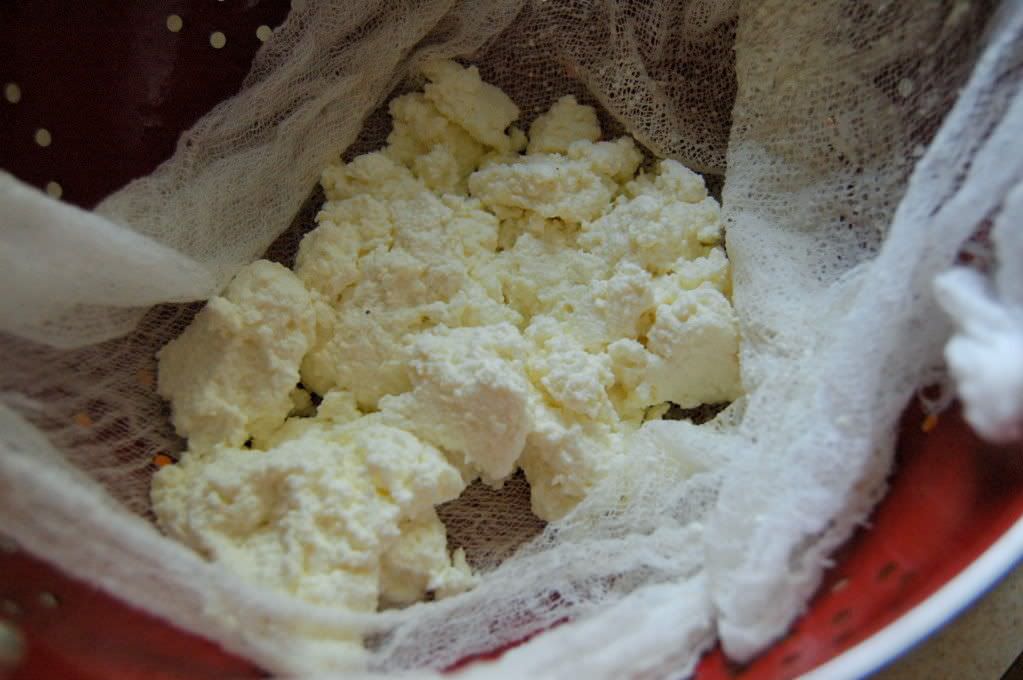
Step Five: Once the mixture has strained to your desired consistency (the longer you let it strain, the thicker it will become), mix in the sea salt & bam, baby! That's how you make ricotta! Store the cheese in a sealed container in the refrigerator. Oh, and all that beautiful whey that drained off? Save that in the fridge, too! Remember all those wonderful benefits of, whey? Sneak some in your morning smoothie, my friend.
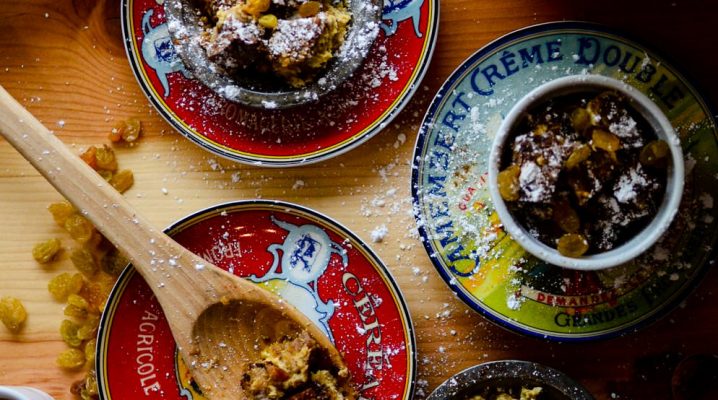
Step Six: Eat the ricotta on baguettes. Or sourdough crackers. Or soaked wholegrain crackers. Or soaked whole wheat toast. Or sourdough english muffins. Or with slices of fresh fruit. Oh just dream of the possibilities!
…or do as I am going to do, and attempt to make gluten-free pasta from scratch and stuff it with this amazingly delicious cheese. It's very creamy, almost like a cream cheese spread (though not quite as dense). I've often bought ricotta from the store, only to find it flavorless and watery. But not this ricotta, oh no. Mmm…I can already hear my tastebuds singing.
And this beautiful ricotta is only be the beginning. Now that I found out my local health food store carries rennet, our kitchen is about to get wild and crazy!
On top of wanting to be a professional Mom, photographer, author, and chef when I grow up, I think that now I'd also like to be a professional cheese maker. And if this ricotta is a sign of how things are to go, well then my friends, we are in for some delicious treats.
That being said, I will now leave you to go finish up the sweet little knitted sweater I am making for Georgia that has consumed my entire weekend. Blogging and knitting at the same time can be quite challenging, as one only has two hands to knit (or type) with at any given moment. Thus, I must resign myself to one task at a time.
And since G-love is currently napping…onward I knit.
By the time this sweater is finished, I'll only have put 74 hours of hard labor into it! Quite cost-effective, if you ask me.
Good day.
Homemade Ricotta Cheese
- 3 ½ cups organic whole milk (NOT ultra-pasteurized)
- ½ cup heavy cream (NOT ultra-pasteurized)
- ½ tsp sea salt
- 3 tbsp reshly squeezed lemon juice
Heat the milk and cream together on a stove until they reach 190 degrees, stirring to prevent a scorched-pan.
Remove the pan from the heat. Add in three tablespoons of freshly squeezed lemon juice. Gently and slowly stir one time.
Let the pan sit undisturbed for 5-10 minutes.
While the mixture sits, line a colander with a cheese cloth (folded in half for double the thickness). Place the colander over a large bowl so that it will catch the runoff liquid (also know as, whey). Pour the milk mixture over the cheese cloth and allow it to strain for two hours.
Once the mixture has strained to your desired consistency (the longer you let it strain, the thicker it will become), mix in the sea salt & bam, baby! That's how you make ricotta! Store the cheese in a sealed container in the refrigerator. Oh, and all that beautiful whey that drained off? Save that in the fridge, too! Remember all those wonderful benefits of, whey? Sneak some in your morning smoothie, my friend.
Eat the ricotta on baguettes. Or sourdough crackers. Or soaked wholegrain crackers. Or soaked whole wheat toast. Or sourdough english muffins. Or with slices of fresh fruit. Oh just dream of the possibilities!

Ahh! I just made ricotta for the first time, too!
Wow! Cheese! you make it sound so easy.
I must try this.
Cheese. Sweaters. Knitting…
the sky is the limit for you!
Pat
You make this sound so easy. As in so easy — I am excited to try it!!! Thank you.
Oh and you have a totally cute baby. 🙂
Once you go homemade with ricotta you will never go back! I have done this method and I agree it is almost like cream cheese, rich and lovely but I actually like it better if I replace some of the milk with goat cheese (to give it a wonderful little tang and use buttermilk for the acid. I usually do a gallon of whole milk, 1 qt goats milk, and 1 qt buttermilk (strangely low fat works better than full fat buttermilk). You get bigger curds and the taste is divine. It makes a lot but not as much as you might think. I try to use it right away or freeze whatever we won’t get to in a few days, it holds up. My new fav way to eat it is drizzled with good EVOO on five spice roasted acorn squash wedges oy drizzled with honey on pear slices. Soooo good!
Yum! I just made mozzarella cheese for the first time, and it was so much fun, and delicious! I can’t wait to try ricotta!
This great post is featured at Sunday Snippets this week! Thanks for sharing! Come and check it out!
http://realfoodforager.com/sunday-snippets-january-15-2012/
I’ve made this cheese many times, but used vinegar rather than lemon juice. It is my go-to recipe if I have milk threatening to go bad.
That being said, it’s not ricotta. Ricotta is not made from milk, but from whey, usually the whey leftover after making mozzarella.
It seems similar to the cheese called “paneer”, but I always just called it “vinegar cheese”.
Hey, Shaye, my cheese didn’t turn out right and I was wondering if you could help. The “cheese” is so soupy that it’s more like Greek yogurt than anything else. My milk was pasteurized (not ultra-pasteurized)–could that be the issue?
It sounds like it didn’t get to the right temperature. Did you use a thermometor? Have you checked it’s accuracy?
I’m gonna try this next week. Sounds very easy.
I’m so happy I found your cool homesteading blog, so many awesome recipies and ideas 🙂
So did you make the gluten free pasta and stuff it with the ricotta? NEED that recipe now! Thanks!
I have yet to perfect a gluten free pasta 🙂
First, I follow your blog and have really enjoyed reading about your homesteading adventures. I’m hampered by my job, which keeps me off our acreage most days. If I was there more of the time, I’d get a family cow.
Despite my support for your work, I gotta say—this isn’t ricotta. It’s not even close. Ricotta is cheese you make with the whey left over from making cheese [1]. It has this greenish yellow tint, right? That’s the extra protein that’s still left over. Ricotta is made by getting that protein to stick together and come out of solution. You end up with a super-small curd because the protein is at fairly low concentration. Waste now, want not.
What you made is a simple acid-curdled cheese. It’s an excellent choice for sharing with the public because it’s simple and the results are almost a sure-thing. It’s good as it is (obviously) and if you pressed it heavily, it would be paneer, the Indian cheese.
Another point: I see you are getting along fine with that faux cheesecloth. But you would never find that product in the home of an American pioneer or on a homestead anywhere in the world. Real cheesecloth is just a bit of thin plain-woven cloth. Think of a thin dish towel. They’re a lot sturdier, re-usable, and you can buy them at normal department and big-box stores.
Also, do not underestimate the power of salt in preventing cheese spoilage.
Keep up the good work. And take good care of that cow!
KLN
1. http://biology.clc.uc.edu/fankhauser/cheese/Ricotta/ricotta_00.htm