So much has been inspiring me lately. Not the least of which is a tightened food budget that is requiring me to really be good about cooking and preparing food from scratch. For the most part, putting in the extra work yourself can really add up over time financially. So we've been busy as beavers, collecting and purchasing in bulk as we can to save money where it's possible.
One of those possibilities is the bulk purchase of sweet corn.
While visiting a small market last week, a bushel of corn caught my eye. It was $17.
Sure, that greatly exceeded the ‘corn' budget for the week – but in the middle of winter when there is no fresh corn to be found, and a single can of corn can set you back $1.25, it makes sense to purchase cheaply and in bulk.
Plus, we don't have to worry about any of those funky chemicals or preservatives.
As hard as it can be to come up with the extra money in the middle of summer, I'm always thankful in winter where fresh food is hard to find.
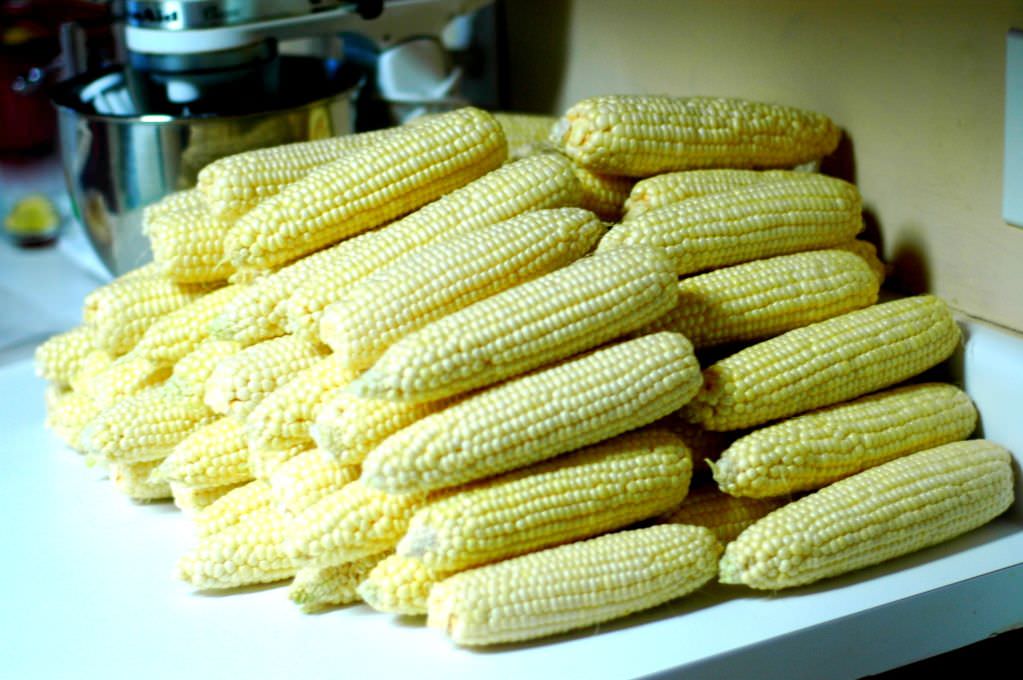
So, a few Saturdays ago, I suckered my dear husband into helping me put up corn for the year. An hour and a half later, we had a lot to show for it!
Frozen Corn
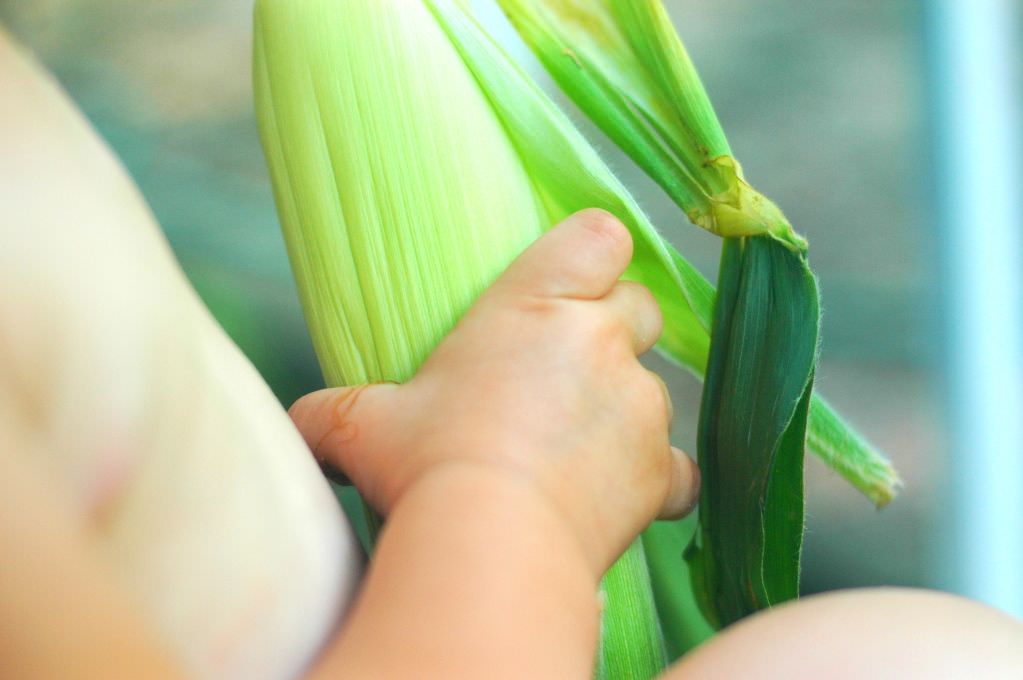
Step One: Shuck the corn from the husk and remove all the silk. Meanwhile, put a large pot of water on the stove and bring to a boil.
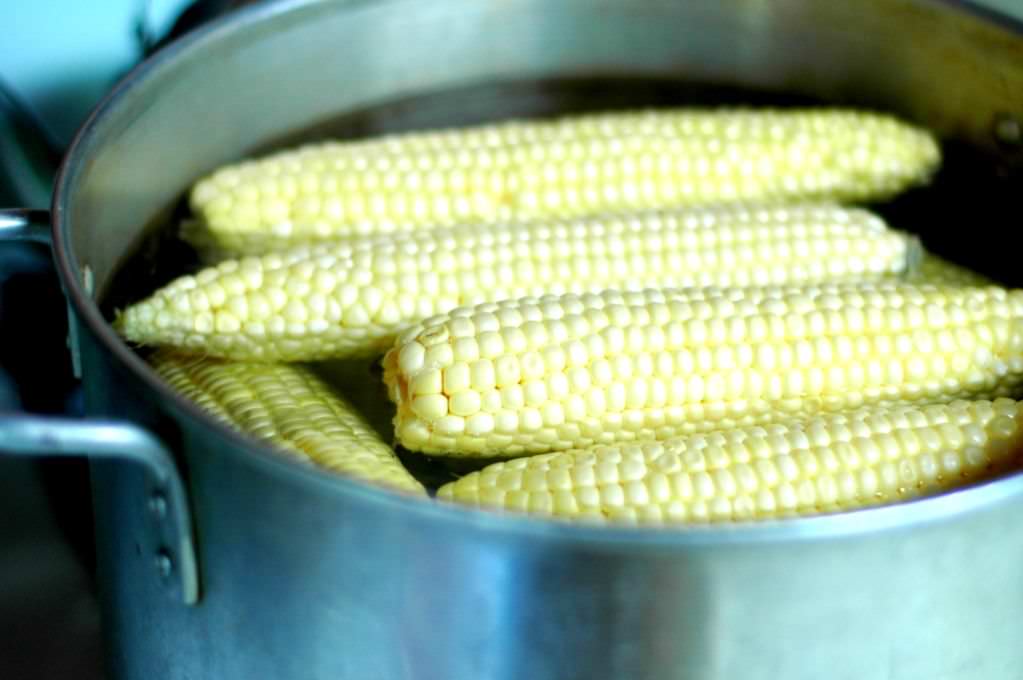
Step Two: After the husks are removed and the water is boiling, drop as many ears of corn as will fit into the pot, cover, and boil for 3-5 minutes to quickly blanch them.
Step Three: After the corn has blanched, remove it to a large bowl. Allow it to cool while you put the next batch of corn into the boiling water. Then, using a paring knife, gently cut the kernels of corn from the cob. Be sure to scrap all that goodness from the cob – that's the real good stuff.
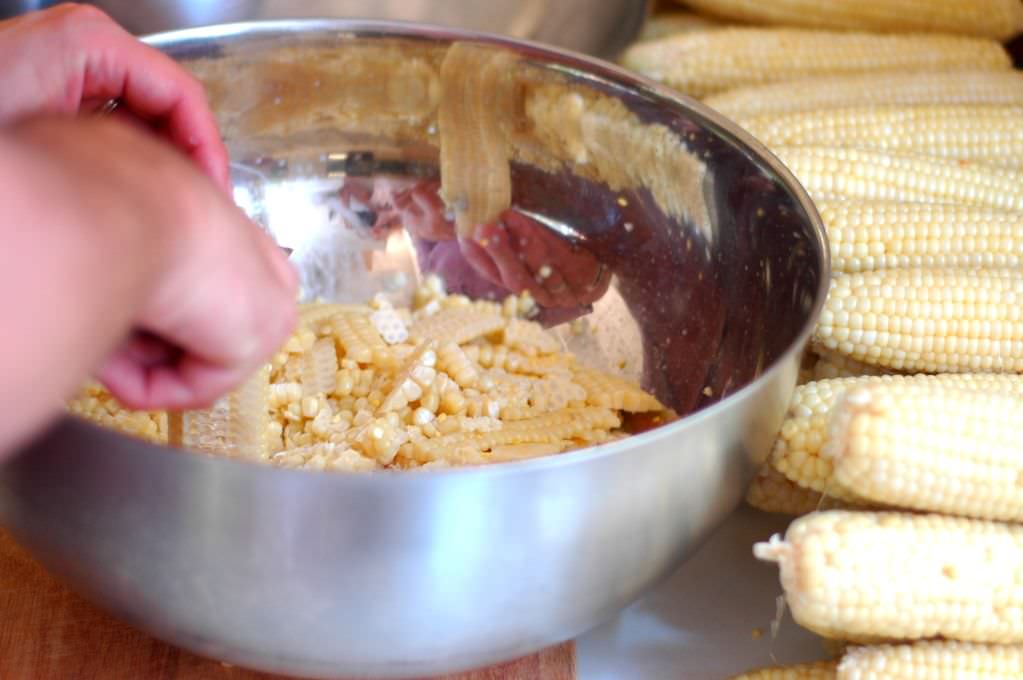
My method for scraping the corn involves a large bowl in which I stand the corn up and hold the cob with my left hand. I use my right hand, with the knife, to scrap down the sides of the cob. Because the corn is positioned in the bowl the whole time, it easily catches all the bits and pieces, which makes for a much cleaner process.
Step Four: After all the corn has been cut from the cob, I simply scooped it into small freezer plastic bags, which I then placed in large freeze plastic bags for extra frost protection. I like to portion the corn into smaller bags so that it's easy to remove the correct portion from the freezer. You see, it takes corn a long time to de-thaw and when it's all shoved into a large freezer bag, you have to do it all at the same time, and it takes forever, and then you're left with a gallon of defrosted corn at one time, and then you don't know what to do with it and it just sits in your fridge and stares at you as it slowly molds, and then you contemplate where you went wrong in life, and then you end up crying your eyes out curled in fetal position on the floor.
It's just better not to go there. Take it from me. I learned the hard way. Freeze in small portions.
It took us less than two hours to put up over five gallons of corn. I'm not sure how many pounds it equates out to be, but they were pretty dang heavy bags. It will definitely be enough to get us through the year until harvest next summer.
We've also put up our jam for the year, blueberries, and half a dozen jars of pickled banana peppers (my favorite!). I'm hoping to visit the market again on Thursday to pick up a fair amount of green beans for freezing – because I love to have them handy for soup in the cold season.
I also love to pickle them and am hoping to do a dozen or so jars. Girlfriend looooves pickles. Especially during this pregnancy. I'm really enjoying all things tart and tangy: pickles, olives, homemade lemonade, sour fruit candy (I know, I know), and melon.
Did I mention the melon?!
It's tricky this time of year, budgeting for bulk purchases and stocking up while not blowing the food budget completely. Shop for the deals, shop for whats in season, and buy in bulk – it'll save you in the long run!
Frozen Corn

- corn
Shuck the corn from the husk and remove all the silk. Meanwhile, put a large pot of water on the stove and bring to a boil.
After the husks are removed and the water is boiling, drop as many ears of corn as will fit into the pot, cover, and boil for 3-5 minutes to quickly blanch them.
After the corn has blanched, remove it to a large bowl. Allow it to cool while you put the next batch of corn into the boiling water. Then, using a paring knife, gently cut the kernels of corn from the cob. Be sure to scrap all that goodness from the cob – that's the real good stuff.
After all the corn has been cut from the cob, I simply scooped it into small freezer plastic bags, which I then placed in large freeze plastic bags for extra frost protection. I like to portion the corn into smaller bags so that it's easy to remove the correct portion from the freezer. You see, it takes corn a long time to de-thaw and when it's all shoved into a large freezer bag, you have to do it all at the same time, and it takes forever, and then you're left with a gallon of defrosted corn at one time, and then you don't know what to do with it and it just sits in your fridge and stares at you as it slowly molds, and then you contemplate where you went wrong in life, and then you end up crying your eyes out curled in fetal position on the floor.

If you are in a pinch (and like your corn on the ear), you can skip removing it from the cob and instead, wrap each ear in heavy foil. Pack the individual ears in gallon freezer bags. You can pop these fully frozen into a crock-pot set on low and let them cook all day. The moisture inside the foil packet steams them to perfection AND the crock-pot won’t even need to be washed! We do all our corn this way! Many blessings!
You mentioned pickled banana peppers…I planted some for the first time this year and have quite a few that I don’t know what to do with. Would you mind sharing your recipe if/when you have the time? Thanks a bunch!
Amanda, the pickling of banana peppers is very easy. I simply add a teaspoon of pickling salt, a clove of garlic, a pinch of red pepper flakes, and a few peppercorns to each pint jar. Stuff ’em full of sliced peppers and top it off with a half-vinegar half-water brine. Process for 8 minutes in a water-bath canner. Hope this helps!
Thank you!! I just canned 24 pints of salsa this weekend. Your blog is inspiring!!
I think you got a good deal on your corn. I was just sitting here thinking about this heat wave heading across the country/ USA and …how this corn of yours was a good investment for the coming months. I wish I’d planted more and am going to try to plant corn for the fall. Don’t know much about it. But will try anyway.
I would love to learn to can corn… I think it need pressure cooked. Only saying that, it is so easy to freeze…but say the power was out for 5 or more days… there goes your investment.
I liked you post, it got the wheels turning in my head…and thinking about some important issues.
I want corn!
Pat
We freeze ours flat in a large bag and then break off a “hunk” whenever we need it. Saves on freezer space that way, also!
We take a square piece of wood with a nail through the middle (nail pointing up). You put your ear of corn on the nail so it’s standing up and then you can just cut the corn off without the ear sliding around.