We live in a wasteful culture. And if you disagree with me, I challenge you to visit the dumpster of your local grocery store or stare closer at the garbage bins set out for trash day.
It's incredible!
Instead of repurposing, recycling, or reusing, we just…well…waste it.
I thought of this wasteful mentality often while re-reading the Little House on the Prairie books. And how they were so grateful for every little bit they had.
The point of this post is certainly not to make you feel guilty for wastin, but rather to teach us how to utilize that which would normally be wasted.
Seriously. The entire concept of this still blows my mind.
As many of you know, we are WAPF'ers – that is, we follow the food principles set forth by the Weston A. Price Foundation and made super public and accessible by Nourishing Traditions (a cookbook based off of Dr. Price's research). Part of these principles include utilizing traditional fats.
No modern hydrogenated oils around here folks – we save those for other purposes.
In our home, we utilize olive oil, butter from grass-fed cows, coconut oil, and tallow (or lard). All traditional. All healthy. All serving different purposes.
The olive oil is primarily eaten raw, such as in homemade salad dressings or such.
Butter is used for everything.
As is coconut oil. I mean literally. Almost everything – like this, this, or this.
Tallow we use primarily for frying or sauteing foods. We don't eat a ton of fried foods, but when I feel like whippin' up some homemade french fries, chicken strips, or zucchini fritters, I'm happy to have it around. It's also a great base for lip balms or face creams, but we ain't goin' there today.
Today, we're gunna render our own. With fat that would have otherwise been thrown away!
Now that's pretty frickin' awesome.
Home Rendering Tallow
You will need:
– Fat (from grass-fed cattle, ideally) – however much you'd like to use! For this batch, I used about four pounds.
– Dutch oven or crockpot
– Knife
– Metal strainer or cheese cloth
– Mason jar
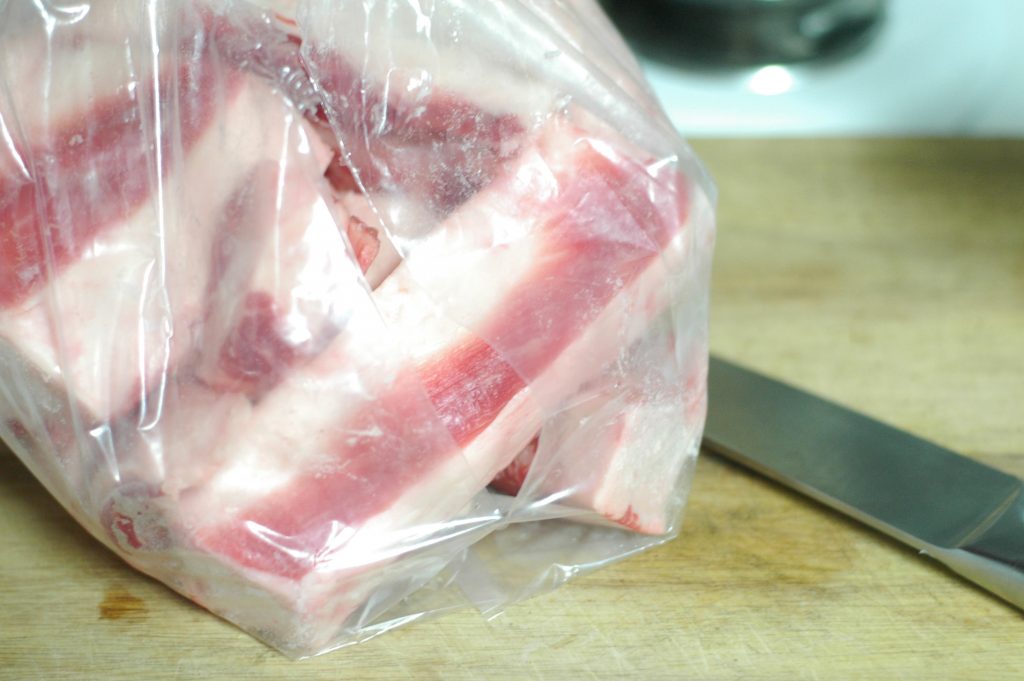
Let's talk about this fat here for just a moment. You may be asking yourself, “Self! Where does one find pounds of fat!” to which self replies, “Ah yes! Your local butcher!” I only had to place one phone call to find some from a local meat shop. Even though they don't slaughter the animals there, they do cut the meat according to customers requests and are often left with fat trimmings, which are then thrown away. THROWN AWAY! THAT KILLS ME! Our butcher was willing to hold the fat scraps for me and I went to pick them up the next day, free of charge. He was happy they found a home. What I'm saying is simply this – ask around. Call around. Even try local ranchers to find out where they get their cattle processed!
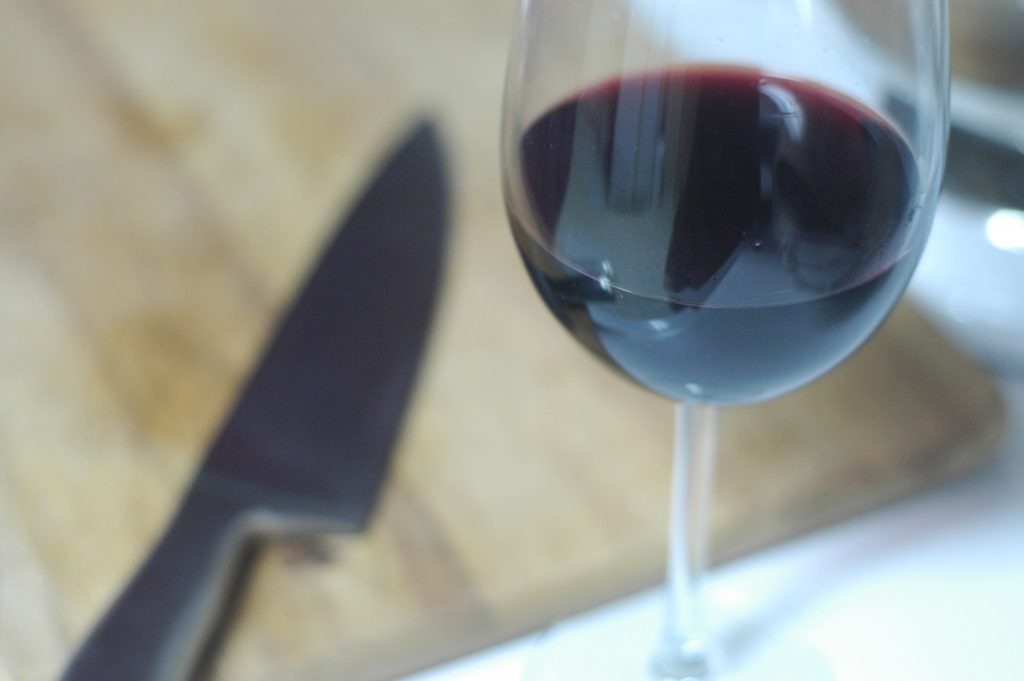
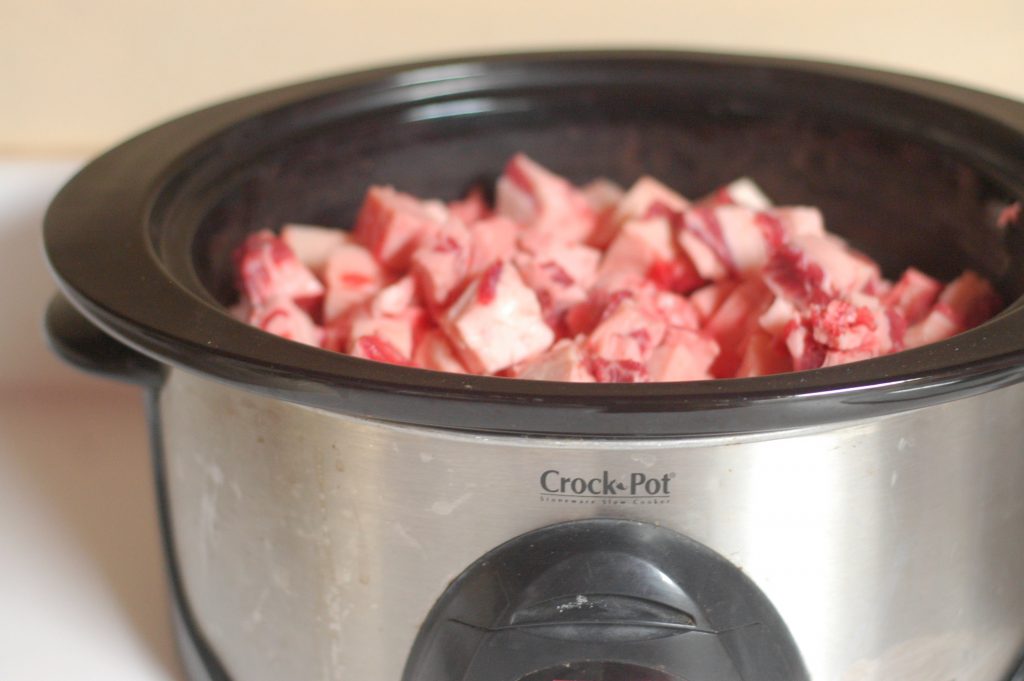
Step One: Freeze the fat for a few minutes so it's easier to cut through. Get the crockpot (or dutch oven) heating up on low. Then, pour yourself a glass of two-buck-Chuck, because we all know sharp knives and wine work well together.
Step Two: Cut the fat into 1/2″ chunks. Alternately, you could grind the fat in your food processor. This will help it to melt (or render) more quickly. I was in no hurry this time, so I simply cut it into chunks and threw it in the crockpot.

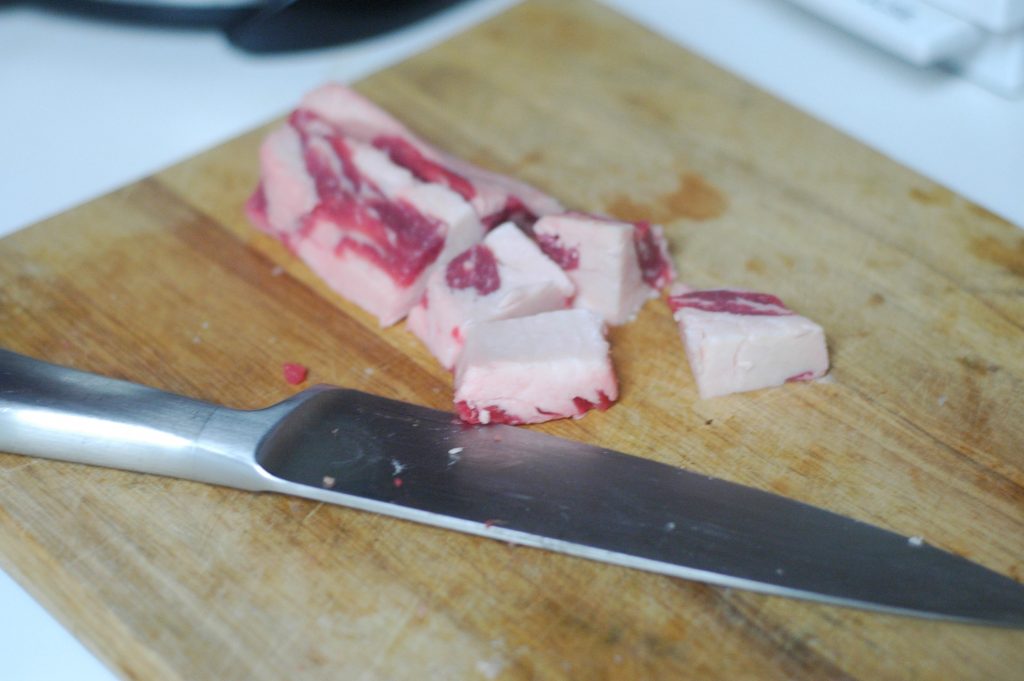
Here's another tip: If you'd like the tallow to be less “meaty” tasting at the end of this all (such as for cosmetic purposes), be sure to trim off any extra bits of meat that are left on the fat. I primarily use my tallow for cooking, so I don't mind it having a slightly (though far from overwhelming) beefy flavor.
Step Three: Cover the tallow and allow it to heat up to a simmer. Stir whenever you pass by to ensure the fat doesn't burn. Basically, it'll melt.
It's really not a very complicated process.
Just keep the heat low and steady. Don't burn it. Don't rush it. Just let it be.

Step Four: Once the bits of meat and fat left in there have become “crispy” (like the texture of well-cooked bacon), the tallow has finished rendering. Use a slotted spoon to remove the large chunks left (I gave my “cracklings” to Toby, our dog!).
Step Five: Pour the rest of the hot fat (BE CAREFUL!!!!) through a small, mesh strainer or throw a colander lined with cheese-cloth.
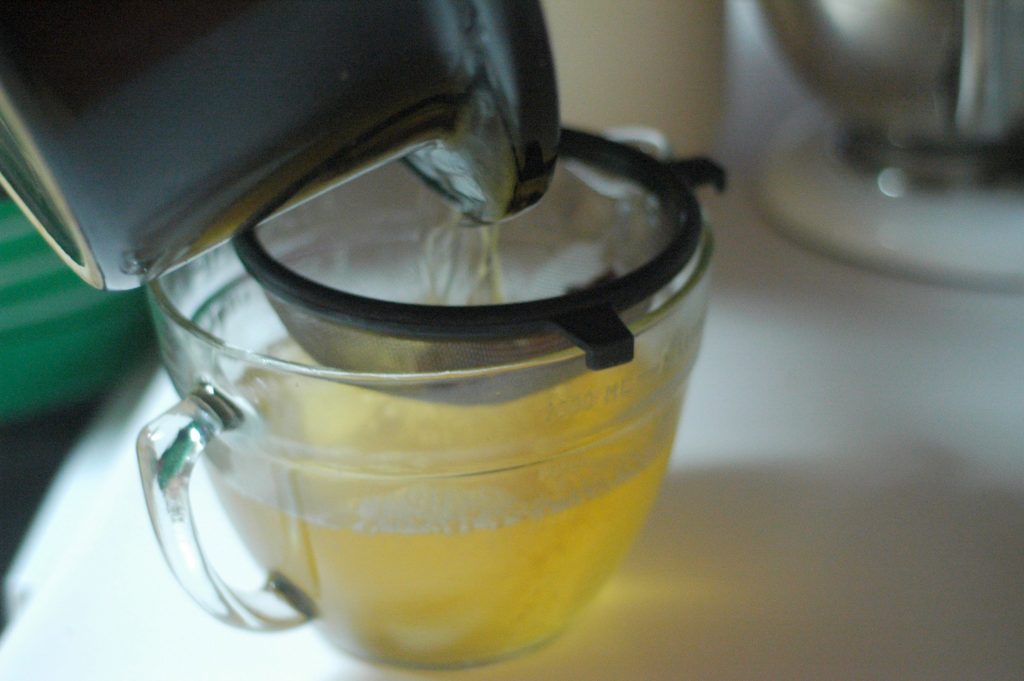
Don't want no chunks in our tallow, man.
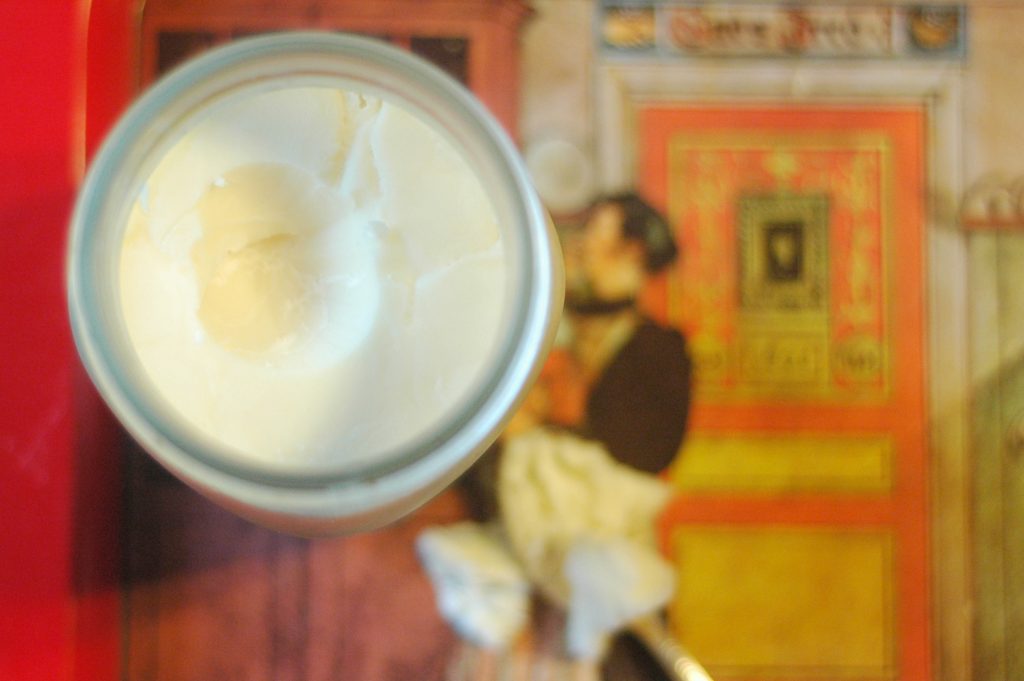
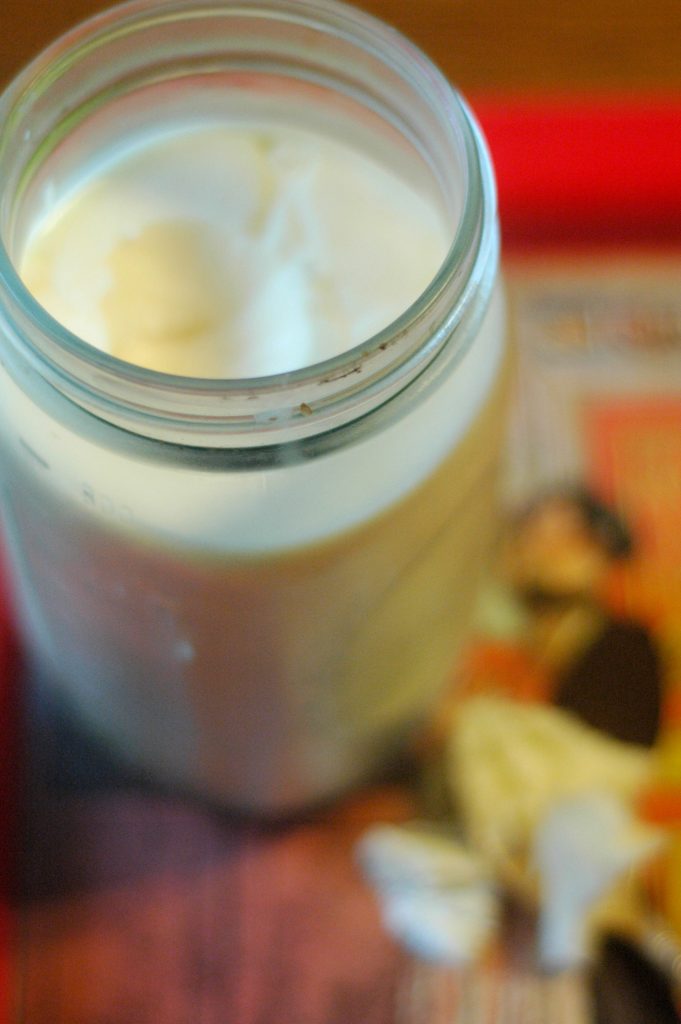
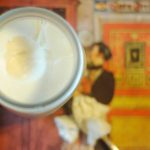
Step Five: Store in mason jars and allow the tallow to cool to room temperature. Store in the fridge and spoon it out, as needed.
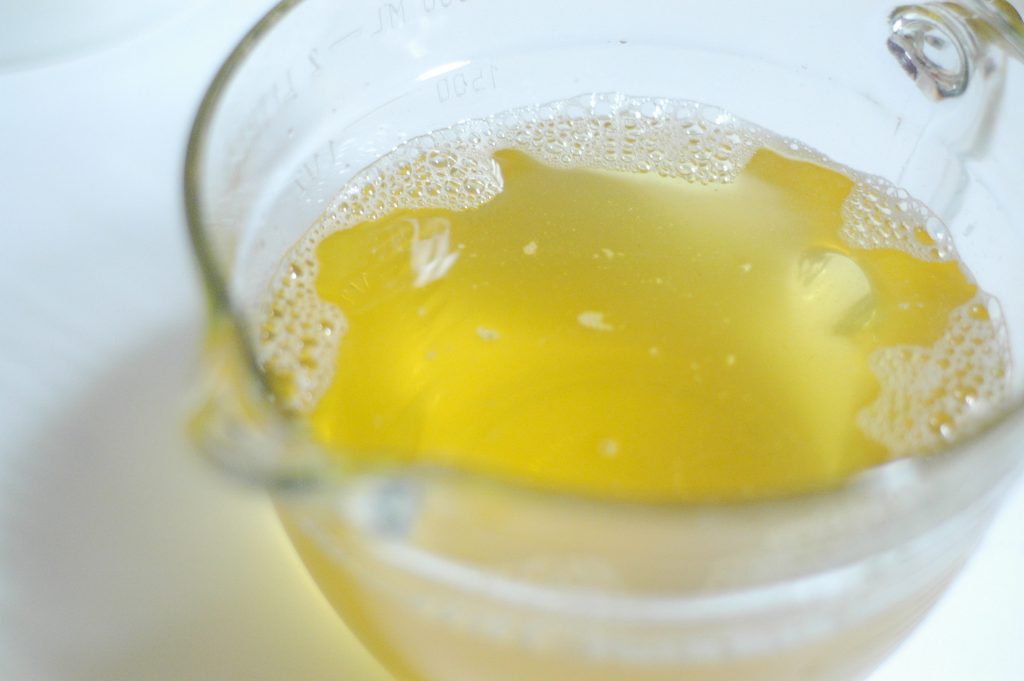
See?
Beautiful, silky, delicious, traditional, rich tallow. For free.
One of my favorite parts about tallow is that unlike coconut oil and olive oil, it is a fat that is possible to prepare in my little corner of the world. I know I won't be harvesting coconuts or olives anytime soon, but raising cattle and harvesting fat from them is surely do-able in our neck-of-the-woods.
It's all a piece of this beautiful homesteading movement – a movement that seeks to be responsible, frugal, and sustainable. Waste not, want not, they say!
So instead of letting the fat go to waste, we utilize it.
That's the heart of homesteading!
Home Rendering Tallow
- Fat (from grass-fed cattle, ideally) – however much you'd like to use! For this batch, I used about four pounds.
- Dutch oven or crockpot
- Knife
- Metal strainer or cheese cloth
- Mason jar
Freeze the fat for a few minutes so it's easier to cut through. Get the crockpot (or dutch oven) heating up on low. Then, pour yourself a glass of two-buck-Chuck, because we all know sharp knives and wine work well together.
Cut the fat into 1/2″ chunks. Alternately, you could grind the fat in your food processor. This will help it to melt (or render) more quickly. I was in no hurry this time, so I simply cut it into chunks and threw it in the crockpot.
Cover the tallow and allow it to heat up to a simmer. Stir whenever you pass by to ensure the fat doesn't burn. Basically, it'll melt.
Once the bits of meat and fat left in there have become “crispy” (like the texture of well-cooked bacon), the tallow has finished rendering. Use a slotted spoon to remove the large chunks left (I gave my “cracklings” to Toby, our dog!).
Pour the rest of the hot fat (BE CAREFUL!!!!) through a small, mesh strainer or throw a colander lined with cheese-cloth.
Store in mason jars and allow the tallow to cool to room temperature. Store in the fridge and spoon it out, as needed.


When we butchered an old milking cow we saved the day and rendered it it to the most beautiful yellow tallow as she was a jersey. Was hard to kill her but was well worth the braisin meat and fat we got off of her!
I meant fat! Not day. Dang autocorrect
I have not thought of asking a local butcher for the fat! We have a very small grocer around the corner that does their own meat cuts….I will be contacting them tomorrow!
I can learn so much from you…… You are a true homesteader
There is an Amish quite we live by, “Use it up, wear it out, make do, or do without”. That is the family motto! I love everything about your blog! Thank you for sharing so much, I always learn something new and valuable here.
Perfect timing! we get our pig back from the butchers today with the lard she saved for us. Thanks!
I did this last year and am needing to do it again – thanks for the reminder.
I made tallow yesterday for a tallow balm for my extremely dry skin. I didn’t wait until the meaty parts were crispy. Did I not wait long enough, or is that important? I just waited until it was all liquid, and then strained it…probably only 1 1/2 hours or so. The tallow came out a little dry and slightly gritty, think I may not have added enough olive oil? Do you think I can reheat it and add it in now?
Yes, you sure can! Once you reheat it’ll go right back to liquid. If you melted the tallow, I’m sure it’s fine – even if the bits didn’t get crispy 🙂
I would love to make this! So much better than the cooking spray that I’m currently using. How long does homemade tallow typically keep in the refrigerator? Thanks so much for your blog- I’m learning a lot!
I’m sure you were aware of this, which is why you added the “grass fed” bit, but it’s important to note (and for people to know) that fat is where the body stores all of its excess toxins and drugs. If an animal is being given any kind of hormone treatment, one of the FIRST places that hormone goes is to the fat–it’s a process called sequestering, and it’s useful for the animal because hormone treatments are often given in overdose, so there’s a lot of that going into the fat where it won’t harm the animal. This means that even more than with other things, you MUST be careful of where you are getting your fat! If you are getting fat from hormone/antibiotic treated animals, you are ingesting a very concentrated amount of chemicals in that fat. Just be careful! 🙂
I made beef bone broth for the first time the other day–is the fat that solidified on the top the same as tallow? If not, can it be used? Thanks! Just found your blog and really enjoying it!
Yes! Simmer the impurities off of it before using it, though. A small saucepan, heat, and a bit of time will do it.
Can I use pork fat instead of beef fat? I want to make a tallow and add olive oil to use this for treating my sons eczema..
Yes, but then it’s considered ‘lard’ – YUM!
Hello, I wonder if your tallow smells beefy too.. If so.. how to cover it without essential oils? Please help.. Need it for creams.. Thank you
i thought it was the kidney fat for vitimins etc, does the body fat you used have the same vitimin content? the fat i got was from teh kidneys and a huge chunk of lumpy gloops it was too!