It's currently 189 degrees. Or something like that. Which makes me thankful that we worked on planting our potager weeks back when the weather was less… boiling.
And even though it's not complete, it is growing!
Care to take a peek around with me?
The Potager Garden: Assessing The Progress
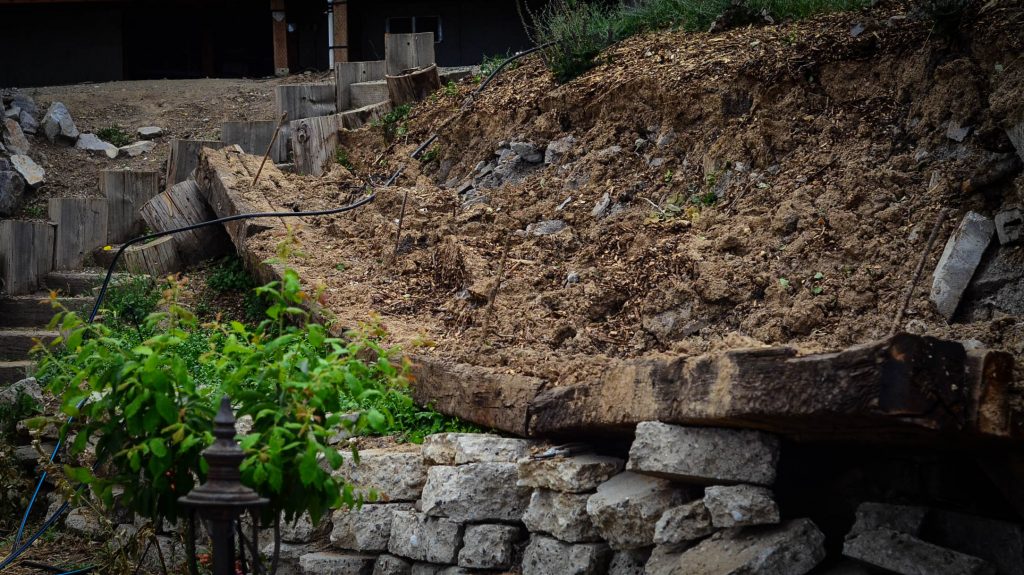
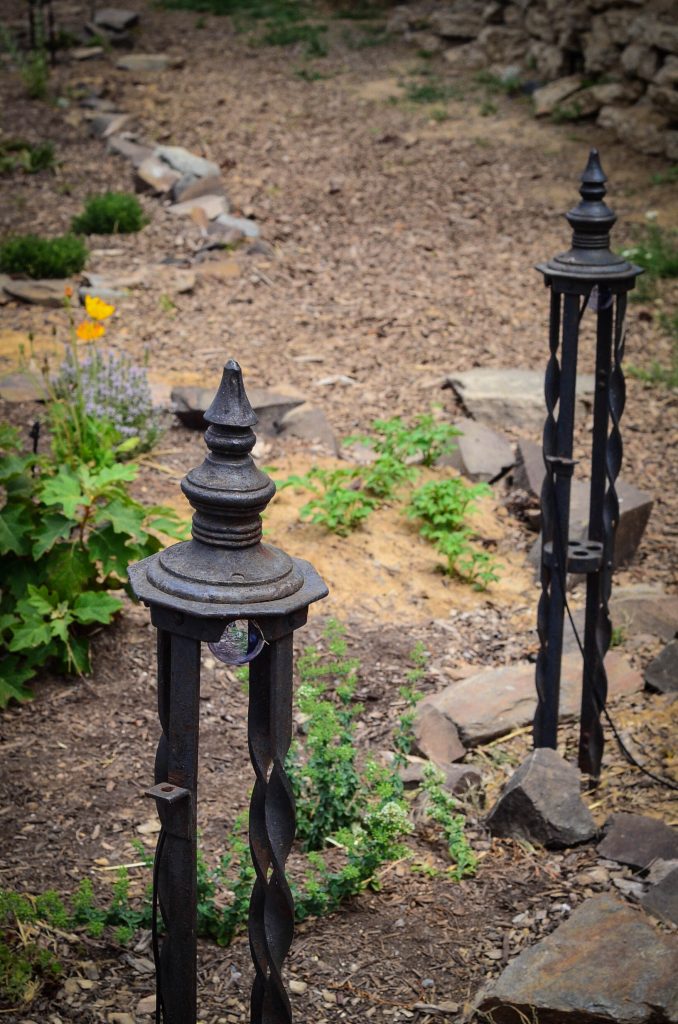
Full confession: I'm going to show you my retaining wall that fell. It's sad. It's horrific. I'm still mourning over it's loss. My brother in law is coming to help us fix it in a few weeks, but until then, I'm going to sit and weep and cry over the three berries plants and twelve lavender plants that died in it's tumble. For a brief fleeting moment it was irrigated, edged off with an antique iron fence, planted with flowers, and mulched to perfection.
Then, one day, it tipped over. The wall stayed together, just sideways.
Can we change the subject? It still hurts my heart to think about all those lavender plants stuck underneath it that I can't get to until we bring a backhoe up from the neighbors.
*Shaye hangs her head and weeps*
…on to happier sections of the potager…
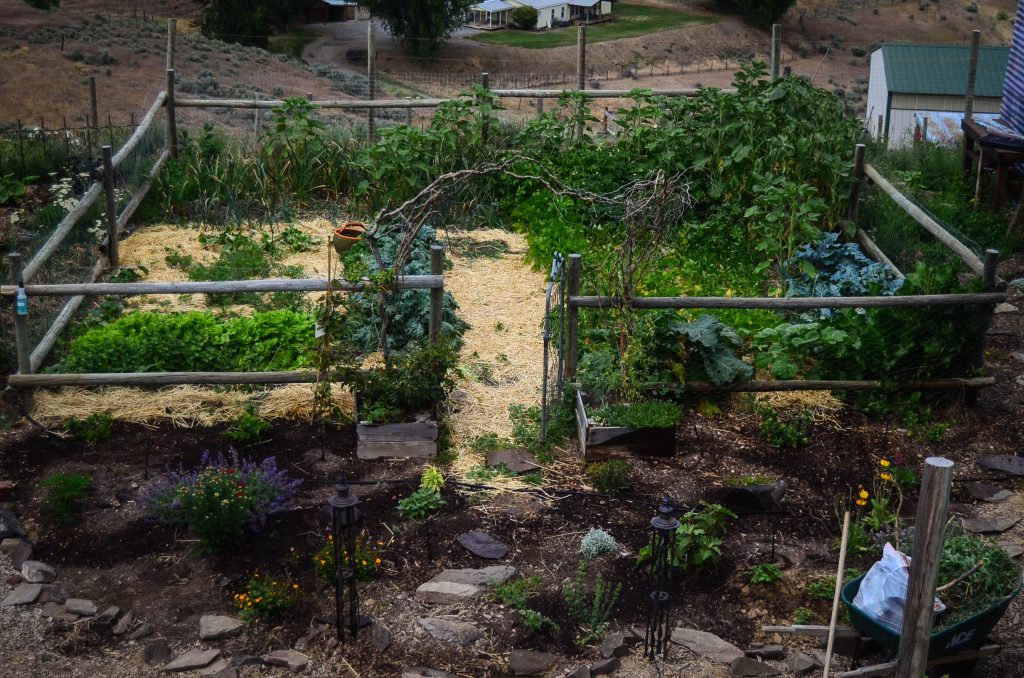
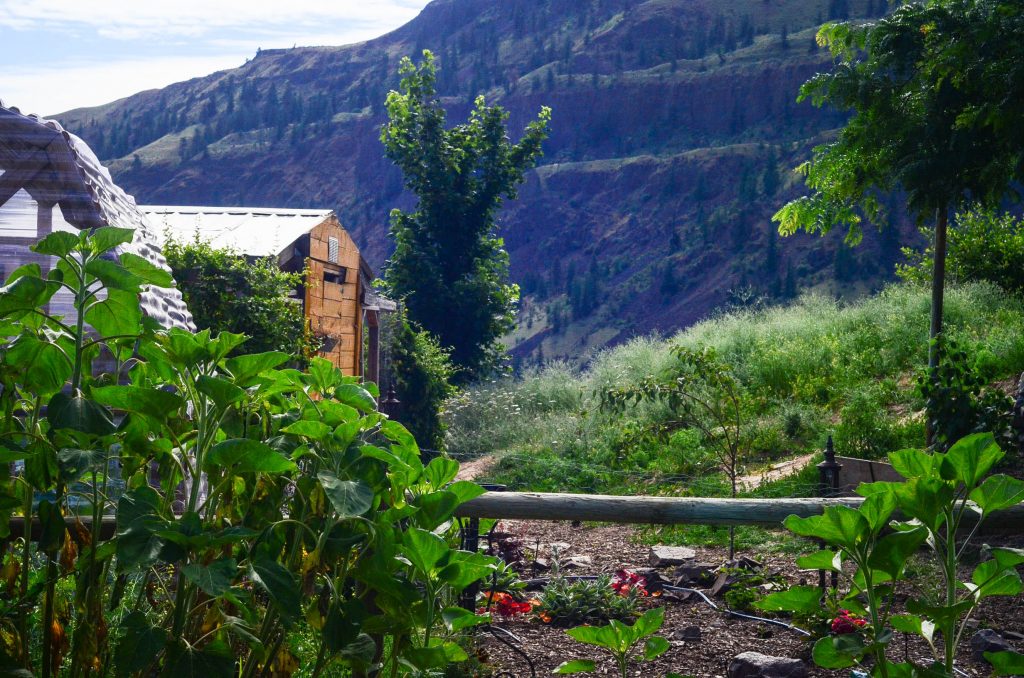
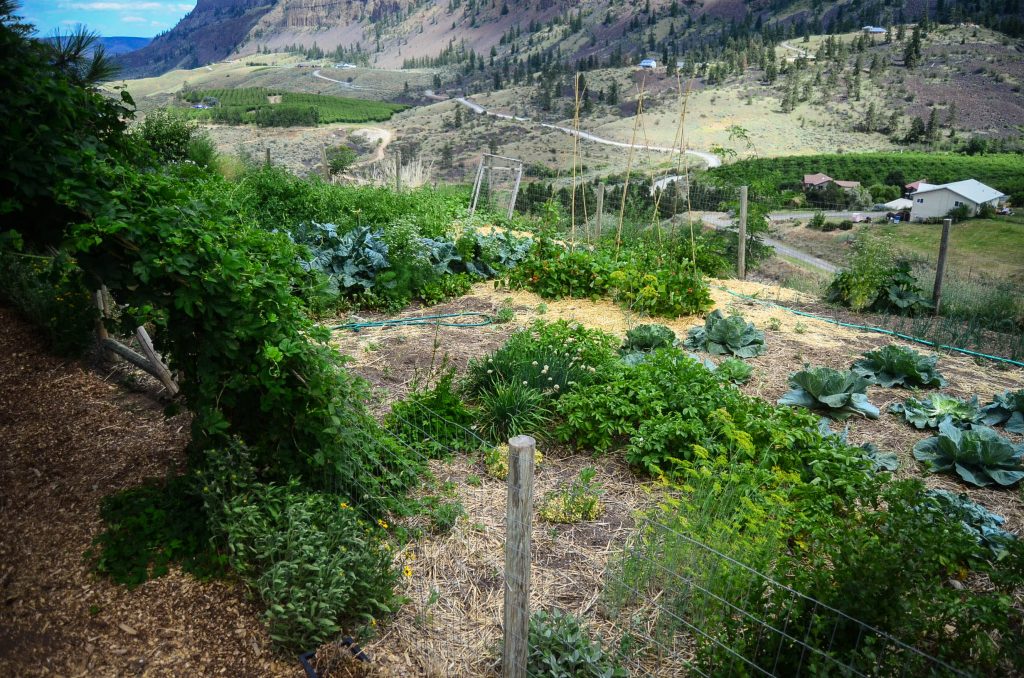
The lower kitchen garden is really filling in. In fact, a bit too much! The sunflowers were all volunteers from last year's sunflower crop. We allowed the chickens to come in a peck away at the soil last fall and in doing so, allowed them to spread the sunflower seeds all over the garden! I've pulled a few that were just too obscure, but for the most part I've just let them grow as they wish. A little free-style gardening, baby.
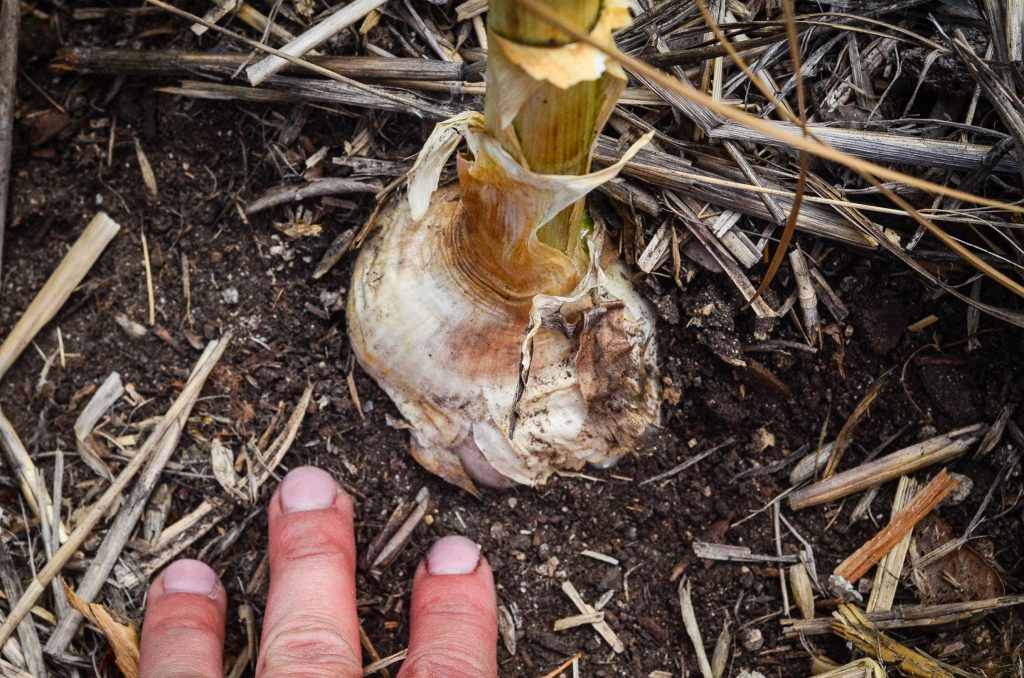
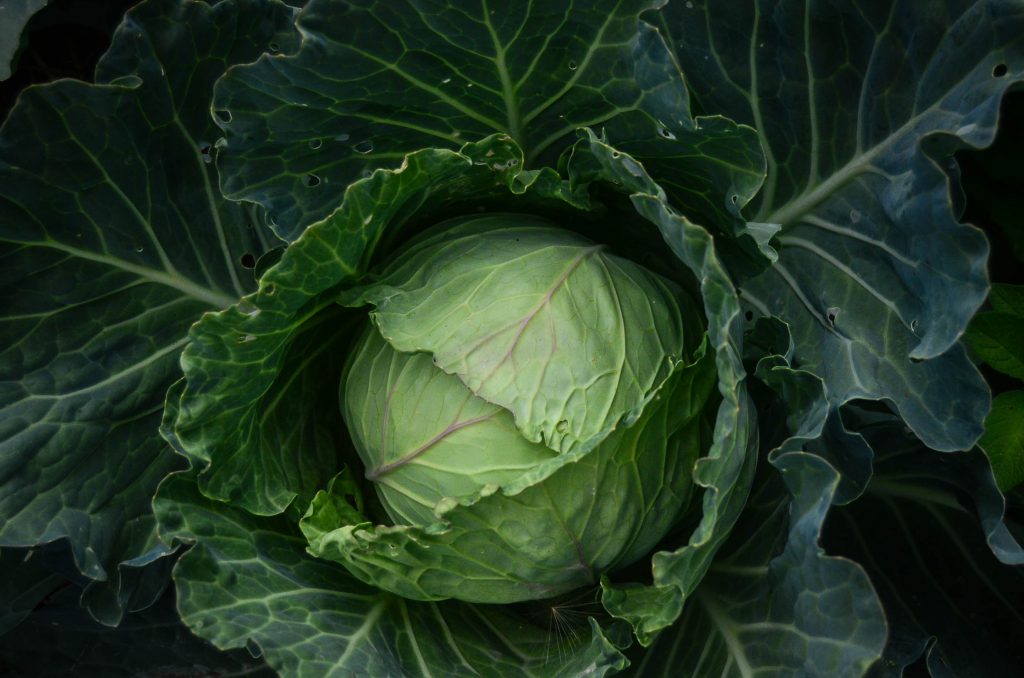
Potatoes need to be mounted with soil and the garlic is ready to be pulled and braided for winter storage. Perhaps a few purple cabbages will take their place?
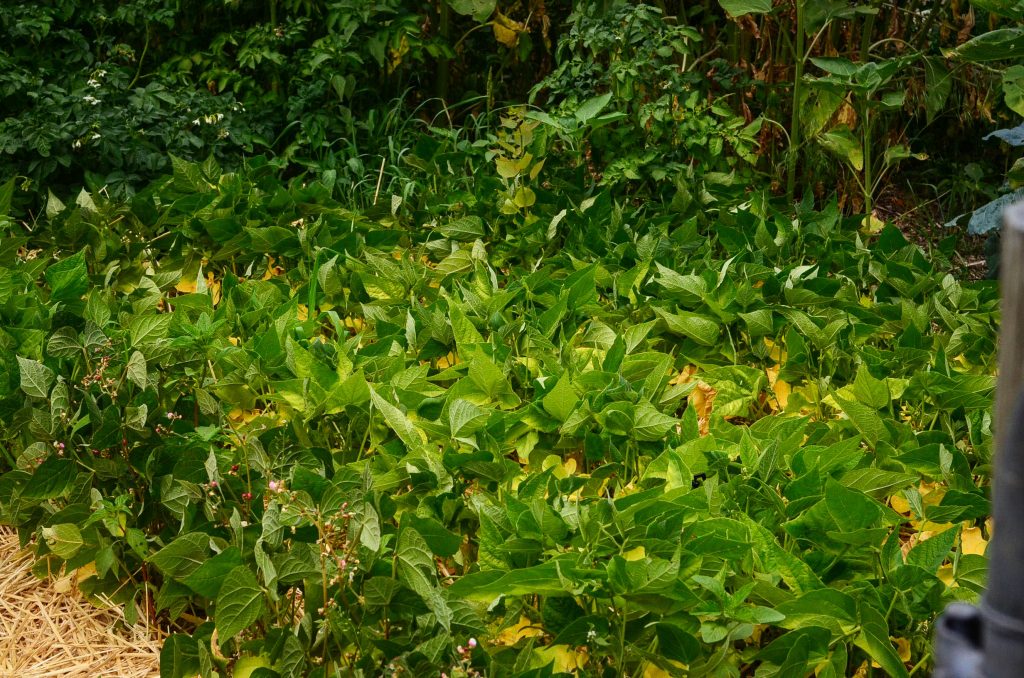
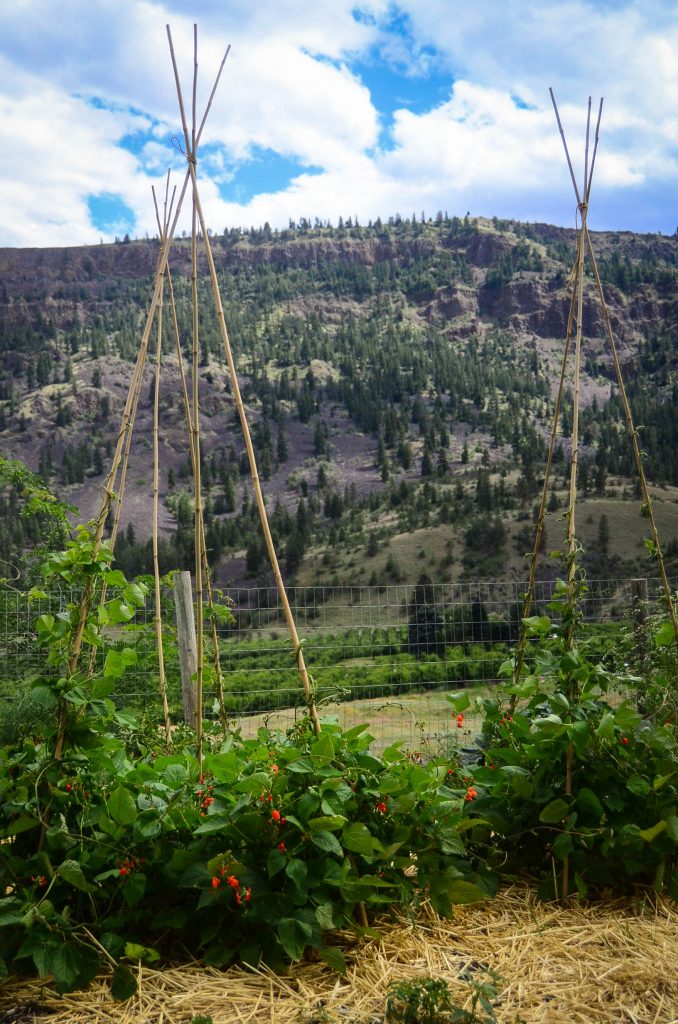
My Irish Annie beans are growing aggressively. I'm hoping for more than 25 dried beans this year. (There's many reasons I'm not vegetarian… the ineffectiveness of growing dried beans in the garden is one of those reasons).
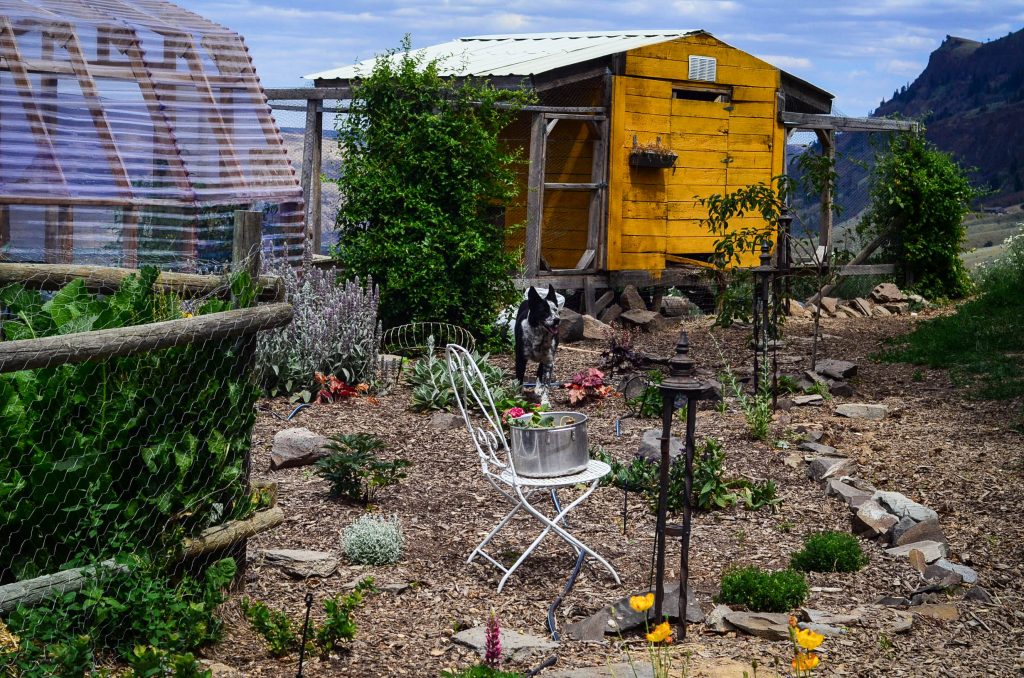
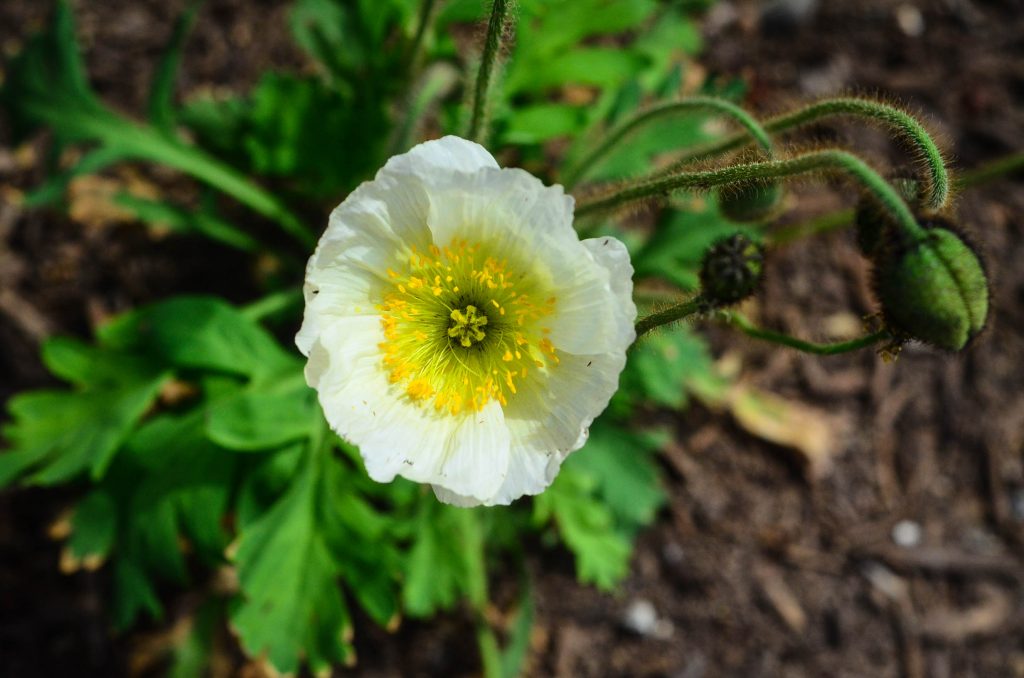
Hydrageas, peonies, russian sage, strawberries, blueberries, clematis, goji, oregano, succulents, poppies and a variety of flowers and shrubs have taken root and are slowly developing, much to my gardening delight:
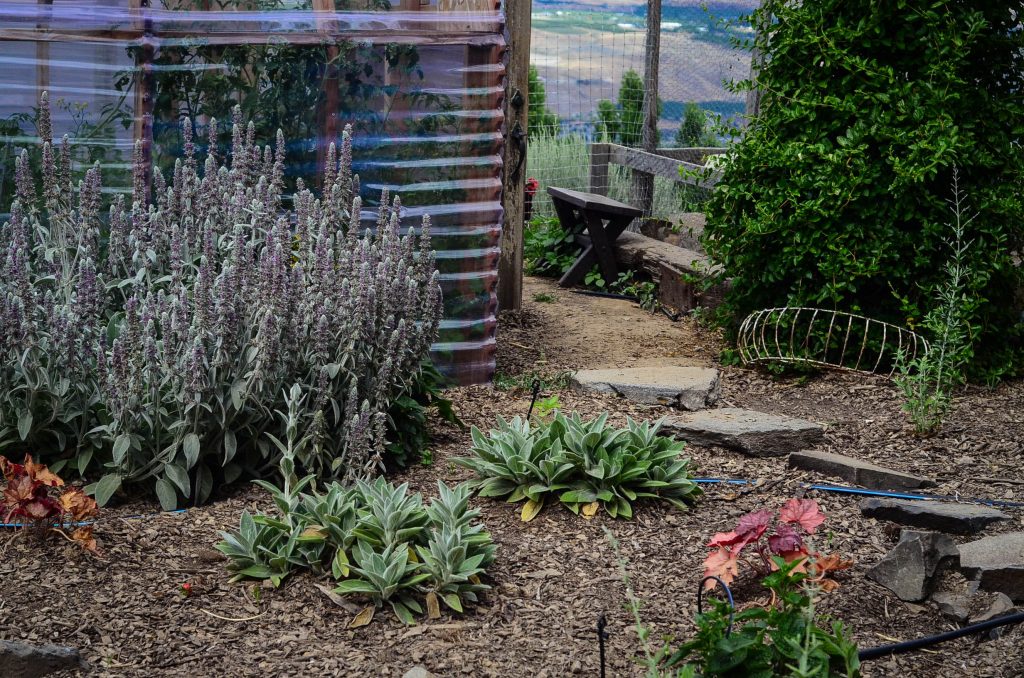
And the lamb's ear that was planted last year is really filling in! It's amazing what a year of growth will do!
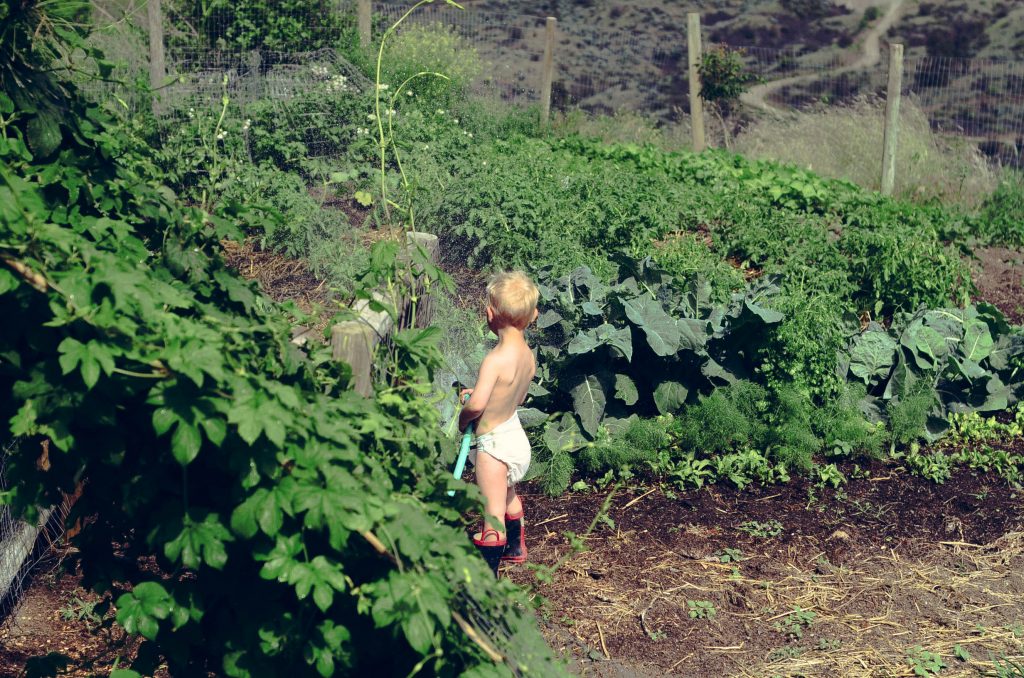
Up in the upper potager, the tomatoes are unruly as ever. As is my child.
Scarlet runner beans are beginning to ascend towards the heavens.
Yellow of Parma storage onions are finally starting to take off.
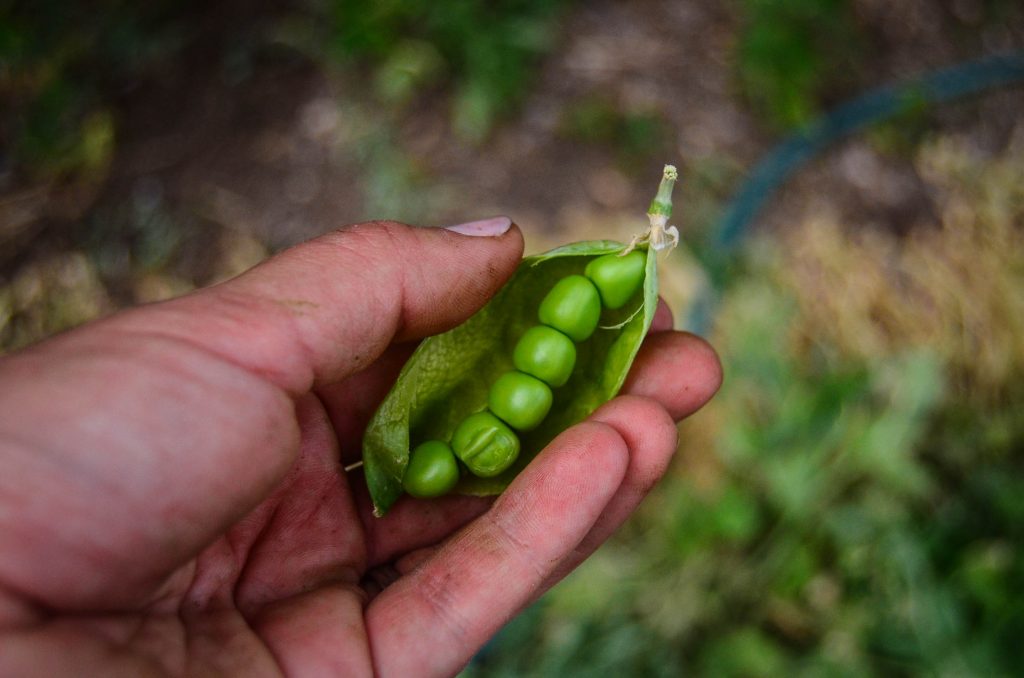
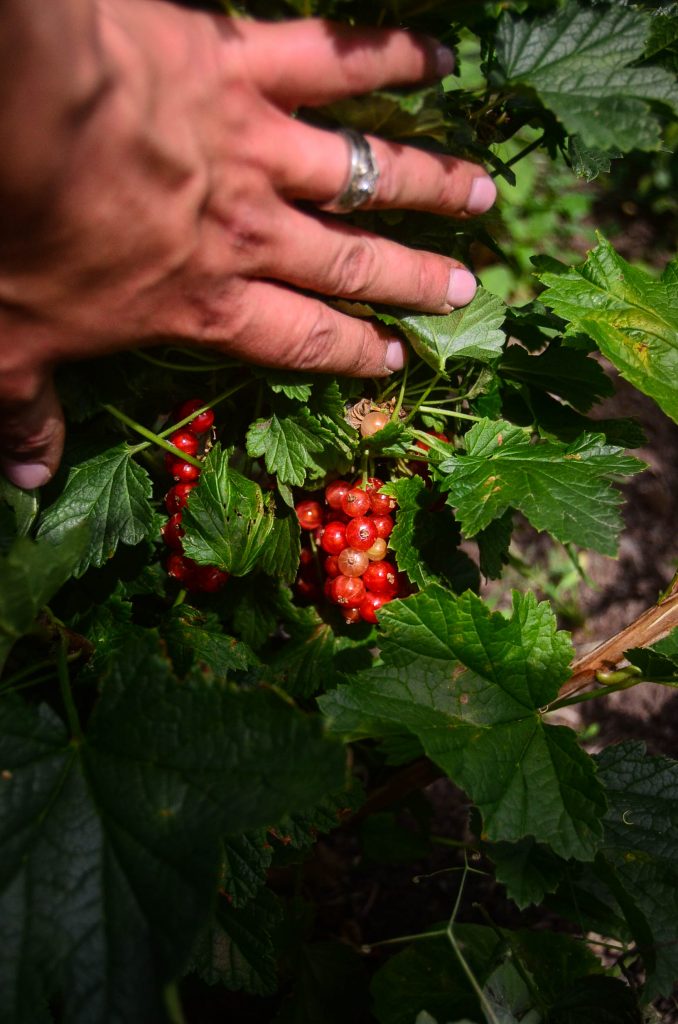
Currants and gooseberries are ready for harvest. As are the shelling peas.
Oh wouldn't ya guess? Potatoes up here need to be mounted with soil too! Hey Shaye, get off the stupid computer and get to work in the garden already! Can't you see it needs your love and tender affection constantly?
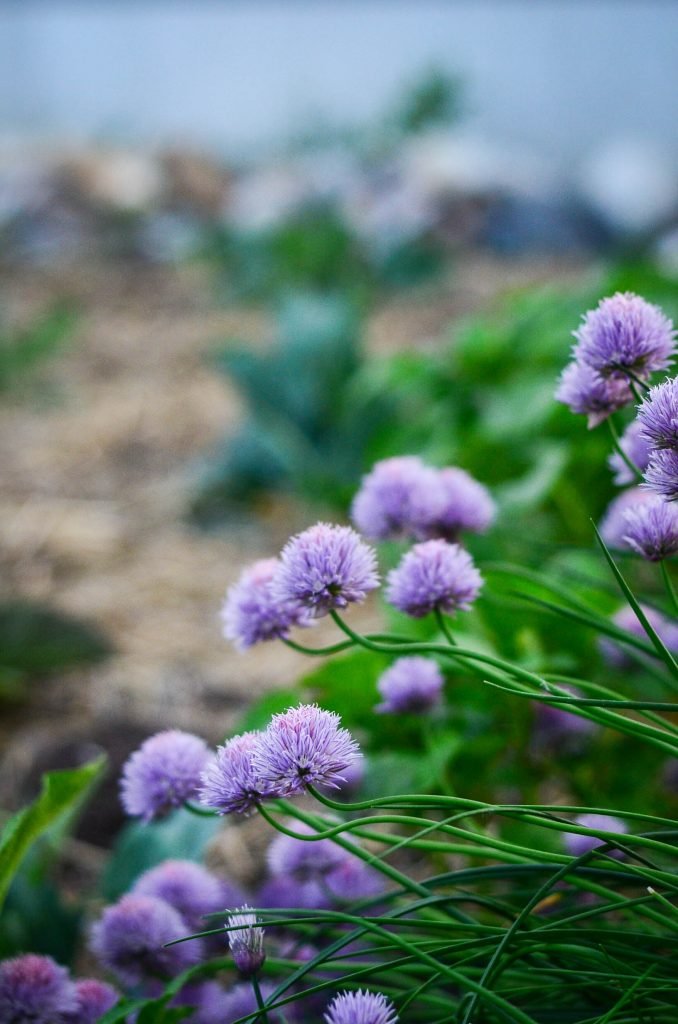
Herbs and greens are bountiful, as always. And even if the cabbage worms are getting to them, I don't mind so much. There are plenty to go around and my kids love picking the zillions of little green worms off the back of the leaves.
One of my most aesthetically pleasing pieces of the potager, my greenhouse, is like a jungle… beaming with unruly tomato plants and the most incredible peppers I've ever grown! Note to self: peppers + greenhouse = true love.
The next big project in the potager will be to fill the walkway with pea gravel. Not gravel. Pea gravel. Big, beautiful difference. It'll be about five pickup loads worth though, so we're waiting for a few cool days before we pick up those shovels. Because, as previously stated, it's currently boiling.
And speaking of projects, one of the extras that Stu took on was to wire lights into our antique iron fence posts. They give a wonderful structure and glow to the garden at dusk.
So much garden. So much weeding. So much pleasure!
Speaking of, I really better get out there and get to work! The babies are napping, the husband is preparing for his sermon on Sunday, and I can sneak away for a few minutes alone with worms, blossoms, and raspberries. I'll take that opportunity any day!
And Amen.






SHAYE! Is your beautiful cow okay? I keep checking your blog daily…. okay, maybe 2 or 3 times a day to see if you have a wee little one yet.
I’m living vicariously through your blog?
It’s beautiful! I love it, what an incredible work of art! Did you guys figure out what went wrong with the retaining wall?
Yes. We’re not wall builders. That’s what went wrong. 🙂
Your garden looks so great!!! I love all the gorgeous photos – looks like a magical place.
I would love to hear about the arch over the lower garden. so quaint & cute! did you make it?
It’s just willow branches from a friend’s garden, screwed into the posts and tied together to create an arch.
Your garden looks great – practical and pretty – but I’m hung up on the amazing landscape that I see behind the cabbage and sunflowers! What a beautiful location.
I just laughed out loud, at work, at your bean comment. So true.
Your garden is gorgeous! Makes me just a tad bit jealous. Mine is just starting to get going. Definitely a work in progress as we just moved to our first home on 3/4 of an acre at the end of April. It’s boiling here in Idaho too!
Your scenery is beautiful. I am jealous. You are doing a great job. Have you considered a mix of Dawn dish washing liquid for them worms?
I’m using Neem oil right now, 2x a day.
What a wonderful place to work and Praise the Lord at the same time, how I miss those days.
The old retaining wall needed to go. Those old rail road ties are laced with creosote and you don’t want that near an edible. You can always start more lavender from cuttings and seed and it’s a good time to start more herbs! Looking good!
What a beautiful place!! — it helps that I finally gave into using reading glasses and I can see your pictures clearly!! Hahaha!?. I love your beautiful garden and views! Thanks for sharing! :). Blessings on your precious family!!
I don’t know why you aren’t thrilles with your previous yield of your Irish Annie beans. You got 22 more beans then we did on our bean crop a few years ago. lol.
You have such a beautiful view! Are you on the top of a hill, or the side of one? I would love to be able to visit your farm. I really enjoy your atricles! I live in farming country in Lancaster County Pennsylvania and we do not have any hills like yours! You have mountains compaired to ours! LOL It is beautiful here too and I truly should have been a farmers wife. I am too old to do any gardening anymore, so I live the dream through your blogs. Thank you SO MUCH for sharing your life with this old woman.
I’m so sorry about the wall! Before I started farming, I worked for a landscaper in Wheeling, WV and we built a lot of walls. If you don’t mind I’ll share a little of what I learned.
Whether you use block or beams for the wall always bury at least half of your bottom row. Since the picture shows railroad ties I’ll assume you’ll reuse those. For beams a packed clay base will suffice, gravel will work as well but clay is free (if that’s your sub soil type in WA). We would always run a 16″-24″ piece of 1/2″ rebar through the timbers straight down into the soil through drilled holes. I don’t remember how many courses high we would do that but it was at least two. We would always tie the courses together on the backside by toenailing massive pole barn nails down into the course below. As with all walls, use a staggered joint construction. If the wall is over 3 or 4 feet high it was recommended to put in deadheads. A deadhead is simply a 3 or 4 foot piece of your wall’s timber material turned perpendicular to your wall, nailed in, and buried into the ground behind to provide an anchor. They’re a pain to put in because they require digging out and then repacking in around to provide the anchoring effect. They would be staggered out along the wall and on different courses, depending on the length. It’s hard to say how many you’ll need without knowing dimensions of your wall. And most importantly, you need drainage! Especially if you have clay soil. It’s not the weight of the soil or stone behind that causes problems, it’s the weight of the water, and clay magnifies that problem. The higher the wall the more stone backfill is required. If possible, always put a French drain behind your bottom course. Then fill up the rest with some 57 stone, it’s about thumb sized or so. We used either river gravel or good quality limestone that wouldn’t go mushy. We also lined the soil with landscape fabric so it wouldn’t filter into the stone and plug it up over time. For a 3-4′ wall I believe a 6-12″ thick drainage gap going up the height of the wall would work.
Hope this helps!
Thank you for this, Kevin! Very helpful.
Shaye,
I was just wondering If could tell us what and all you have in your garden. Also where do you get your seeds or plants from? what do you do with lambs ear?
Thanks