My sister and I decided that we would make the Thanksgiving pies this year.
We wanted to better ourselves.
We wanted to learn how to do things that all people used to know how to do.
We wanted to banish the convenience of store-bought crust and have the satisfaction of making something from scratch. With sweat and tears. Like the good old days.
Making pies is a talent we need to master.
We must make pies.
It is our destiny.
Pie Crust
- 2 1/2 cups flour (I used whole wheat pastry flour)
- 1 tablespoon sugar
- 1 teaspoon salt
- 2 sticks unsalted butter, very cold (I use organic because that's how I roll)
Step One: Take roughly one cup of water and add a few ice cubes, set aside.
Step Two: Mix flour, sugar, and salt together.
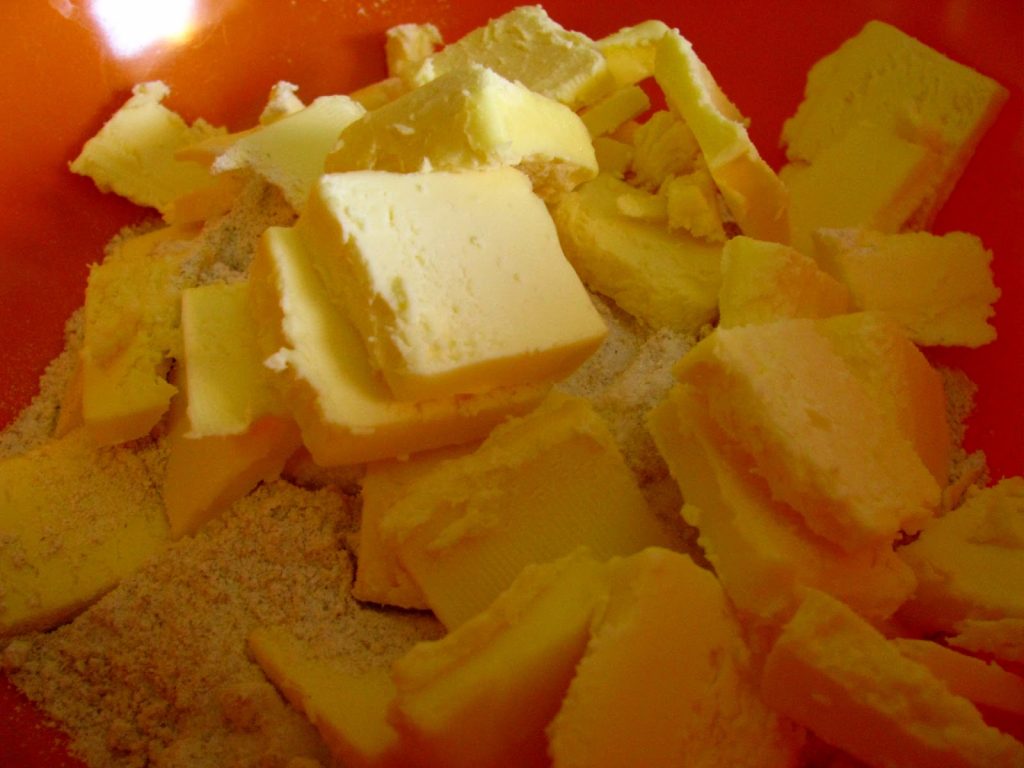
Step Three: Slice the butter into 1/2 inch slices and then add to the flour.
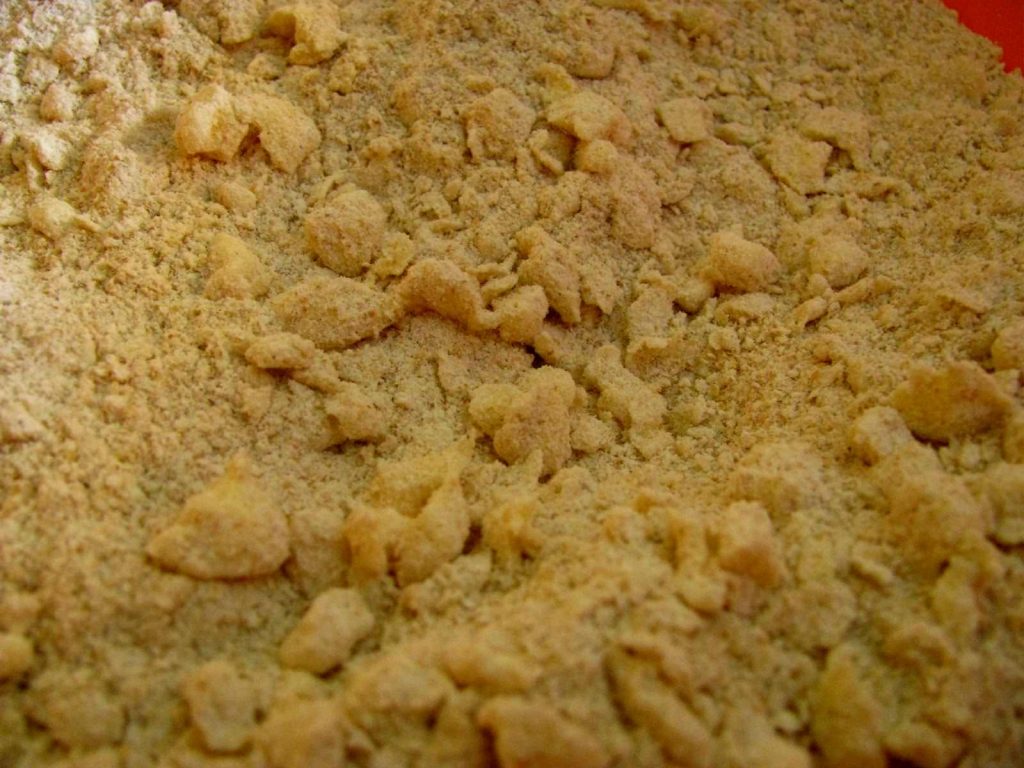
Step Four: Use your pastry blender to slowly work the butter into the flour mixture. Continue mixing until the butter is all roughly to the size of beans. Tip: Don't over mix!
Step Five: Drizzle 1/2 cup of ice water into the flour mixture. Roughly work the water into the flour mixture. I used about another 1/4 of a cup of the ice water to completely combine the dough. Then, using my hands, I gathered all the dough together, gently kneading until it was all combined to a nice big glob of dough.
Step Six: Divide the dough in half, roughly shape like a disk, and wrap in plastic (I used a towel). Chill for one to two hours in the refrigerator.
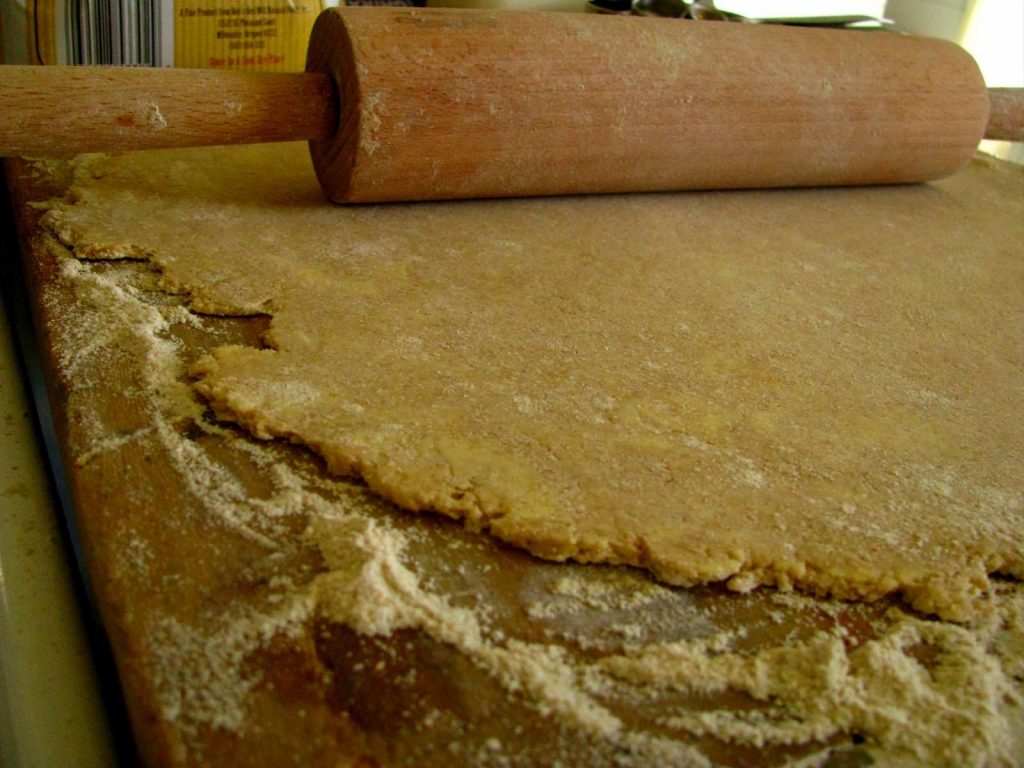
Step Seven: Roll the dough on a lightly floured surface into roughly an eleven inch round.
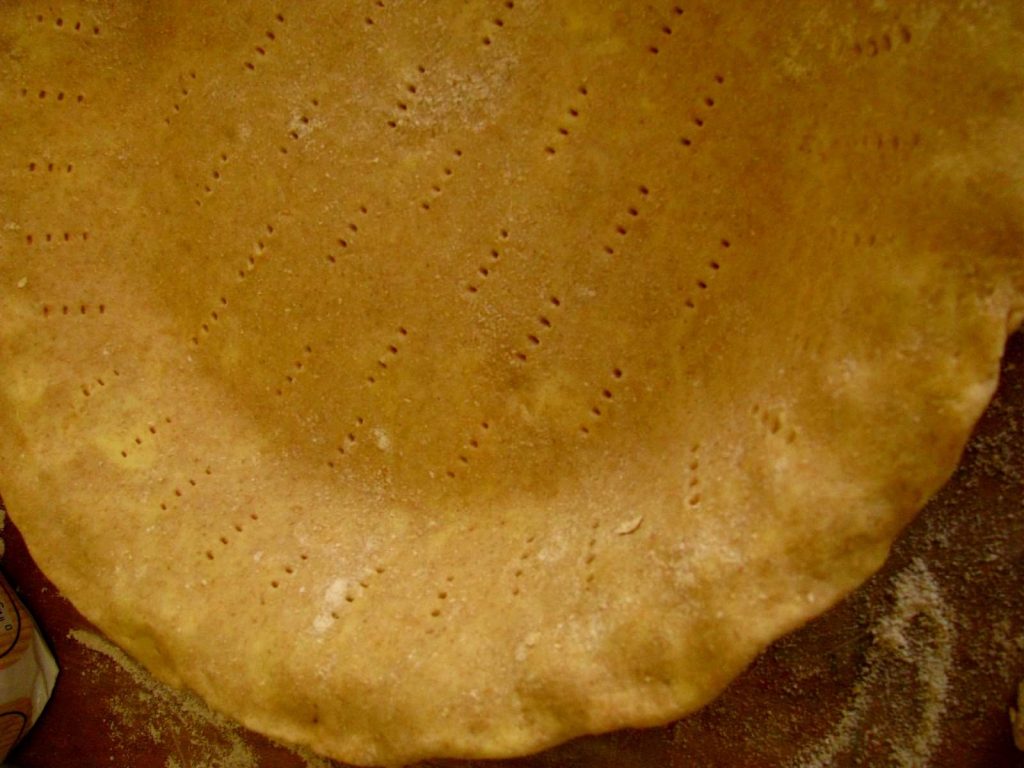
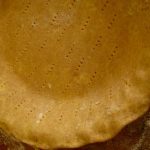
Step Eight: Move to a pie pan, finish the edge as your wish, and pierce the crust all over with a fork. Then chill pie crust for 30 minutes.

Step Nine: Then, make the rest of your pie. Whatever that may be. The particular pie recipe that I used required that I bake the shell at 375 degrees on a baking sheet for 25 minutes with a pie weight (I used beans on a piece of parchment paper) and then 15 more minutes without the pie weight to brown the whole crust.
Note: The dough will last in the fridge for a week and in the freezer until you decide to clean your freezer out and use all the hodge-podge goodies inside.
Whoop Whoop! Check it out!
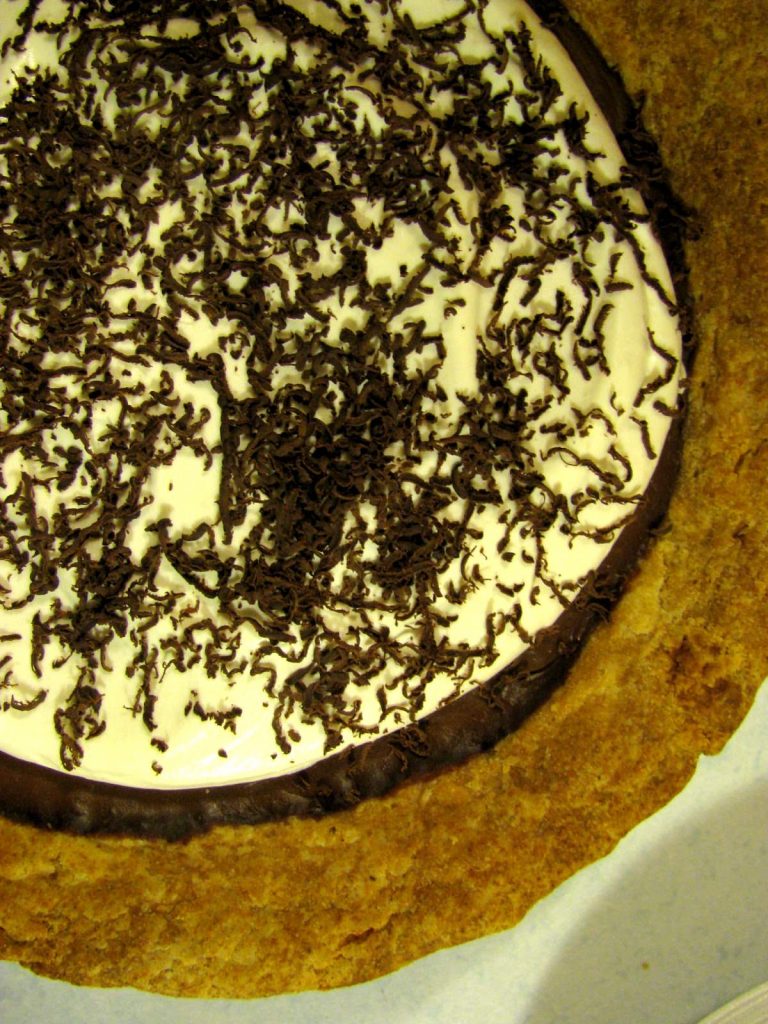
So my crust ain't fancy, but it works. I haven't mastered it, but eventually, I will. It's a personal goal. I must master the crust. Because Grandmas can make pie crust from scratch and Grandmas know how to homestead. How can we possibly have a homestead without homemade pies. It's not possible. So make pies we must. This is a journey people, remember?
Super Duper Tip: You know my favorite part about making pies? Take the extra crust that you piece off the edges, sprinkle it with cinnamon and sugar and bake it while your crust is chilling. Pie crusties.
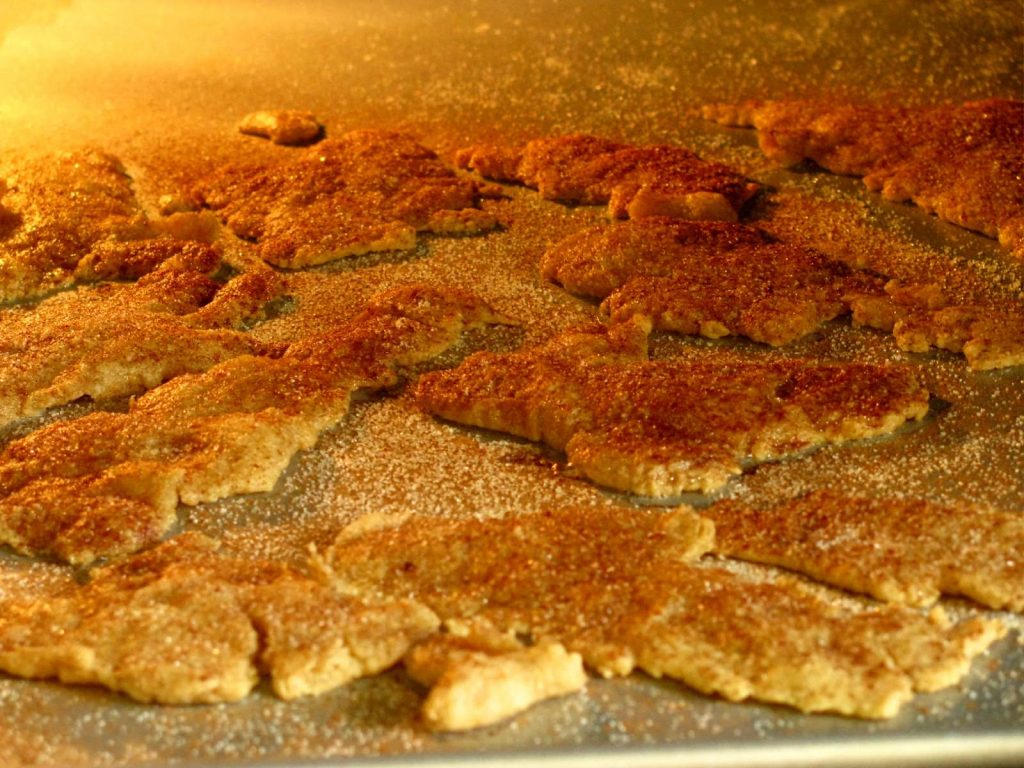
And then eat them. All. Fight your husband for them. Wrestle. Punch. Claw. Do what you have to. Because it's like little cinnamony sugary pie pieces. I love butter and sugar and cinnamon and all things related to these ingredients.
I hope this recipe works for all homesteaders out there like me who have baking disabilities. May we grow together in our baking skills for many years together.
For other great meal ideas, no matter what your dietary restrictions, check out the meal planning service I use: Real Plans.
Pie Crust
Take roughly one cup of water and add a few ice cubes, set aside.
Mix flour, sugar, and salt together.
Slice the butter into 1/2 inch slices and then add to the flour.
Use your pastry blender to slowly work the butter into the flour mixture. Continue mixing until the butter is all roughly to the size of beans. Tip: Don't over mix!
Drizzle 1/2 cup of ice water into the flour mixture. Roughly work the water into the flour mixture. I used about another 1/4 of a cup of the ice water to completely combine the dough. Then, using my hands, I gathered all the dough together, gently kneading until it was all combined to a nice big glob of dough.
Divide the dough in half, roughly shape like a disk, and wrap in plastic (I used a towel). Chill for one to two hours in the refrigerator.
Roll the dough on a lightly floured surface into roughly an eleven inch round.
Move to a pie pan, finish the edge as your wish, and pierce the crust all over with a fork. Then chill pie crust for 30 minutes.
Then, make the rest of your pie. Whatever that may be. The particular pie recipe that I used required that I bake the shell at 375 degrees on a baking sheet for 25 minutes with a pie weight (I used beans on a piece of parchment paper) and then 15 more minutes without the pie weight to brown the whole crust.
Note: The dough will last in the fridge for a week and in the freezer until you decide to clean your freezer out and use all the hodge-podge goodies inside.


Thanks for not posting pictures of my pie 🙂 I did not master it!!!!!
You will! Round Two for Friday night dinner I say.
Dear Anonymous,
Remember–beauty is only skin deep. Your pie was delicous as well. Both of them were! What a fortunate family we are! The crust was flaky and yummy and the pumpkin was well spiced, just how I like it. The chocolate was scrumptious too. I was very proud of both you homesteaders–and–you saved me from the dreaded Costco run to pick up pies! Yea you! Love, Mom
I guess I’m the loser of the family. I didn’t even attempt a pie crust, “Anonymous” so you have me beat already.
Sister,I know that your post is 7 years old but hey, it is never too late. I hope that in 7 years you have mastered a pie crust…LOL Why not be the one who provides the organic homemade pumpkin pie filling for everyone? It is an (almost) no fail item and the richness is beyond anything that canned pumpkin can provide!!!! I have been making it for years. The only problem is that my family has come to expect that from me every year so I can’t even consider using canned pumplin. They know the difference!!!
yay I was just wanting a good pie crust recipe! 🙂
Yay! More ‘from scratch’ pie makers! And I thought my crust recipe had a lot of butter. 8-/ Looks scrumptious!
Melanie, I love butter. Oh, how I love butter.
Hi Shaye, I just stumbled upon your blog looking for a good soaked flour bread recipe. Flour soaking as I type. I just wanted to share a great pie crust tip. Freshly ground Kamut, it has a delightful buttery taste. My family just loved it when I made Banana Cream Pie recently. You have a lovely family! Looking forward to trying more ideas of yours, I may have to make chap stick sooooon! Best Lisa
You can totally add a tablespoon of vinegar and let it do its soaking in the fridge. Wheat only takes two hours to break down phytic acid! I made it this way and it came out so flaky. Thanks for the recipe!