Whew. Deep breath.
Life has gotten away from me today, and though it's been productive and good, it's been hard work and pretty stressful.
As anything with the IRS typically is.
You know that buzzing feeling you get after having too much caffeine? That's what I've got. Only not from caffeine. From phone calls, paperwork, bills, and poo like that. Am I the only one that this happens to?
I'll spare you the details, but from this point on if I ever must deal with anything related to taxes, filing, or claims, I'm going to pour myself a big ‘ol glass of wine before I sit down to deal with it. Ya know. Loosen the flow a little.
Either that, or I'll whip up a plate of these taquitos.
Good food, especially munchy food, can cure anything.
Even my hatred for said taxes, filings, and claims.
Yes, friend, these homemade taquitos take me to a happy place. Far away from paperwork. They take me to the orchards where I worked as a teenager and lovingly waited for the Taco Wagon to arrive each morning. They take me to summer, where the fresh salsa is enjoyed in excess. They take me to parties with friends, all enjoying the creamy and crunchy goodness that can be found in such finger foods.
Need I say more? I need not. So I shan't.

Homemade Taquitos
You will need:
– 1 pound grass-fed ground beef
– 1 tablespoon cumin
– 1 tablespoon coriander
– 1 teaspoon chili powder
– 1/2 teaspoon sea salt
– 30 (or so) sprouted corn tortillas (Food For Life is my favorite brand and can be purchased through Azure Standard)
– 2 cups homecooked, organic, beans (find the recipe here)
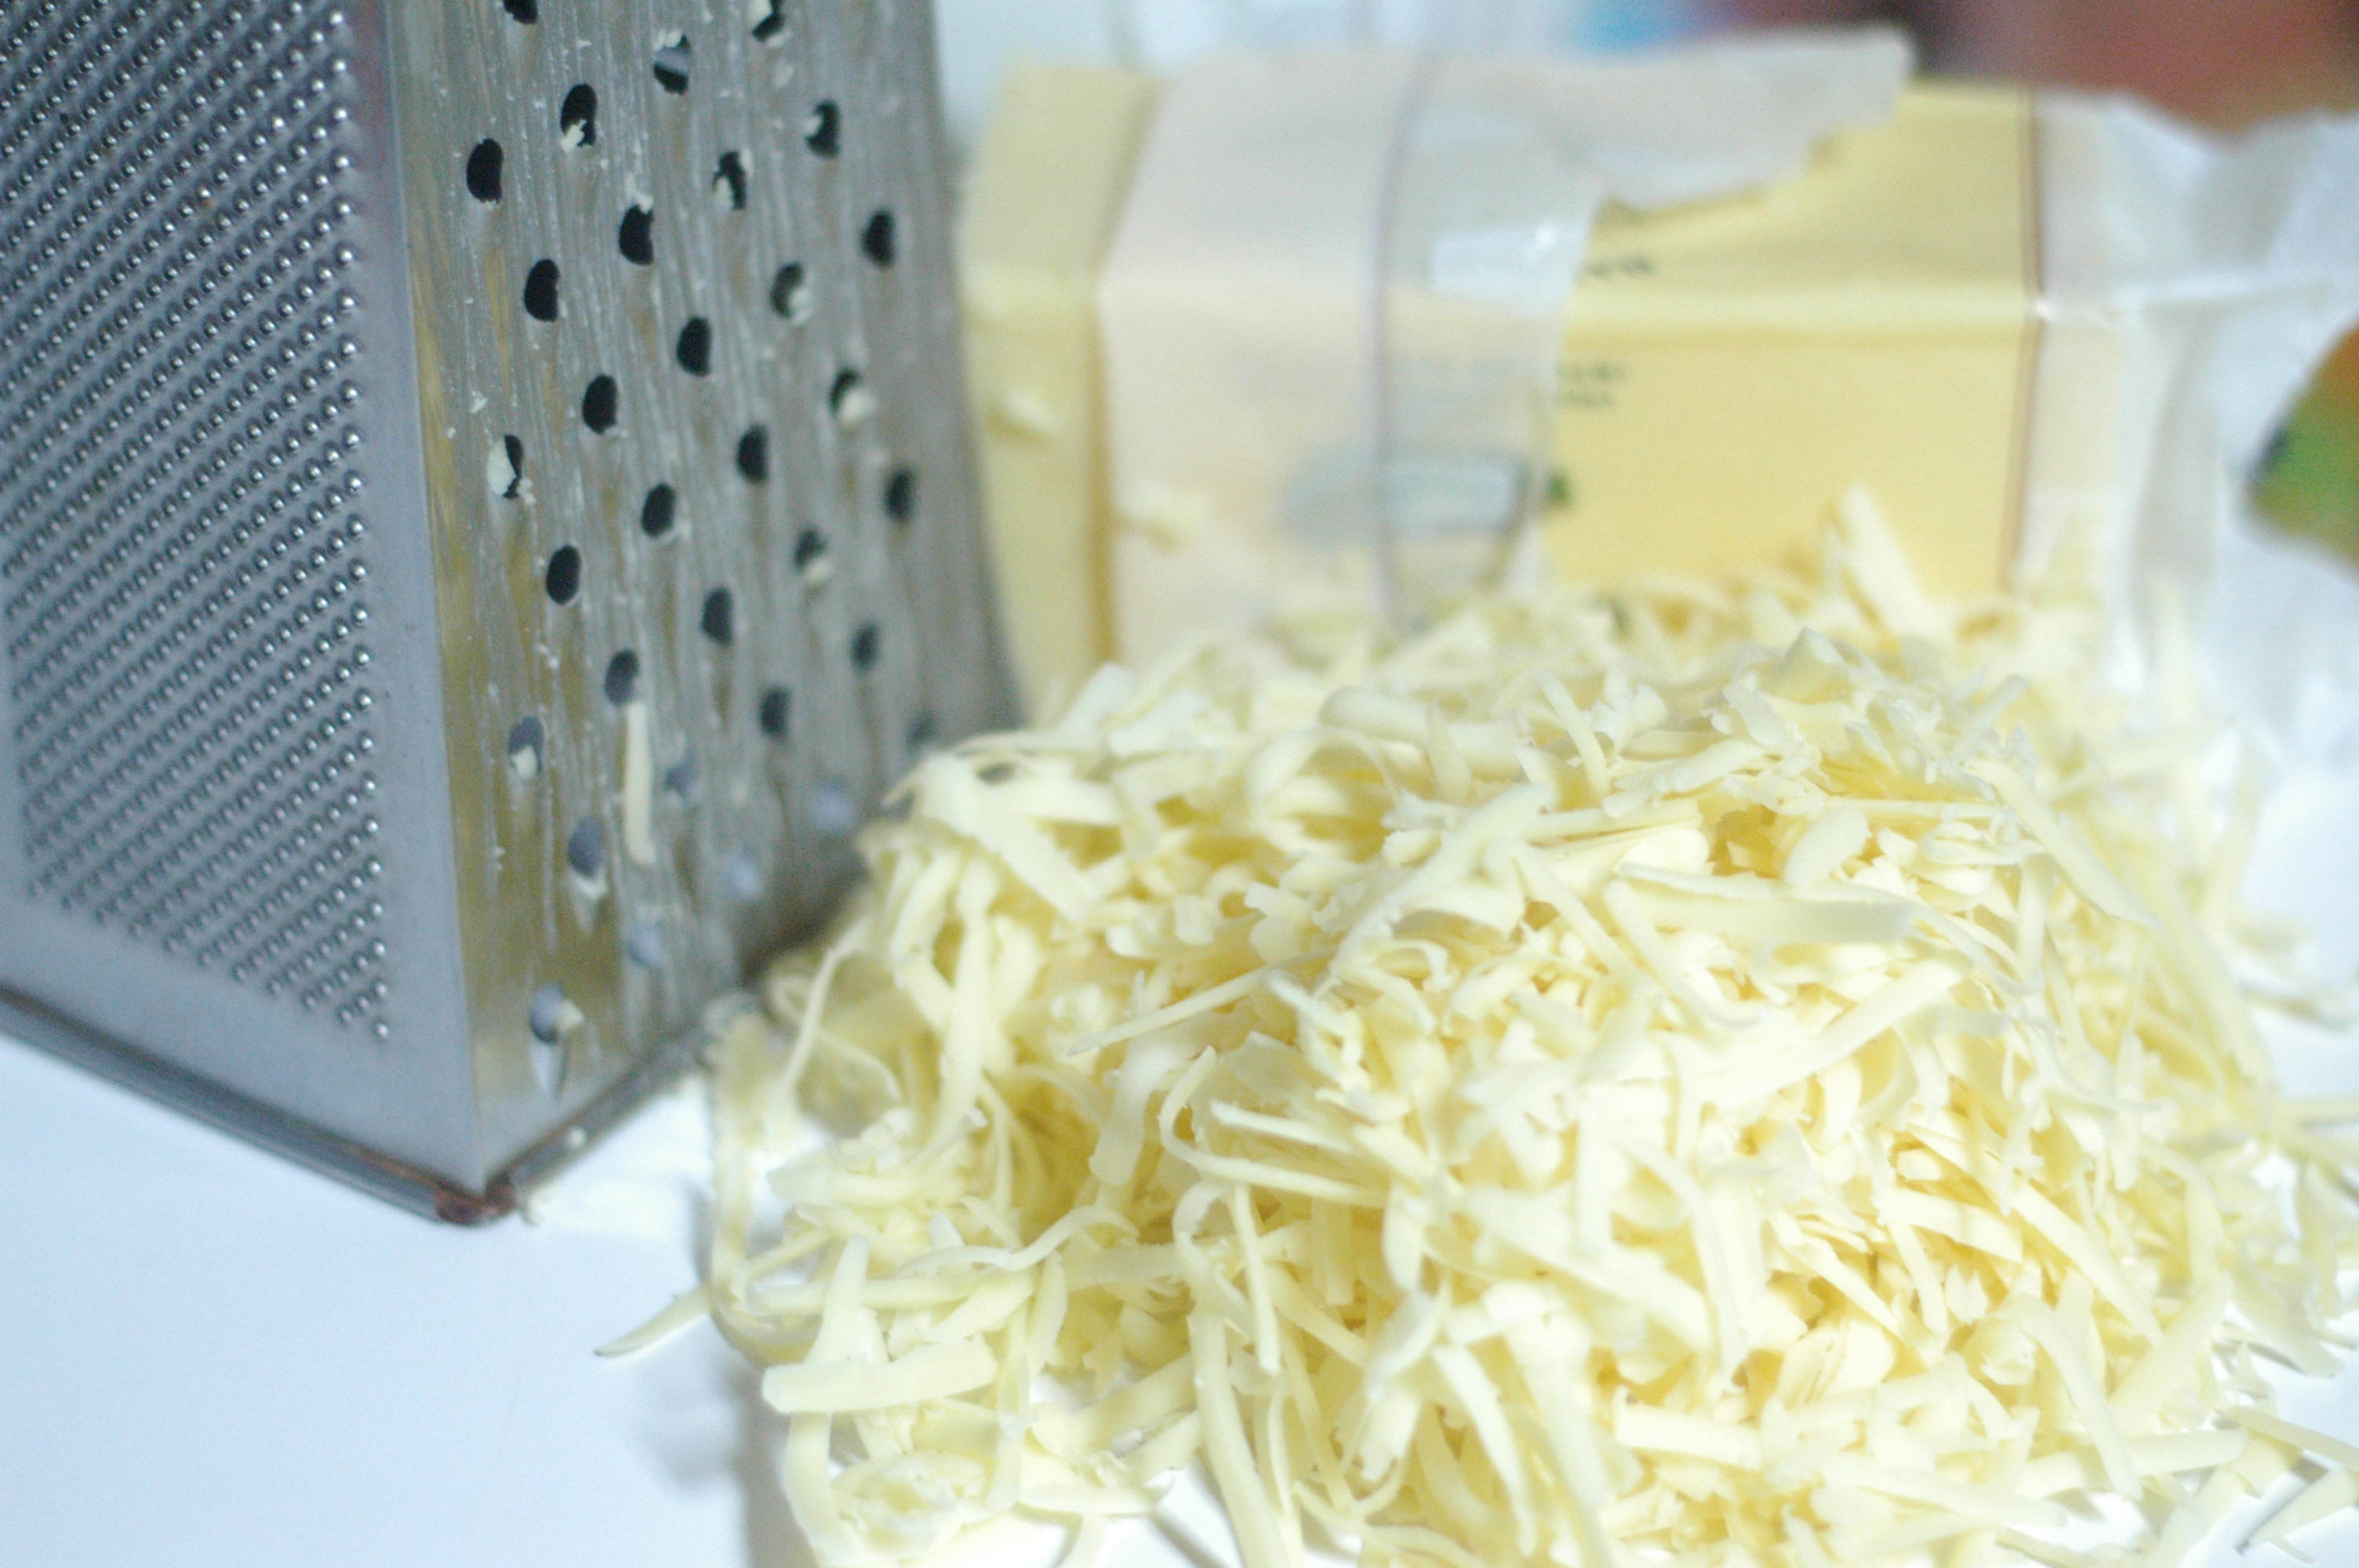
– 2 cups shredded cheese from grass-fed cows (Kerrygold is my favorite!)
– 1/4 cup organic, sour cream (watch those added ingredients!)
– Sea salt and pepper, to taste
– Avocado, salsa, and sour cream, for serving
Step One: Brown the ground beef in a skillet. Skim off any excess fat (if using grass-fed beef, you probably won't have any). Add in the cumin, coriander, chili powder, and salt. Stir to combine.
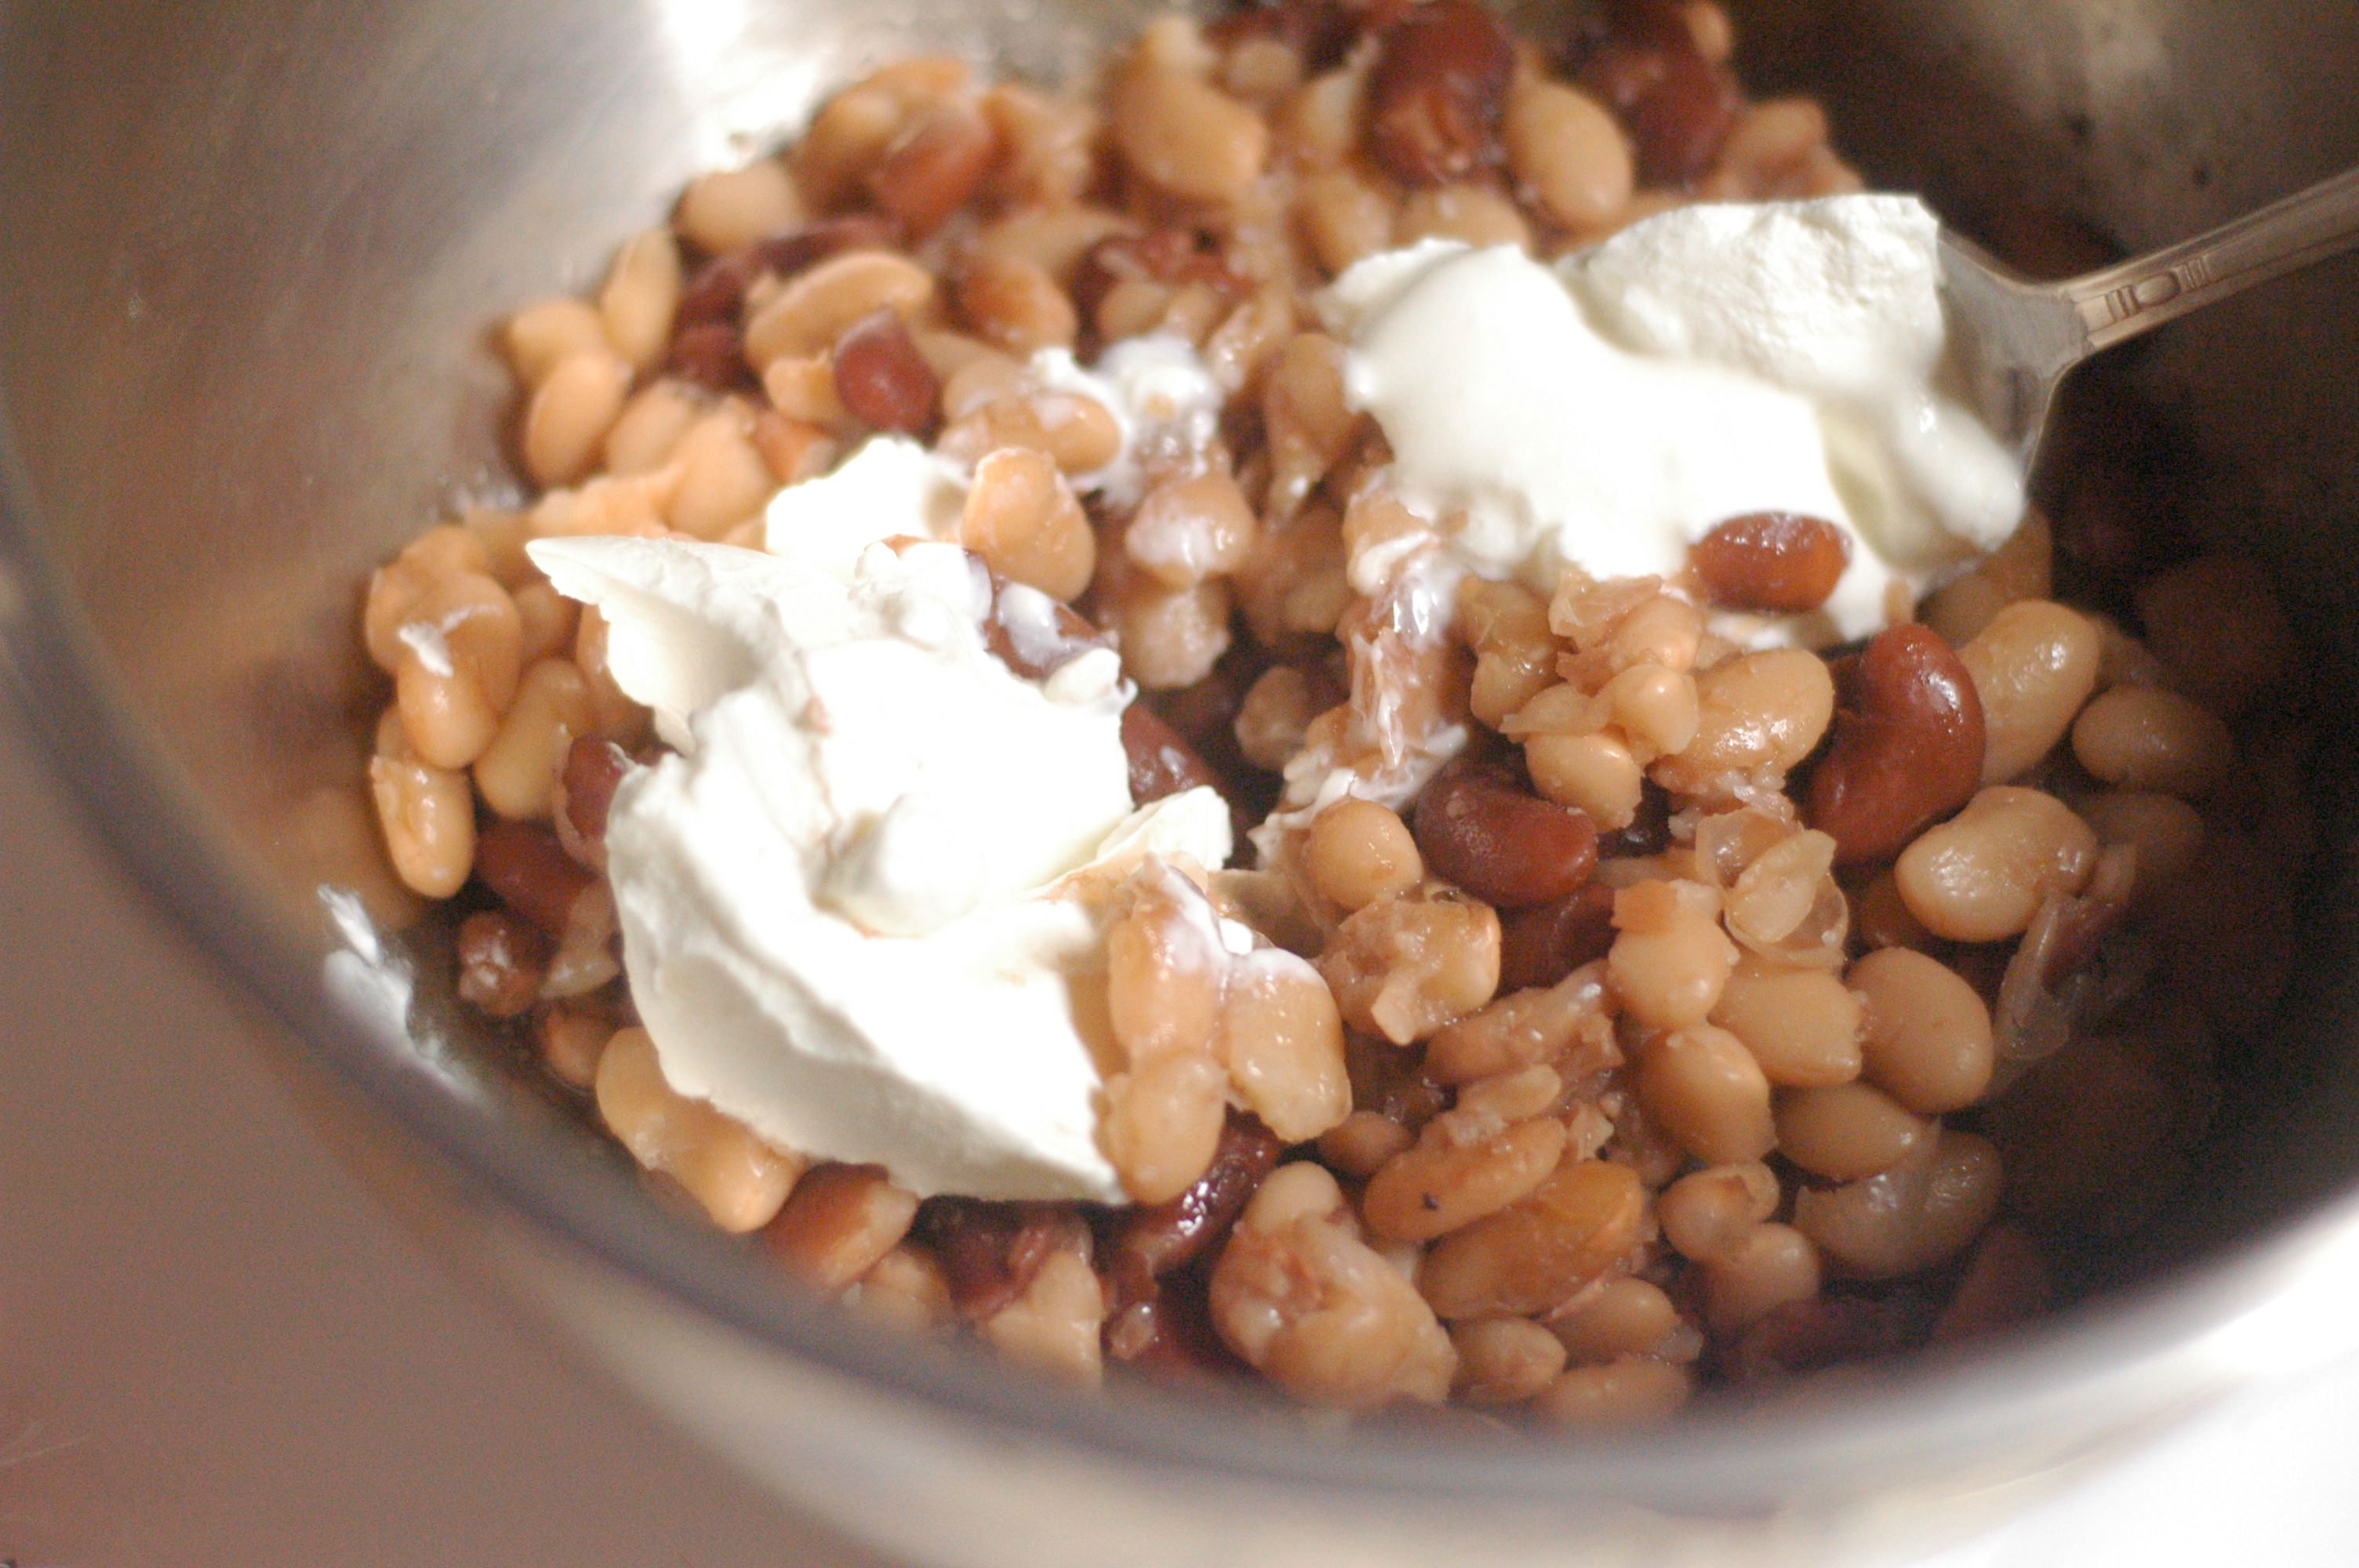
Step Two: In a separate bowl, combine the cooked beans, cheese, sour cream, and salt and pepper. Stir to combine. I mushed mine so Stuart wouldn't know I snuck beans in. Unfortunately, I didn't mush them well enough, because he could totally tell. Whoops.
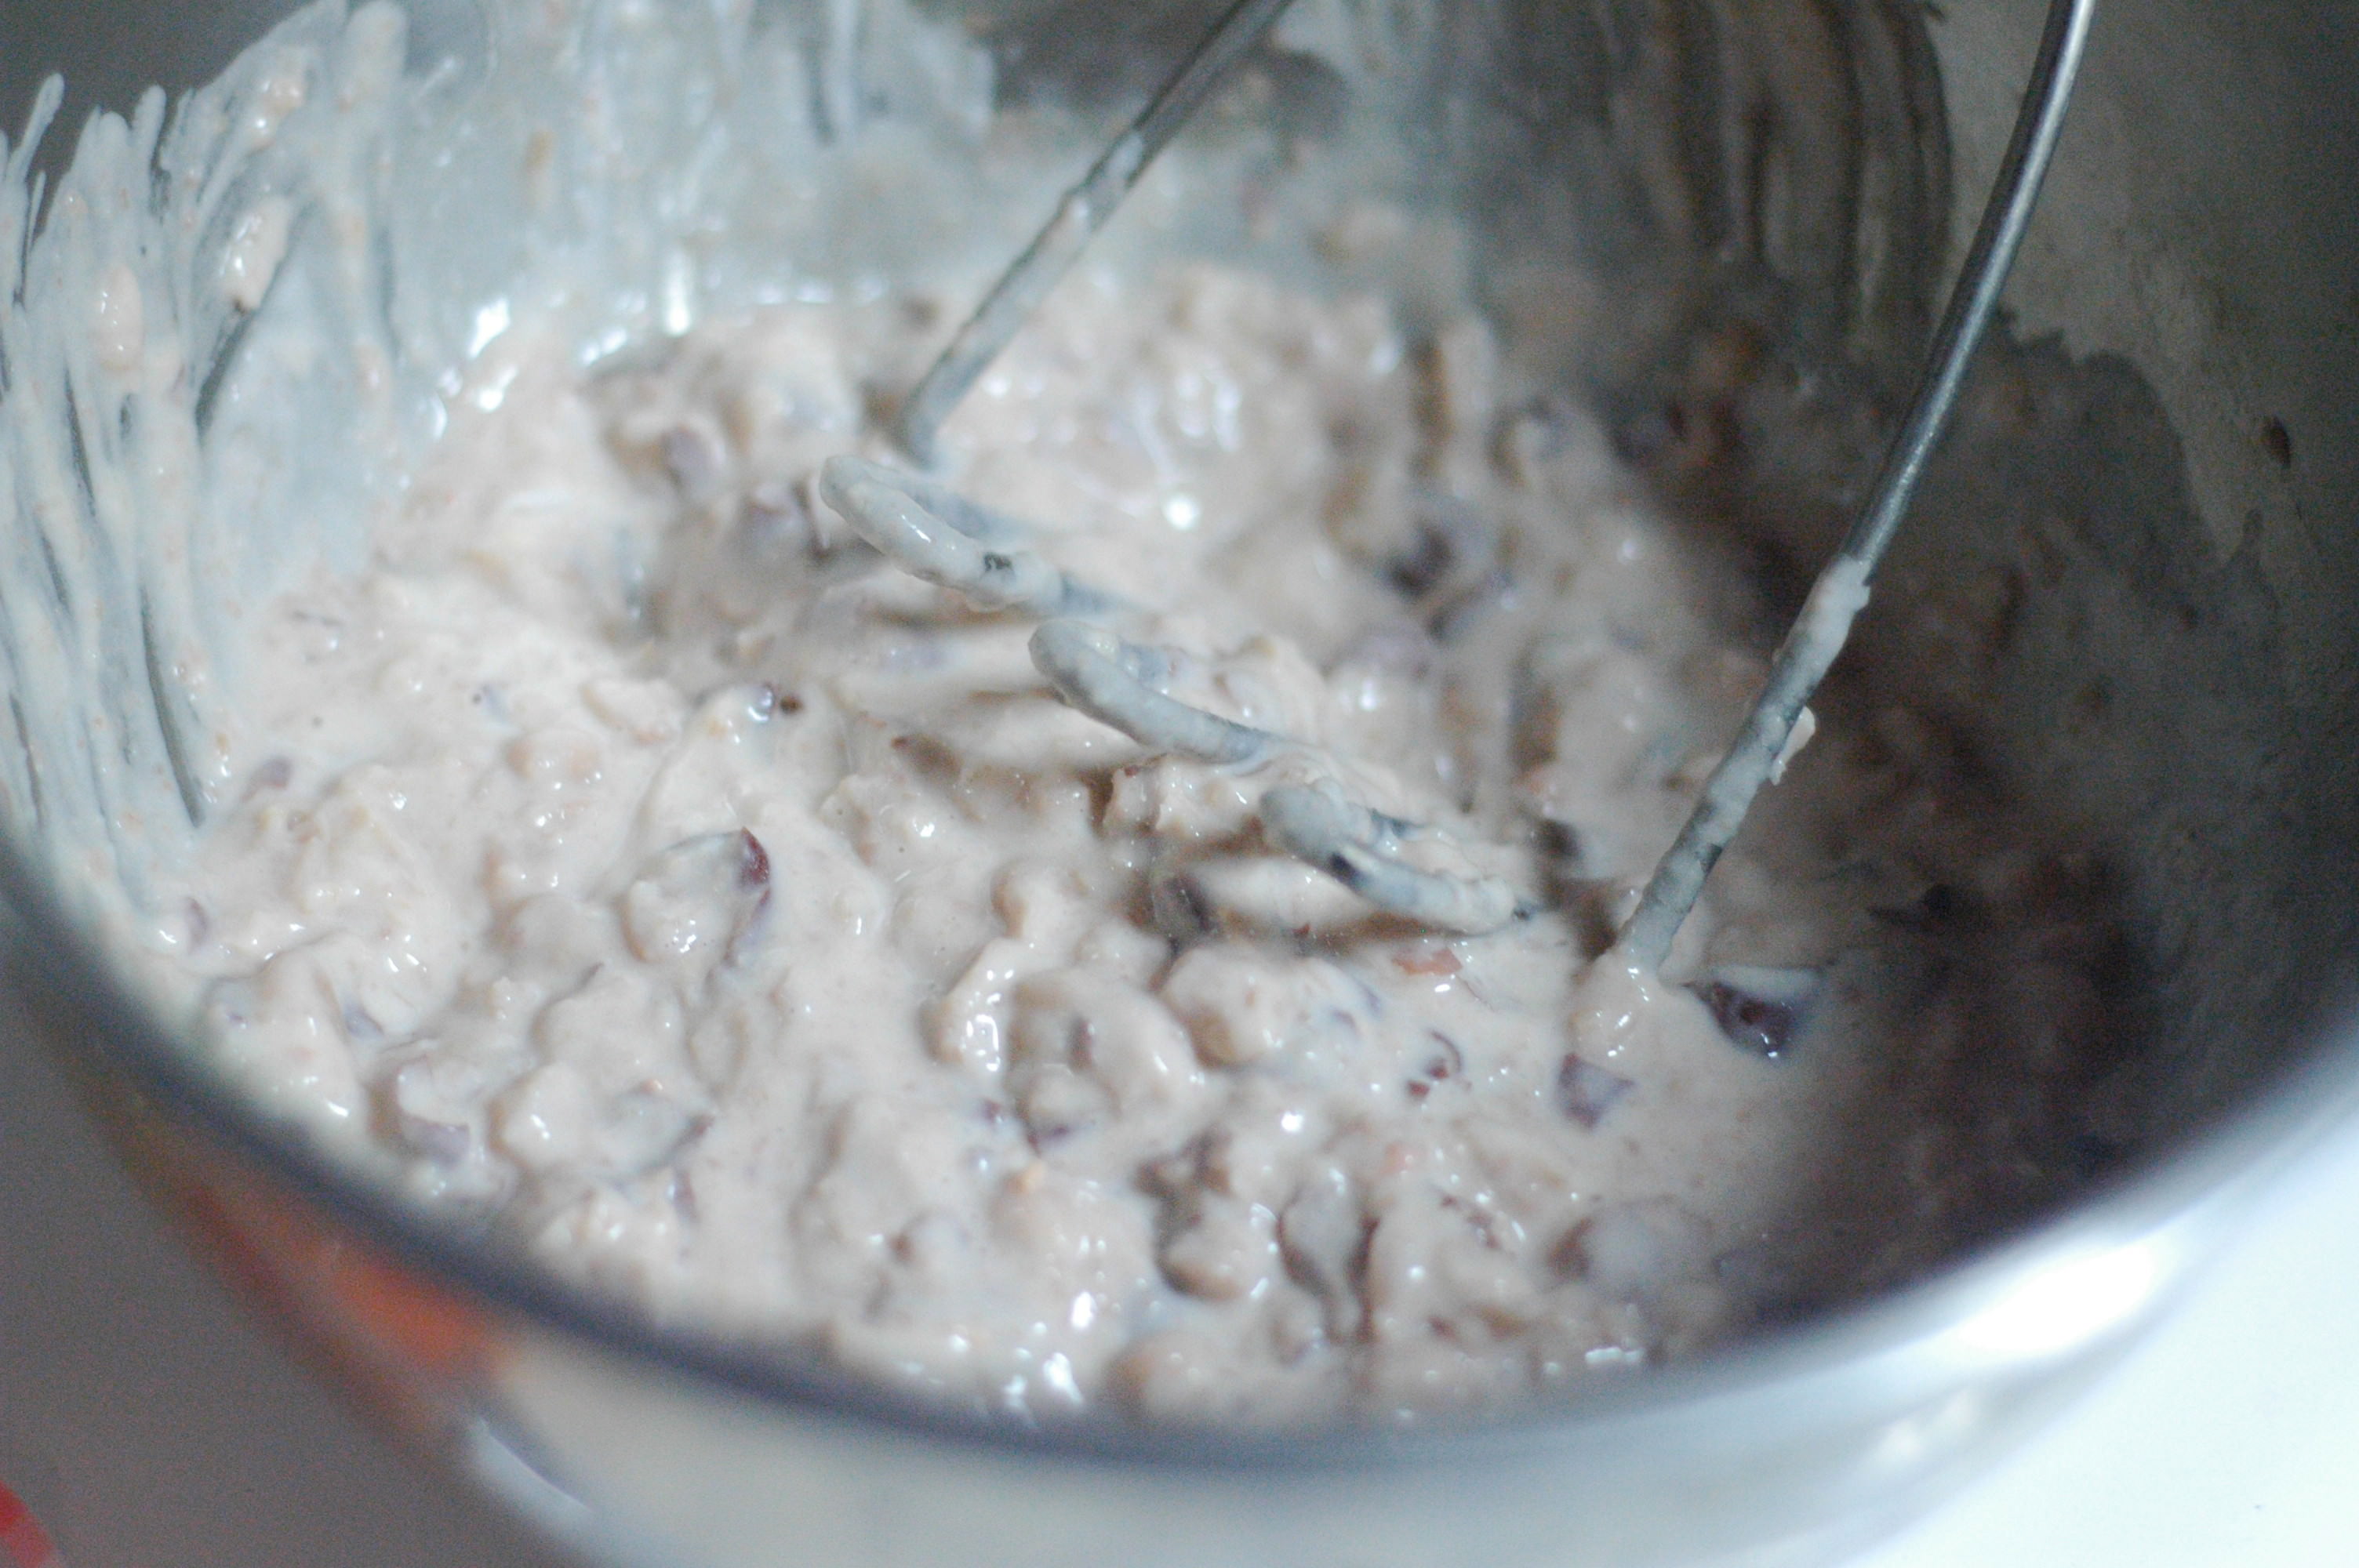
Step Three: Combine the beef in with the bean and cheese mixture. Stir to combine. Say hello to the delicious taquito filling:
Step Four: Heat up a small, cast iron skillet. Add a swig of butter or tallow, if needed. Gently heat up a tortilla briefly, for about 10 seconds per side. This will help the tortilla to become soft and pliable.
Don't skip this step. The tortillas will break and crack. Trust me. Ahem.
Step Five: After heating the tortilla, spoon a tablespoon or two of the filling onto it. Roll tightly until, ya know, it looks like a taquito!
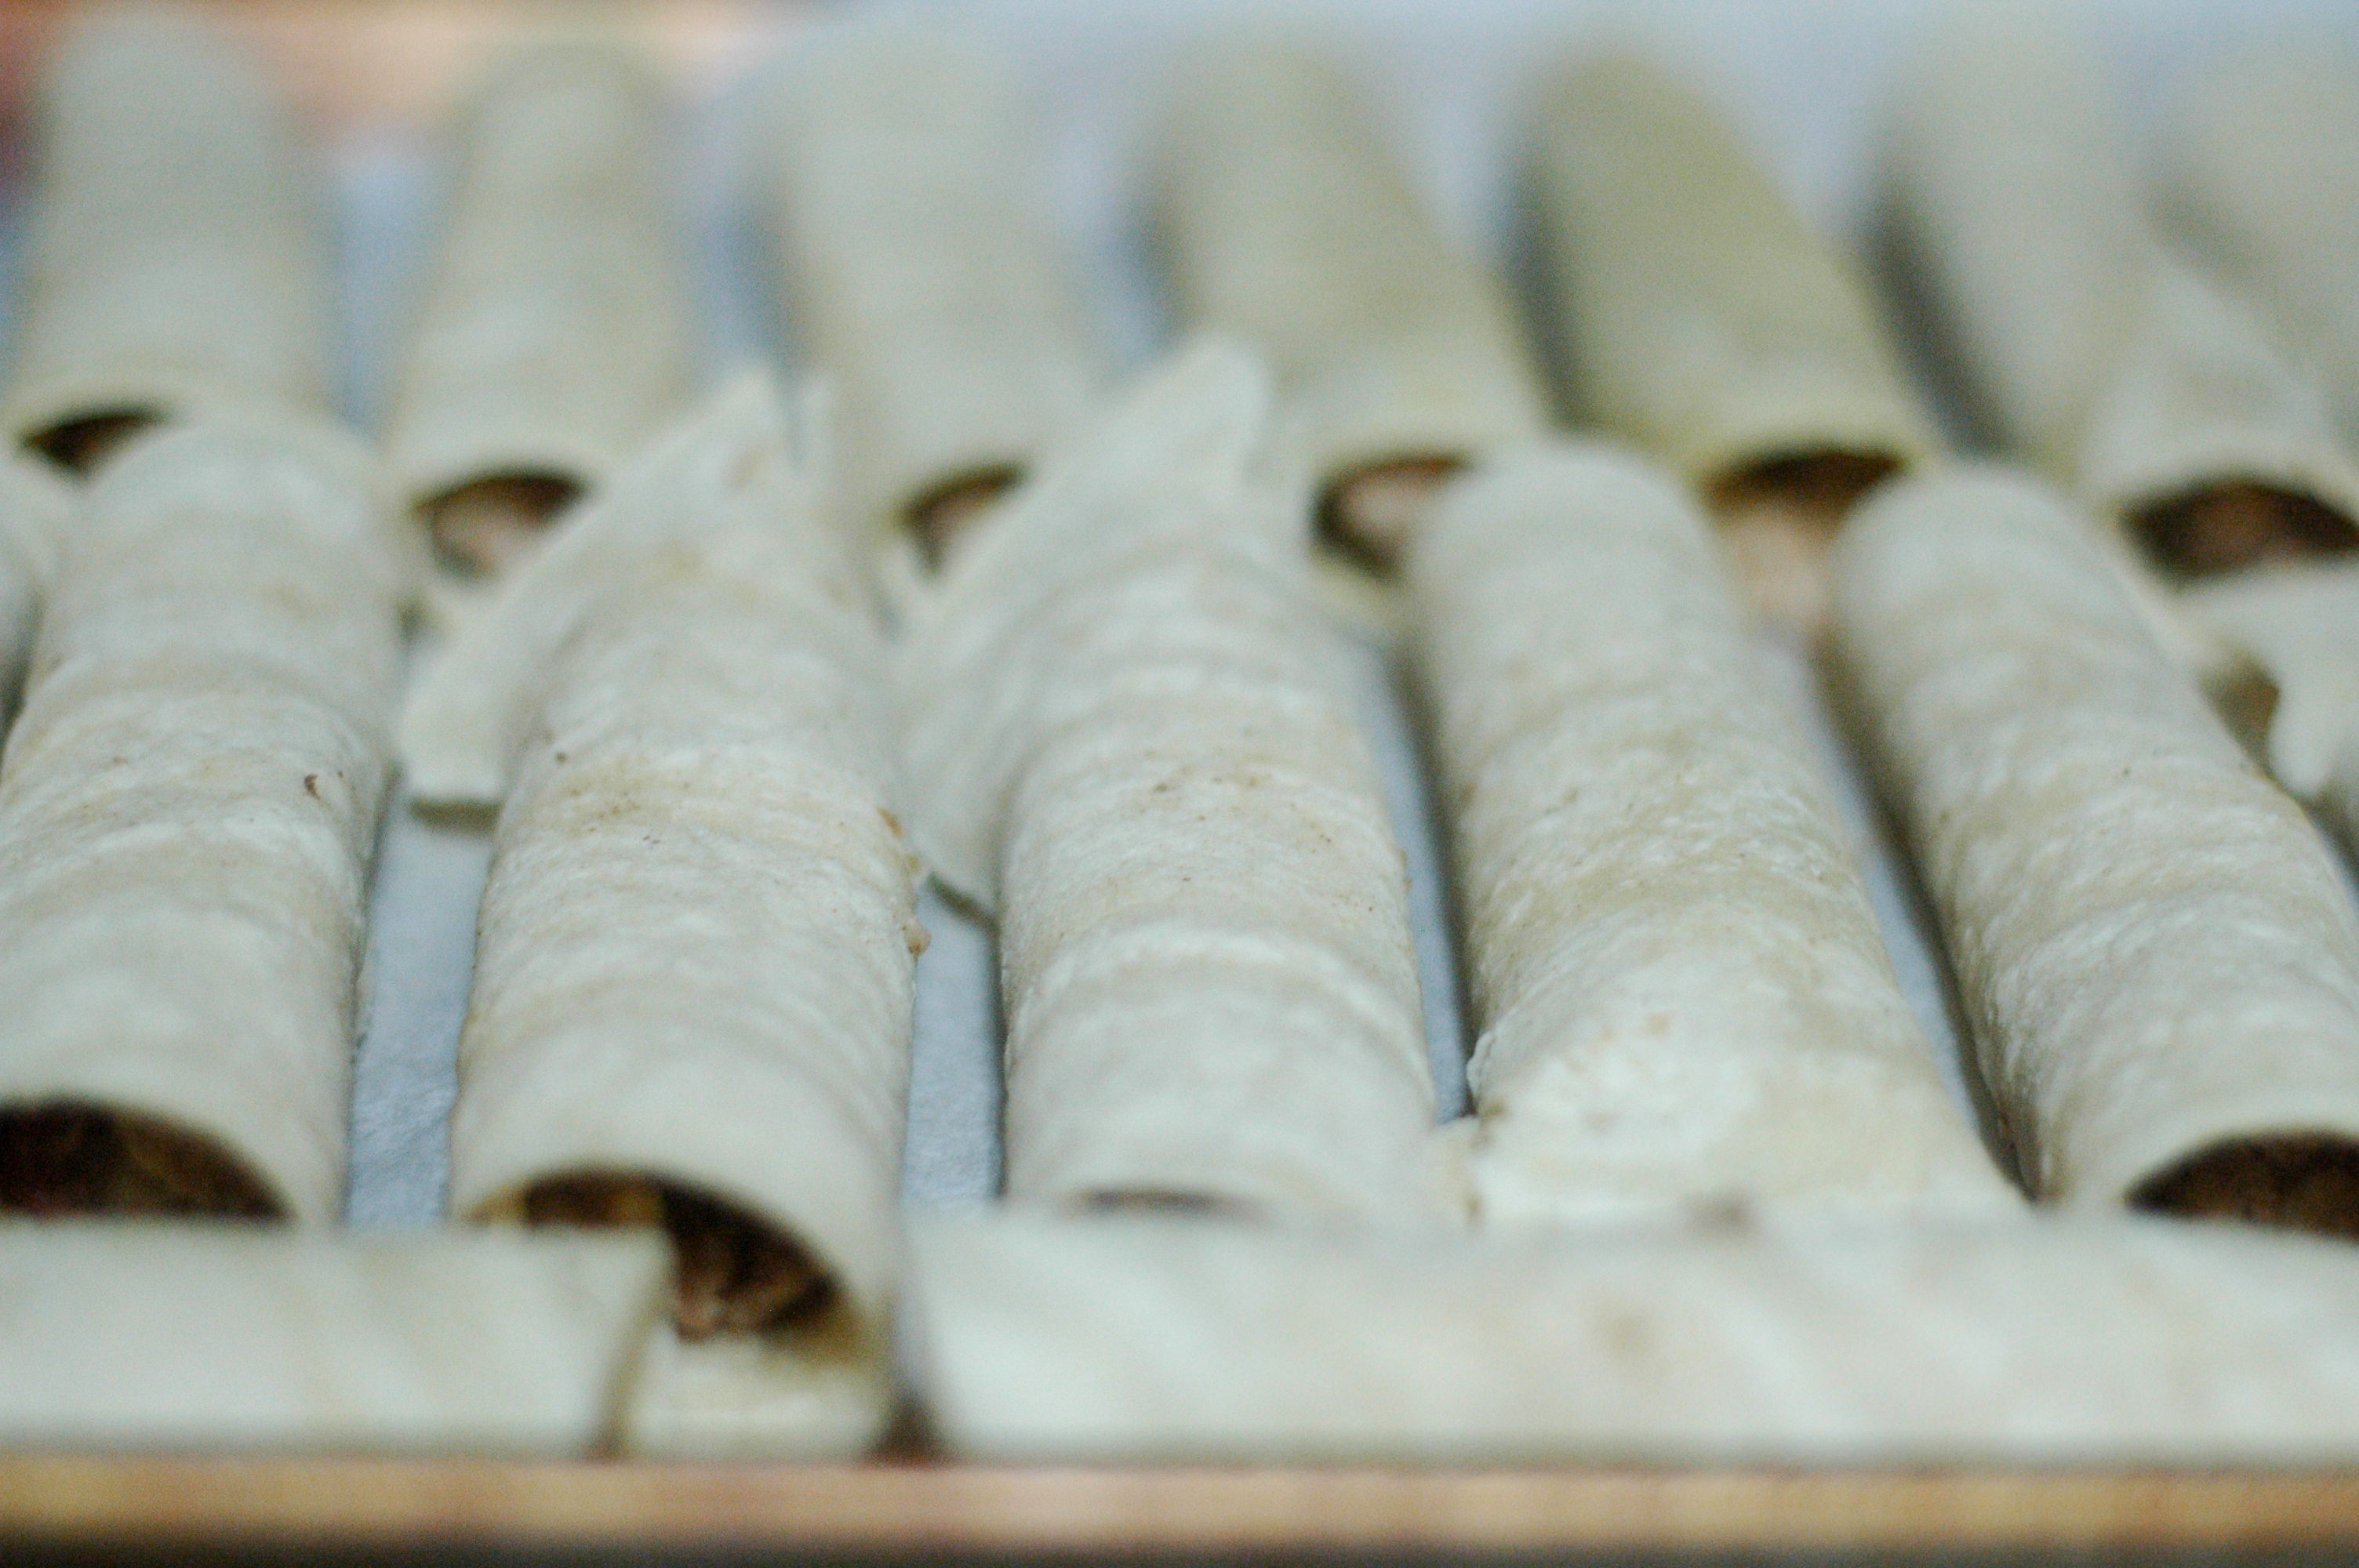
Place on a baking sheet that has been lined with parchment paper.
Step Six: Repeat the filling and rolling with the remaining tortillas. Make as many as that little heart of your's desires.
I made this many.
I don't know how many that is.
Sorry for not being specific. Don't hate.
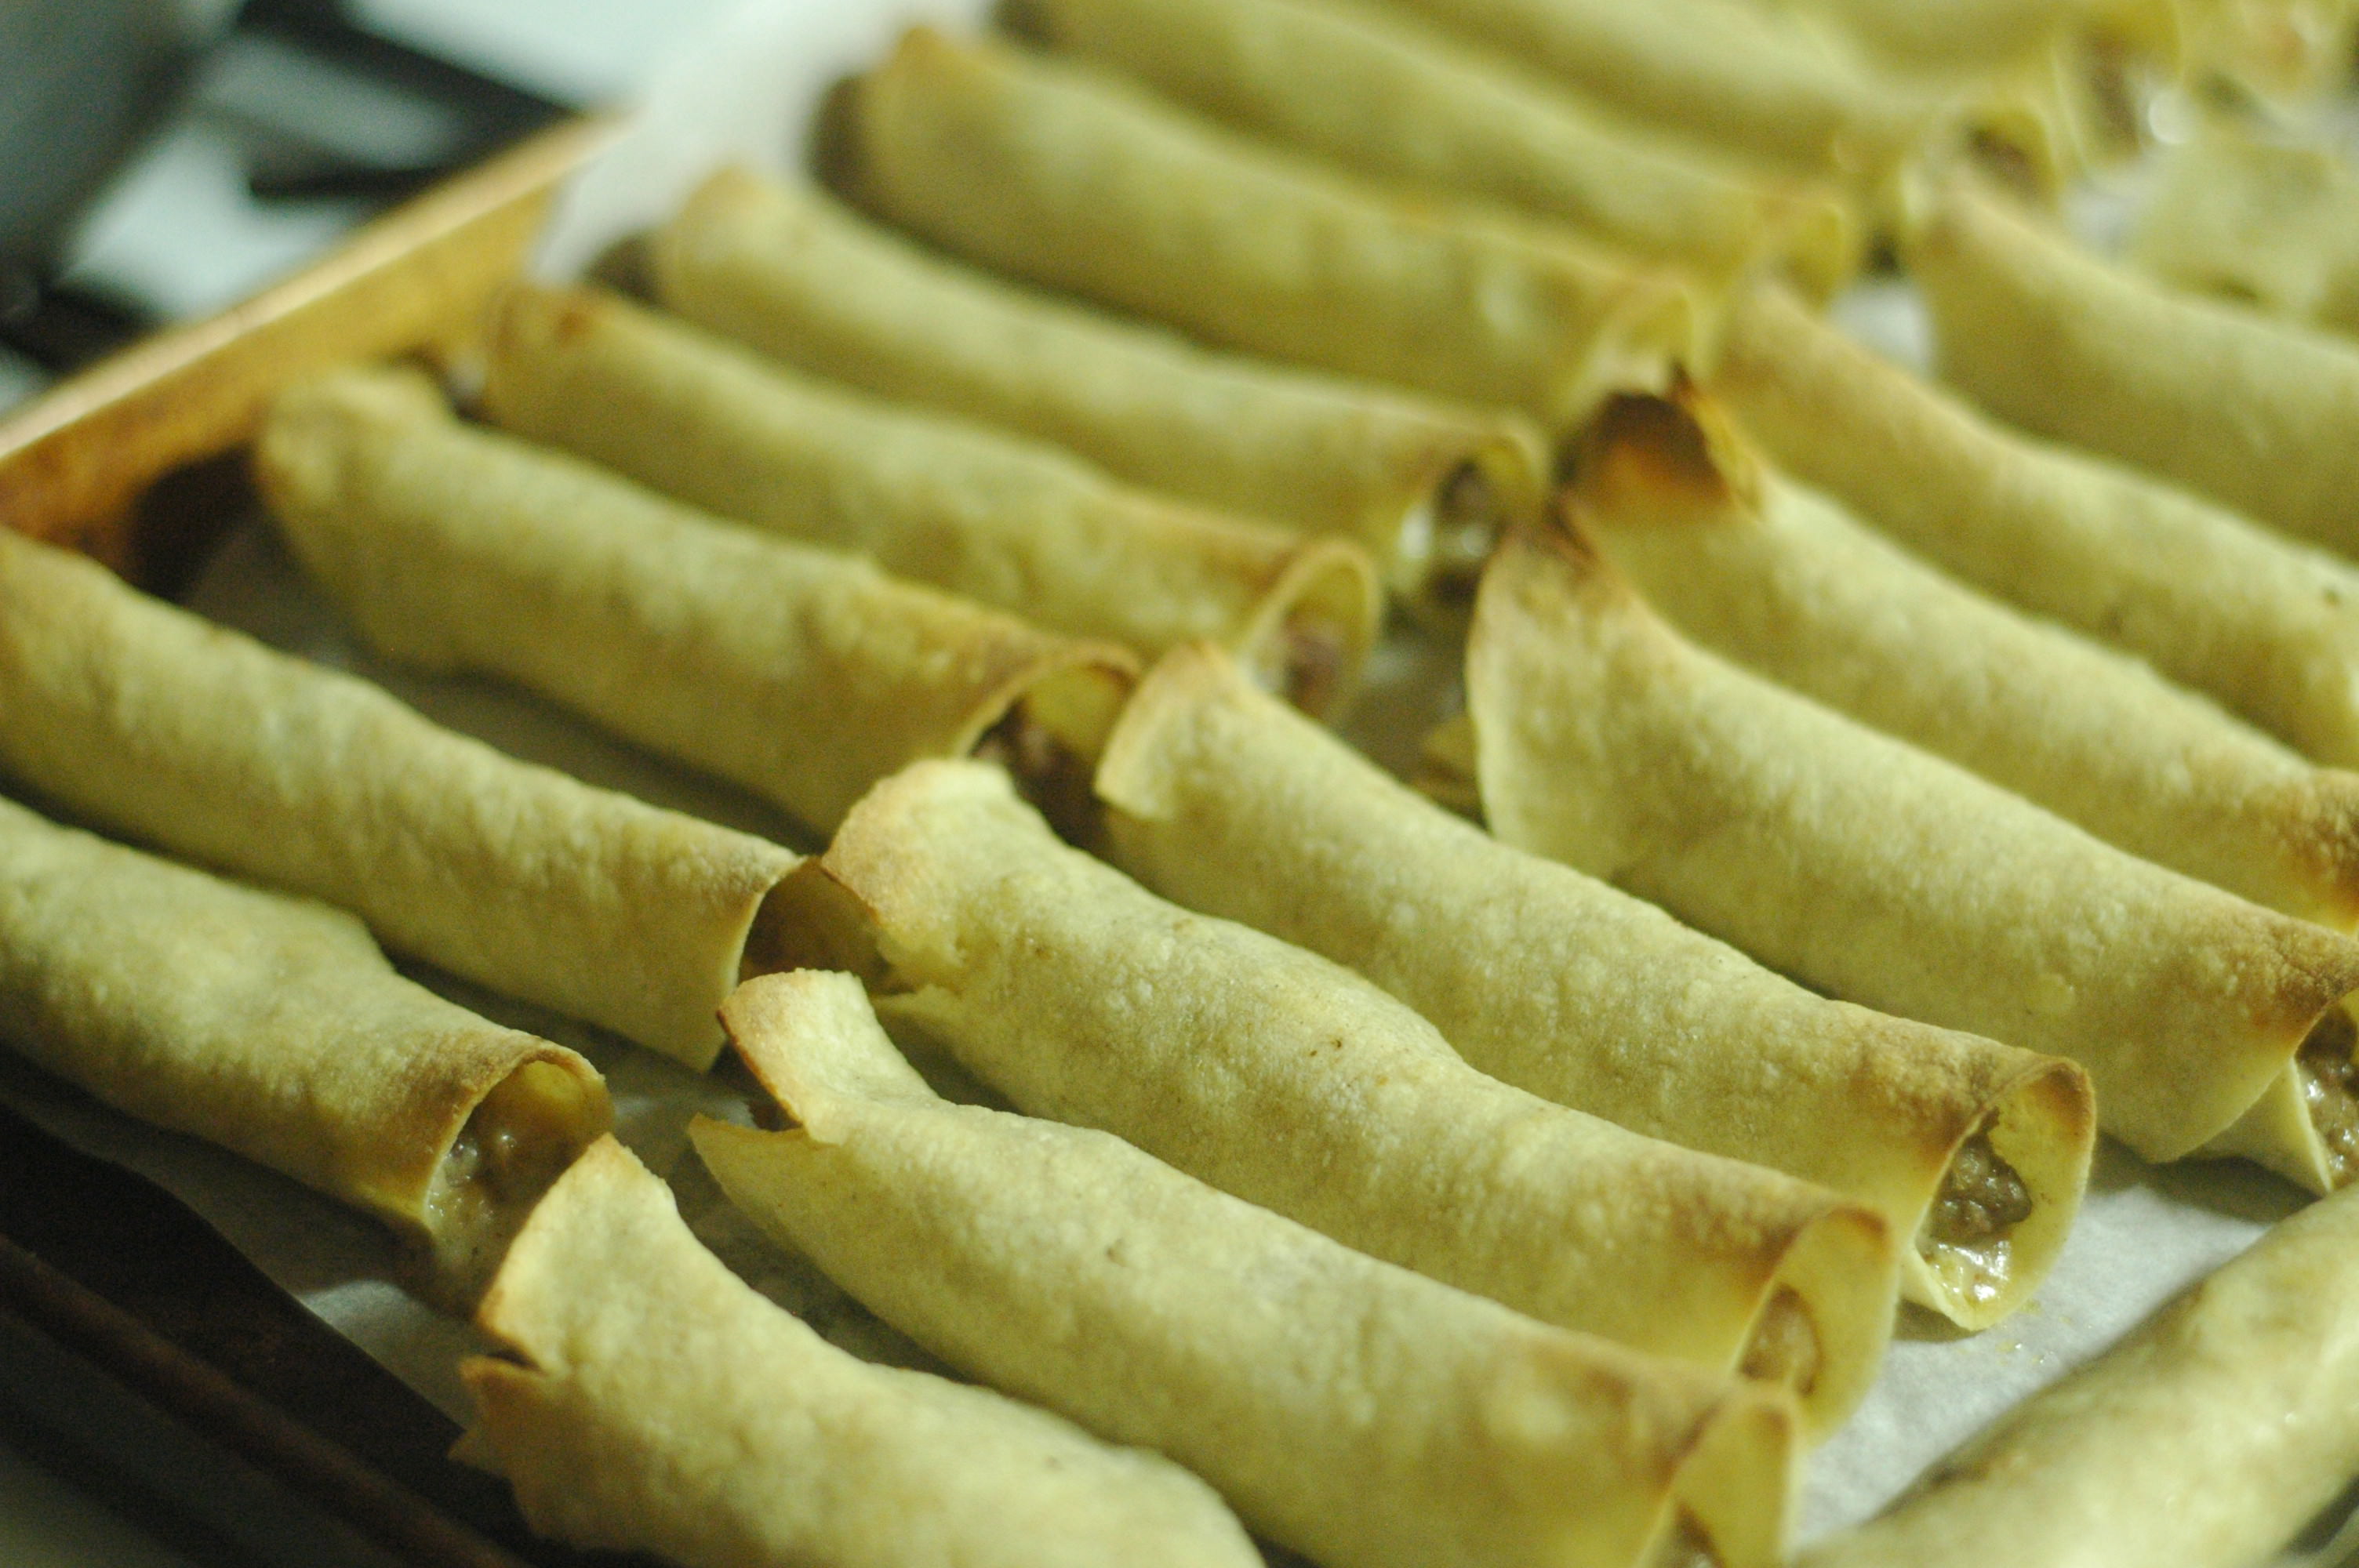
Step Seven: Bake in a 350 degree oven until warm and slightly toasted. Alternately, you could gently fry the taquitos, using your cast iron skillet and a quarter inch or so of tallow until crispy. This would be yuuuuuummy.
Step Eight: Serve alongside your favorite cabbage salsa. With some delicious avocado. And salsa. And sour cream. And chopped green onions.
These would also be delicious with homemade corn tortillas, which taste noticably better than store-bought. I've made my own corn tortillas in the past, but was never able to quite master the beautiful shape. One of these bad boys is on my urgent ‘to buy!' list so that I can take the tough work out of tortilla making. Fresh tortillas are just SO GOOD!
Are you salivating yet?
I am.
I love finger foods.
Especially ones that can be dipped in sour cream.
Don't judge. It's delicious.
Viva la taquitos!
Homemade Taquitos

- 1 pound grass-fed ground beef
- 1 tbsp cumin
- 1 tbsp coriander
- 1 tsp chili powder
- ½ tsp ea salt
- 30 (or so) sprouted corn tortillas ((Food For Life is my favorite brand and can be purchased through Azure Standard))
- 2 cups homecooked, organic, beans ((find the recipe here))
- 2 cups shredded cheese from grass-fed cows ((Kerrygold is my favorite!))
- ¼ cup organic, sour cream ((watch those added ingredients!))
- Sea salt and pepper, to taste
- Avocado, salsa, and sour cream, for serving
Brown the ground beef in a skillet. Skim off any excess fat (if using grass-fed beef, you probably won't have any). Add in the cumin, coriander, chili powder, and salt. Stir to combine.
In a separate bowl, combine the cooked beans, cheese, sour cream, and salt and pepper. Stir to combine. I mushed mine so Stuart wouldn't know I snuck beans in. Unfortunately, I didn't mush them well enough, because he could totally tell. Whoops.
Combine the beef in with the bean and cheese mixture. Stir to combine.
Heat up a small, cast iron skillet. Add a swig of butter or tallow, if needed. Gently heat up a tortilla briefly, for about 10 seconds per side. This will help the tortilla to become soft and pliable.
Don't skip this step. The tortillas will break and crack. Trust me. Ahem.
After heating the tortilla, spoon a tablespoon or two of the filling onto it. Roll tightly until, ya know, it looks like a taquito!
Place on a baking sheet that has been lined with parchment paper.
Repeat the filling and rolling with the remaining tortillas. Make as many as that little heart of your's desires.


Holy crap these look amazing! Must try now!
I’m so glad I am not the only one who views Mexican food as Happy Place food…
You don’t happen to know a recipe for healthy corn tortillas, do you? I have this delicious grain mill, but I’ve been afraid to use it with corn, because I don’t know how to properly prepare corn (lye is a bit scarier to use than whey for soaking). Your recipe looks yumm.
Hey, I don’t know if you’ve noticed, but I’ve noticed lately that the pictures in your food posts appear gigantic in Google Reader (like I can only see a tiny corner of the bottom of the picture across my entire computer screen). If I click over and look at them on your blog they look fine, but they aren’t showing up right in readers. You might want to check to make sure you are sizing them correctly, or else your photo files might be too big or something. Not sure, but worth looking into.
I agree the pictures are HUGE!! Not a big deal, I thought it only was happening on my computer.
How would you recommend storing these? Freezer, fridge..?
I’m making these as I type and I know I’m going to have leftovers! 🙂
I think they’d freeze well if you want to keep them for longer!
I was really hoping to find the recipe for the wraps. I make my own for tacos, would it be the same? I soak the batter over night with 1/4 cup lime juice for better digestion.
Instead of frying the tortilla’s to soften, zap them in the microwave until pliable. Do this in small batches so they stay warm while you’re working. Once they cool they’ll need to be done again. That’s how I do mine and I don’t have a problem. But then I fry them. So I’m going to try your baking method and see how it works out. Also, they sell tortilla presses down here for under $10 at Walmart and most of our other grocery stores. So if you wanted to make your own, just roll in a small ball, put in the press, press it, and voila! Perfect homemade tortillas! Thanks for the recipe, I usually use whatever leftover meat I have and frequently stuff falls out on the ends. So I think with your method, not only won’t it fall out because it’s blended, but it’s also baked so the oil doesn’t cause some to fall out. ;0)
I just found your blog through this recipe, it looks really good! By the way I love your suggestion for the cheese.
I really don’t eat beans, but my family does, what kind do you recommend?
I looooove Taquitos….aka Flautas…..they are my favorite, and I get them every time we hit up our favorite Mexican restaurants! Now I can make them at home, thank you!!!! They look perfect!