I was really hoping to share the rabbit butchering with you today, but since Stuart got back-logged with getting grades in, we weren't able to harvest as planned. We're hoping to do it today (AND IT'S MY BIRTHDAY! NOTHING SAYS HAPPY BIRTHDAY LIKE RABBIT BUTCHERING!), so I hope to bring you a great instructional post on it this week! In the meantime, there's still all sorts of goodness goin' on in the homestead kitchen. And while I really would love for this to be a roasted rabbit recipe, it's not.
It would be a wonderful accompaniment to roasted rabbit though, so that's something.
It's also a lovely accompaniment to eggs.
And cheese.
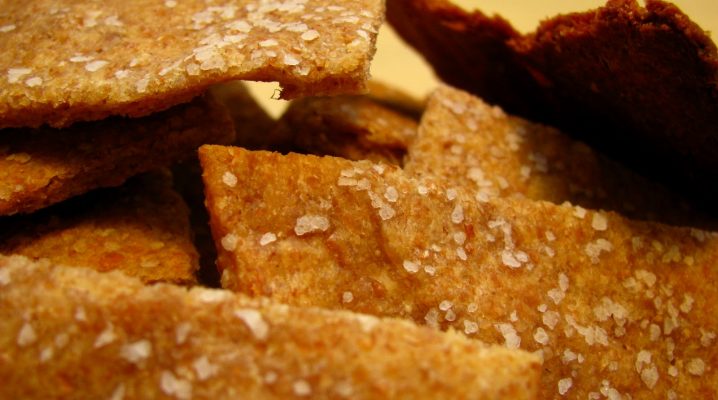
It ain't not secret, I love bread. This bread, and this bread in particular. Also these. And these.
I've been lovin' on sourdough for a few years now, but this sourdough artisan loaf has really taken my love to new levels. And here's why:
1. No kneading.
2. One rise.
3. One bowl.
4. Consistently wonderful results.
Literally, this recipe could not be any easier. I've been making it for months now, waiting for a hiccup to arise in the procedure, and I've yet to find one. Thus, it's passed the test and I must share it with you. I'm obligated to spread the wonderful news.
By the way, I'm sorry I didn't take any pictures during the making of this – I know people like step-by-step instructions when it comes to bread baking. Next time I make a loaf, I'll take pictures and stick them in here. Forgive me, dear reader.
As I mentioned previously, I've been making my own starter from scratch this go round – the difference is that I've been feeding my starter with organic, non-bleached, all-purpose flour. While I normally don't use any white flour in baking (opting instead for whole wheat), I've found that white flour gives a much more consistent rise to my sourdough en devours. Whole grain sourdough starters tend to really get skanky over time. And I ain't about no skanky flour. Because I use such a small amount in most sourdough goods, I don't mind. But if you do, by all means, feed your starter whole wheat. No judgement here.
Okay. So let's bust it out.
No-Knead Sourdough Artisan Loaf
For great recipes monthly make sure to check out The Elliott Homestead Cooking Community HERE.
You will need:
– 7 cups whole wheat flour (freshly ground is best)
– 3 cups recently fed sourdough starter (find cultures here)
– 3 1/2 cups water
– 2 tablespoons sea salt
– 1 tablespoon additional flour or cornmeal
Step One: Mix all the ingredients together in a bowl. The resulting dough will be pretty liquidy and sort of shaggy. Ain't no thang.
Step Two: Cover with plastic wrap. Let the dough sit out, in a warm place, for at least 12 hours. 18 is even better – it helps to develop that delicious sourdough flavor.
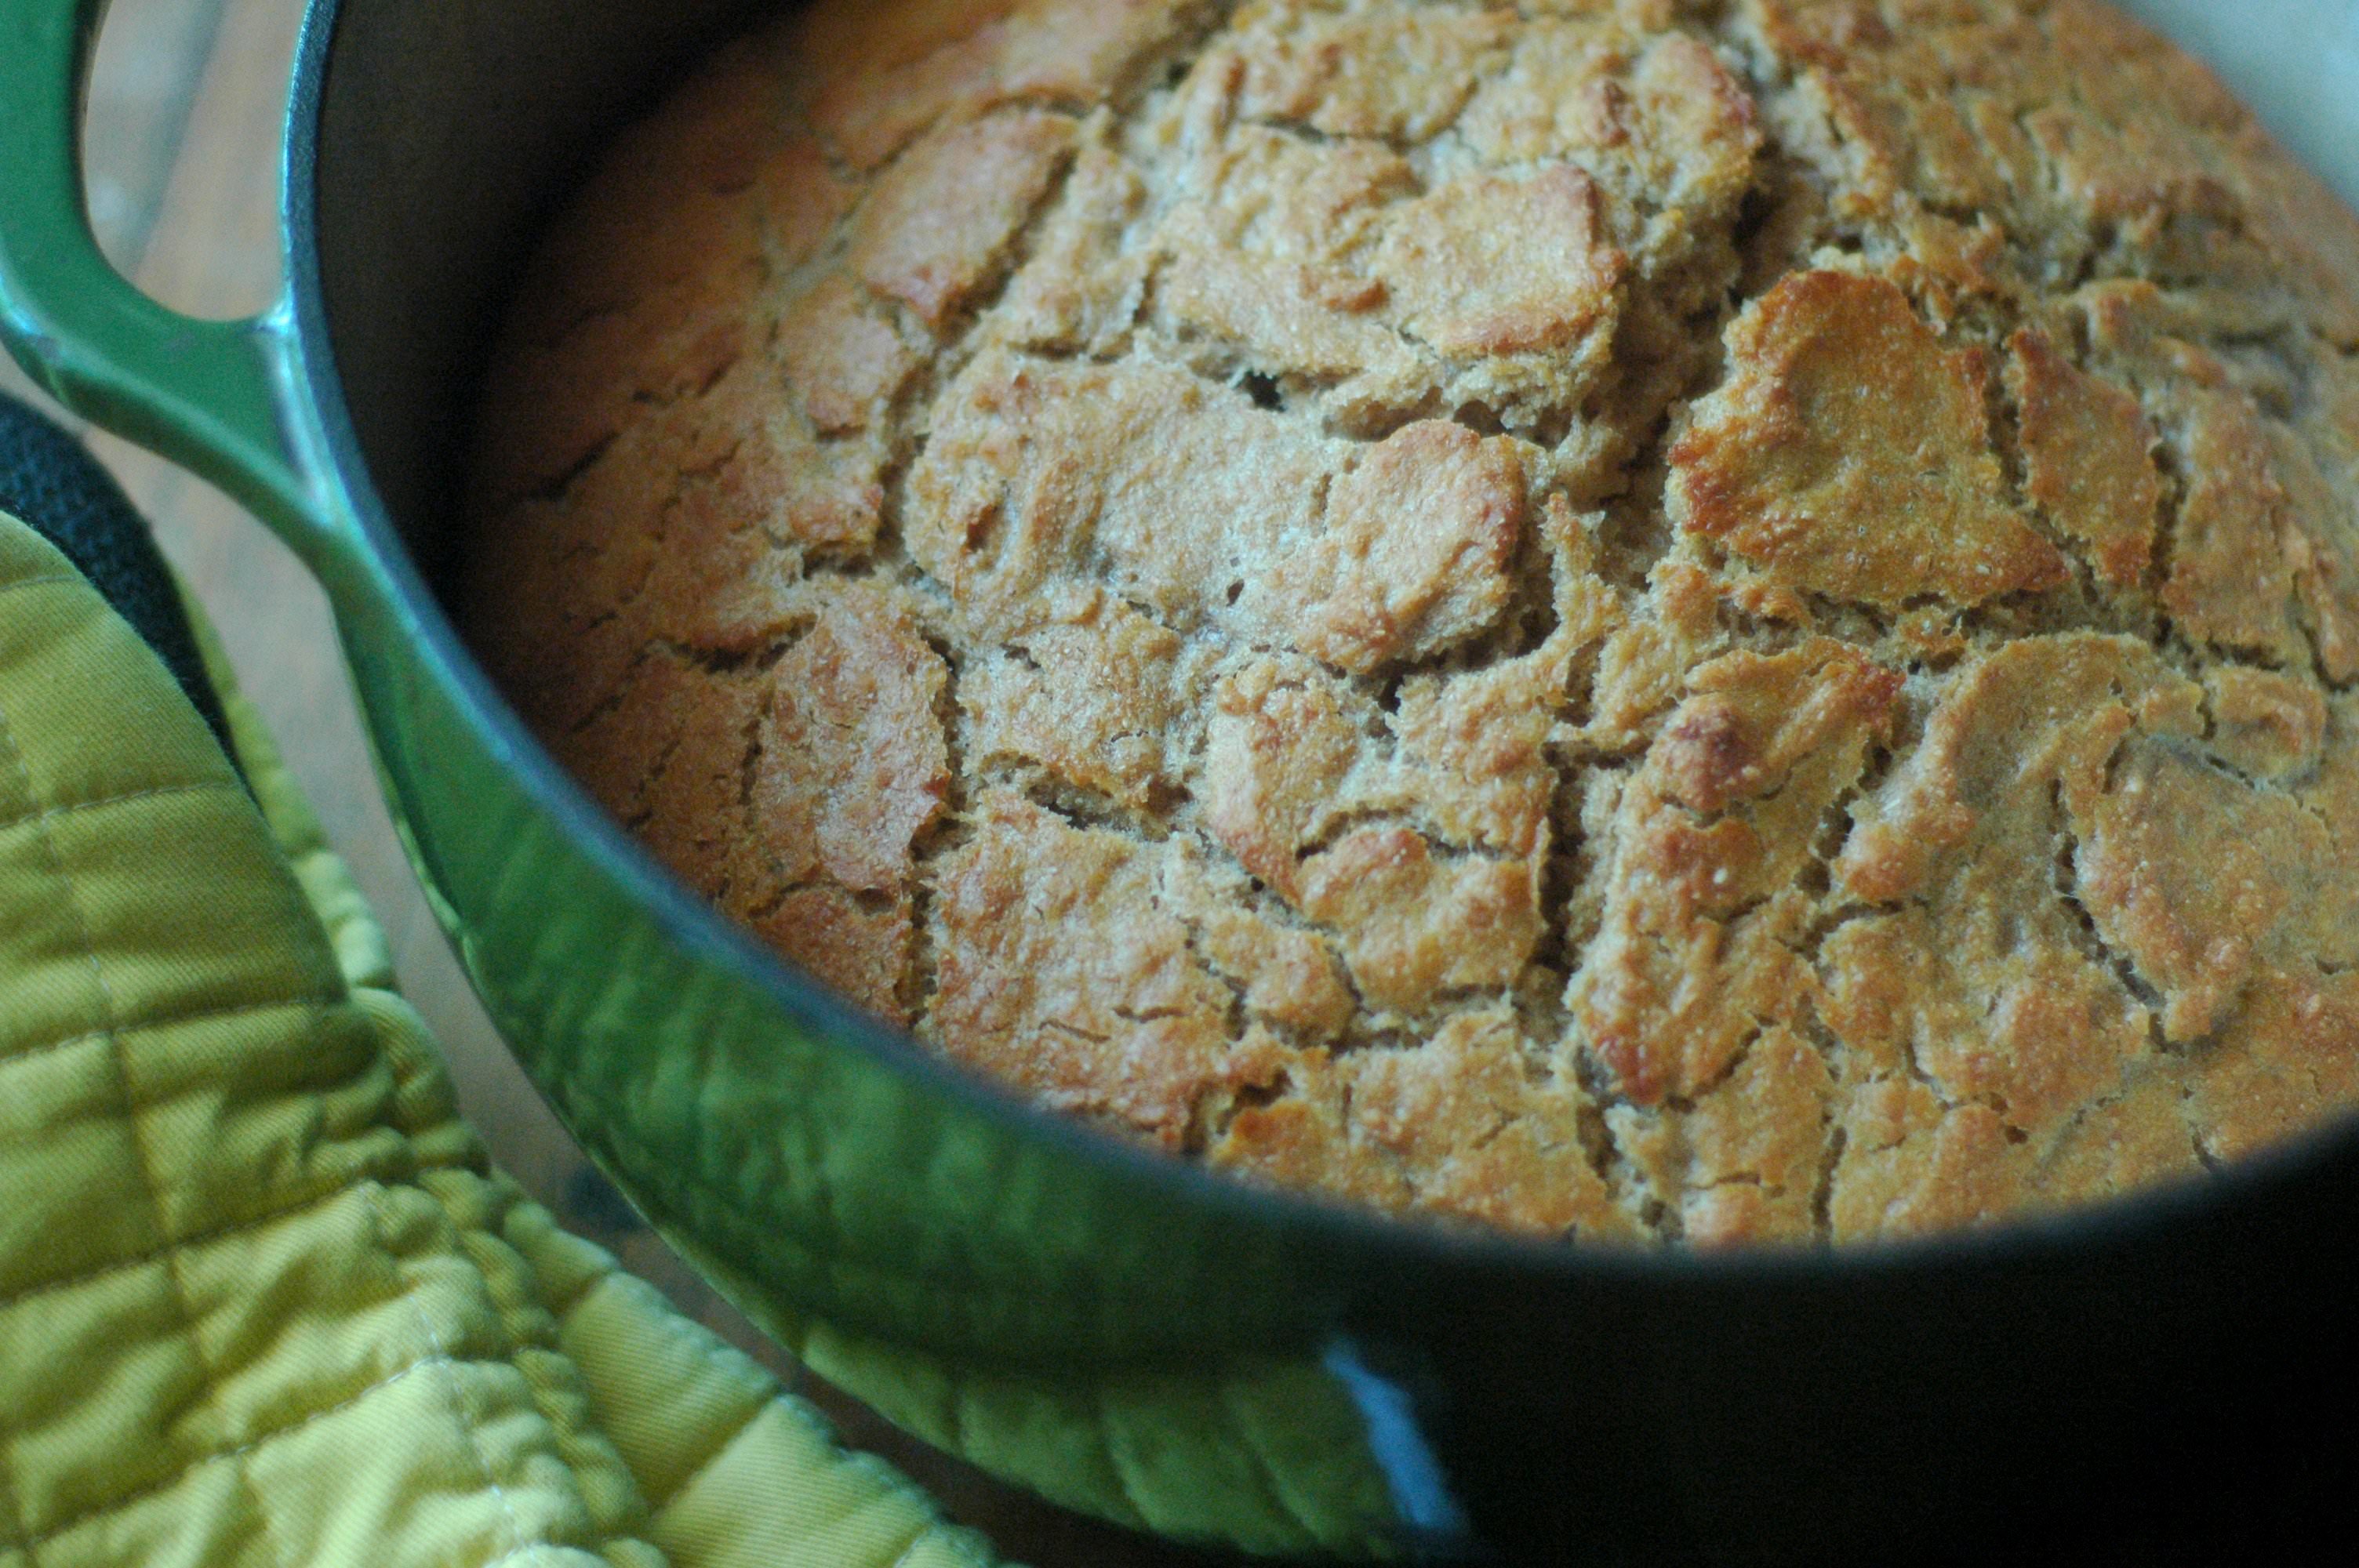
Step Three: When the dough has properly fermented and doubled in size, preheat your dutch oven (with lid) in a 500 degree oven for 45 minutes. Yes. 500 degrees. Or at least as hot as your oven will go. I'm sure you could bake this in a variety of lidded pots, but I don't mess with trying to find a substitute for my fantastic dutch oven. I've literally use this almost every day. Don't ask me about what baking dishes will and won't work – I'll just go tell you to buy a lidded dutch oven. Bah ha.
Step Four: Once the oven has preheated, carefully remove the preheated dutch oven. Remove the lid. Sprinkle the bottom with the additional flour or cornmeal. Grab a spatula and gently, gently, gently scrap the dough into the dutch oven. It's going to just sort of pour in. That's perfect.
Step Five: Put the lid back on and quickly put back into the oven. Bake for 30 minutes. Remove the lid. Turn the oven down to 400 degrees and bake for another 15 minutes.
Tap the bread. Does it sound hollow? Perfect. It's done.
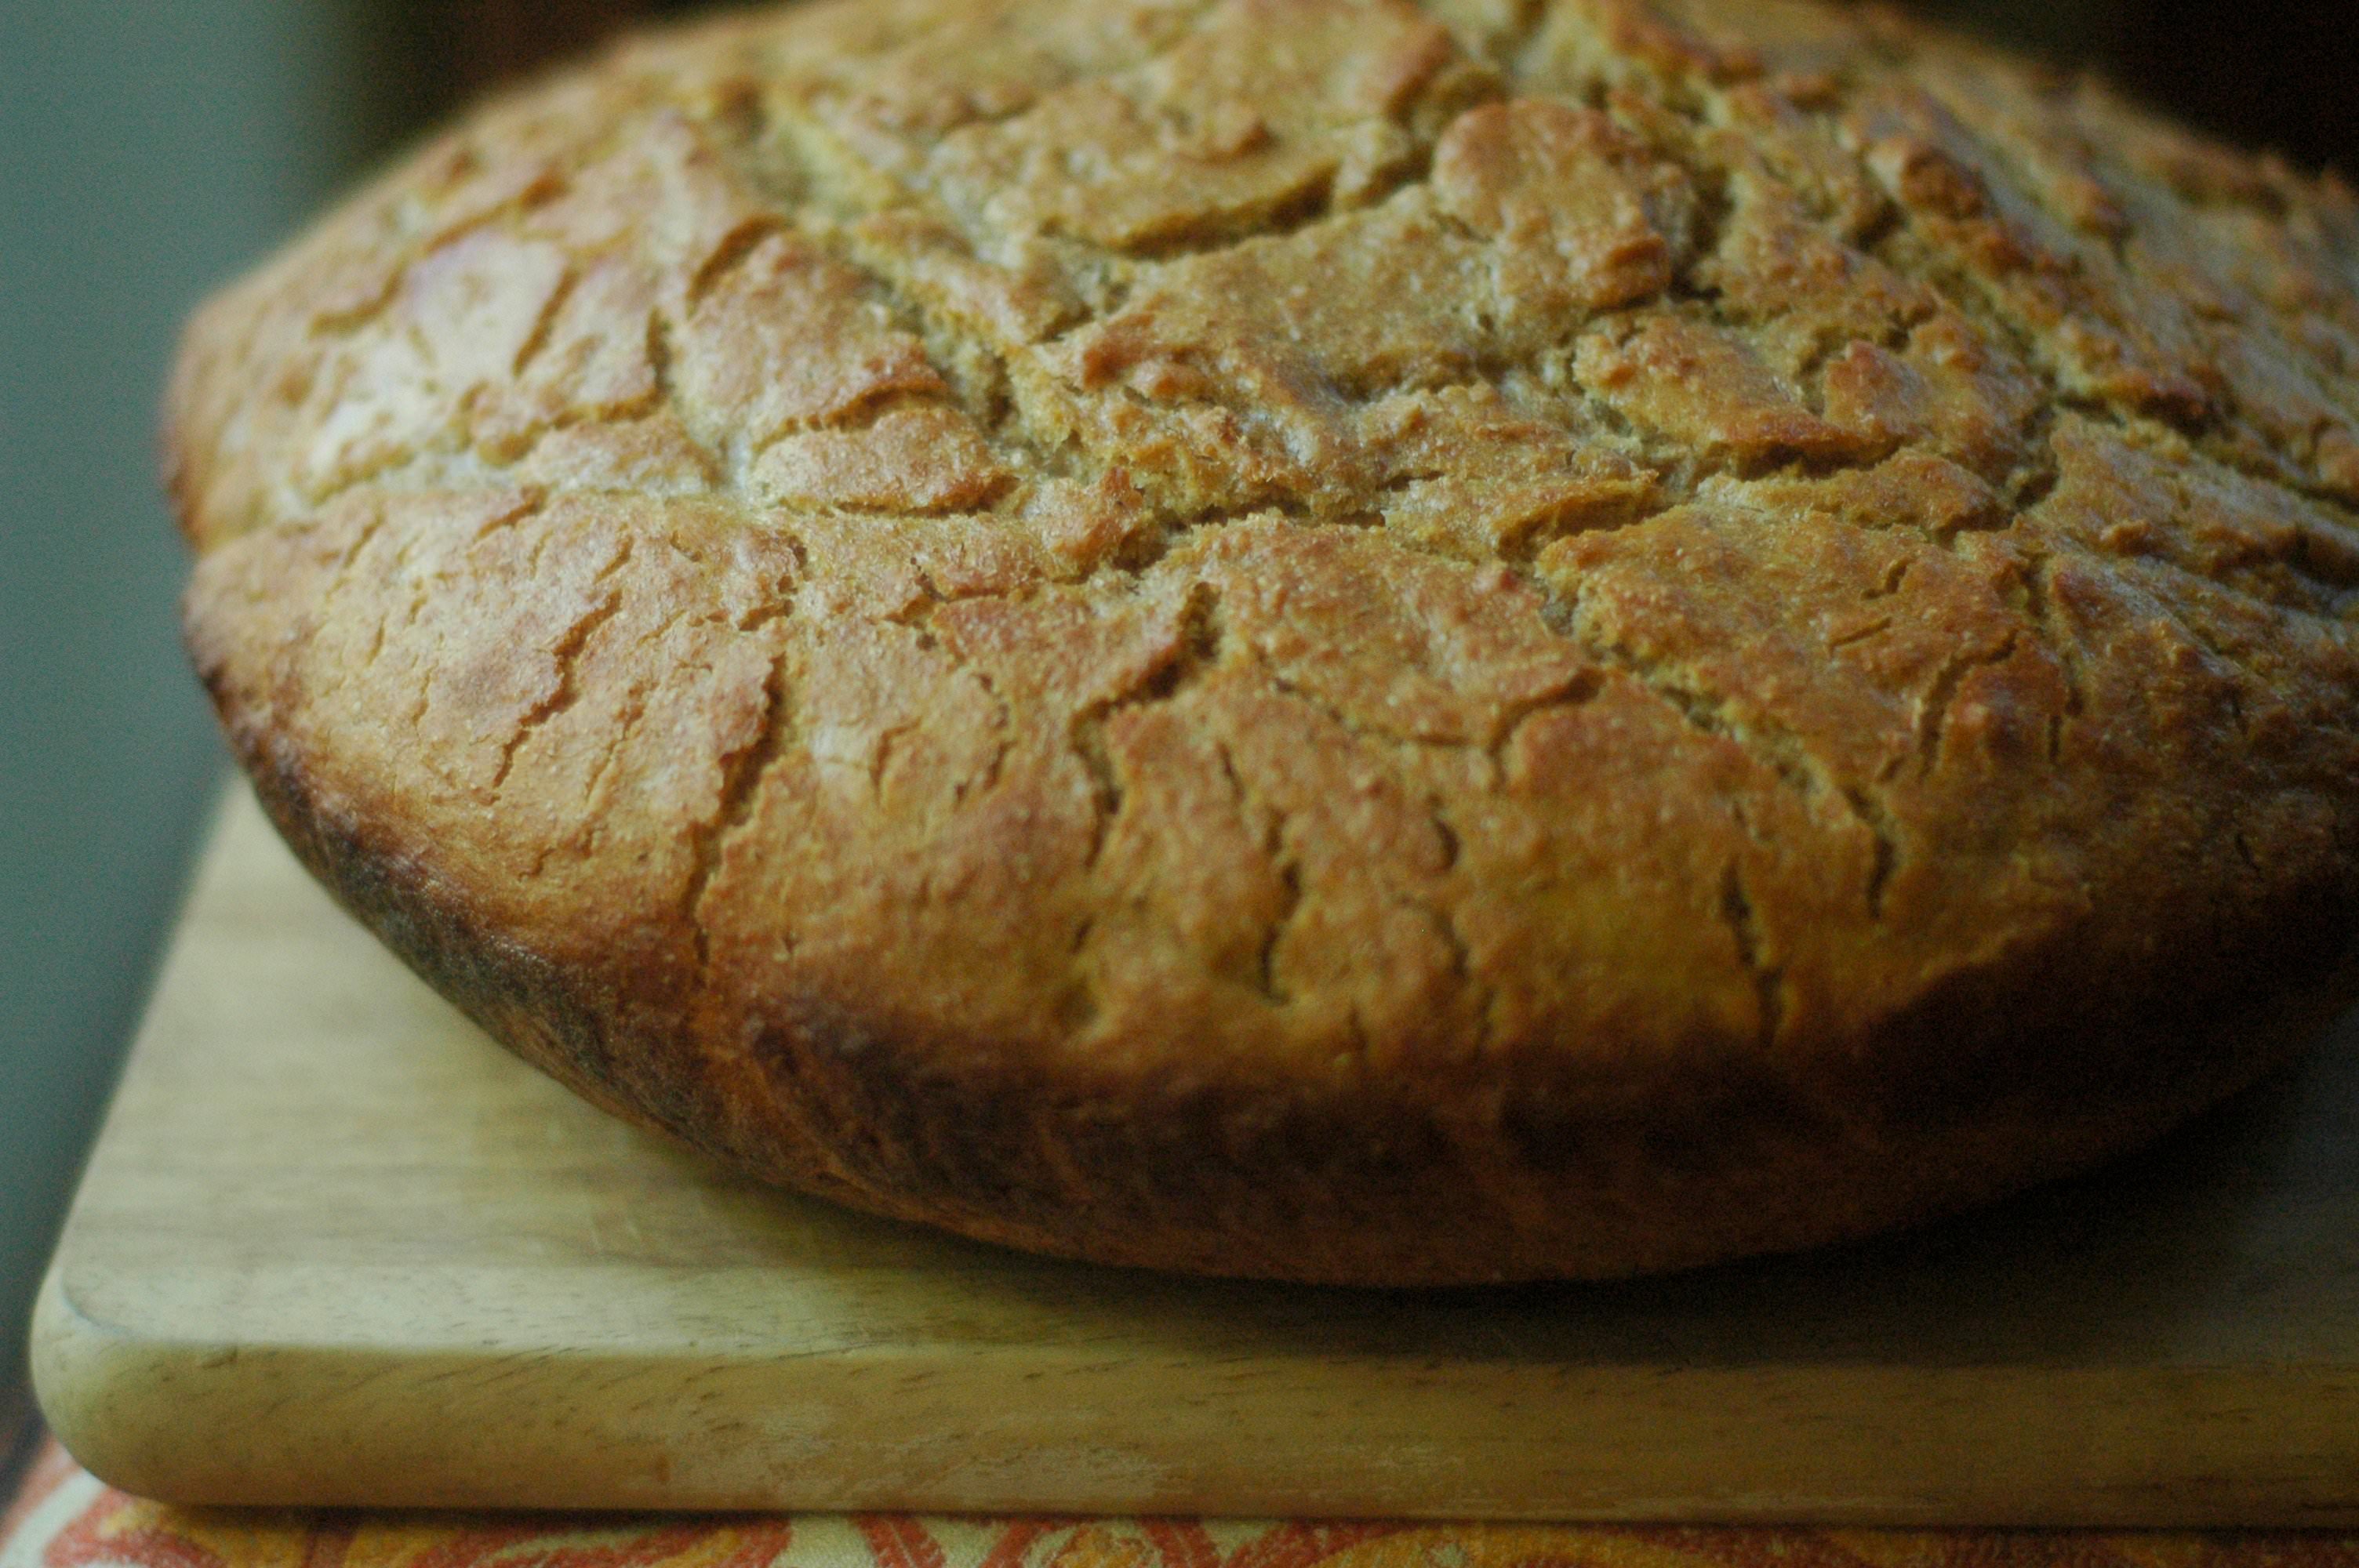
Remove to a wire rack. Let it cool for an hour before slicing into it – that is, if you happen to have more self control than me.
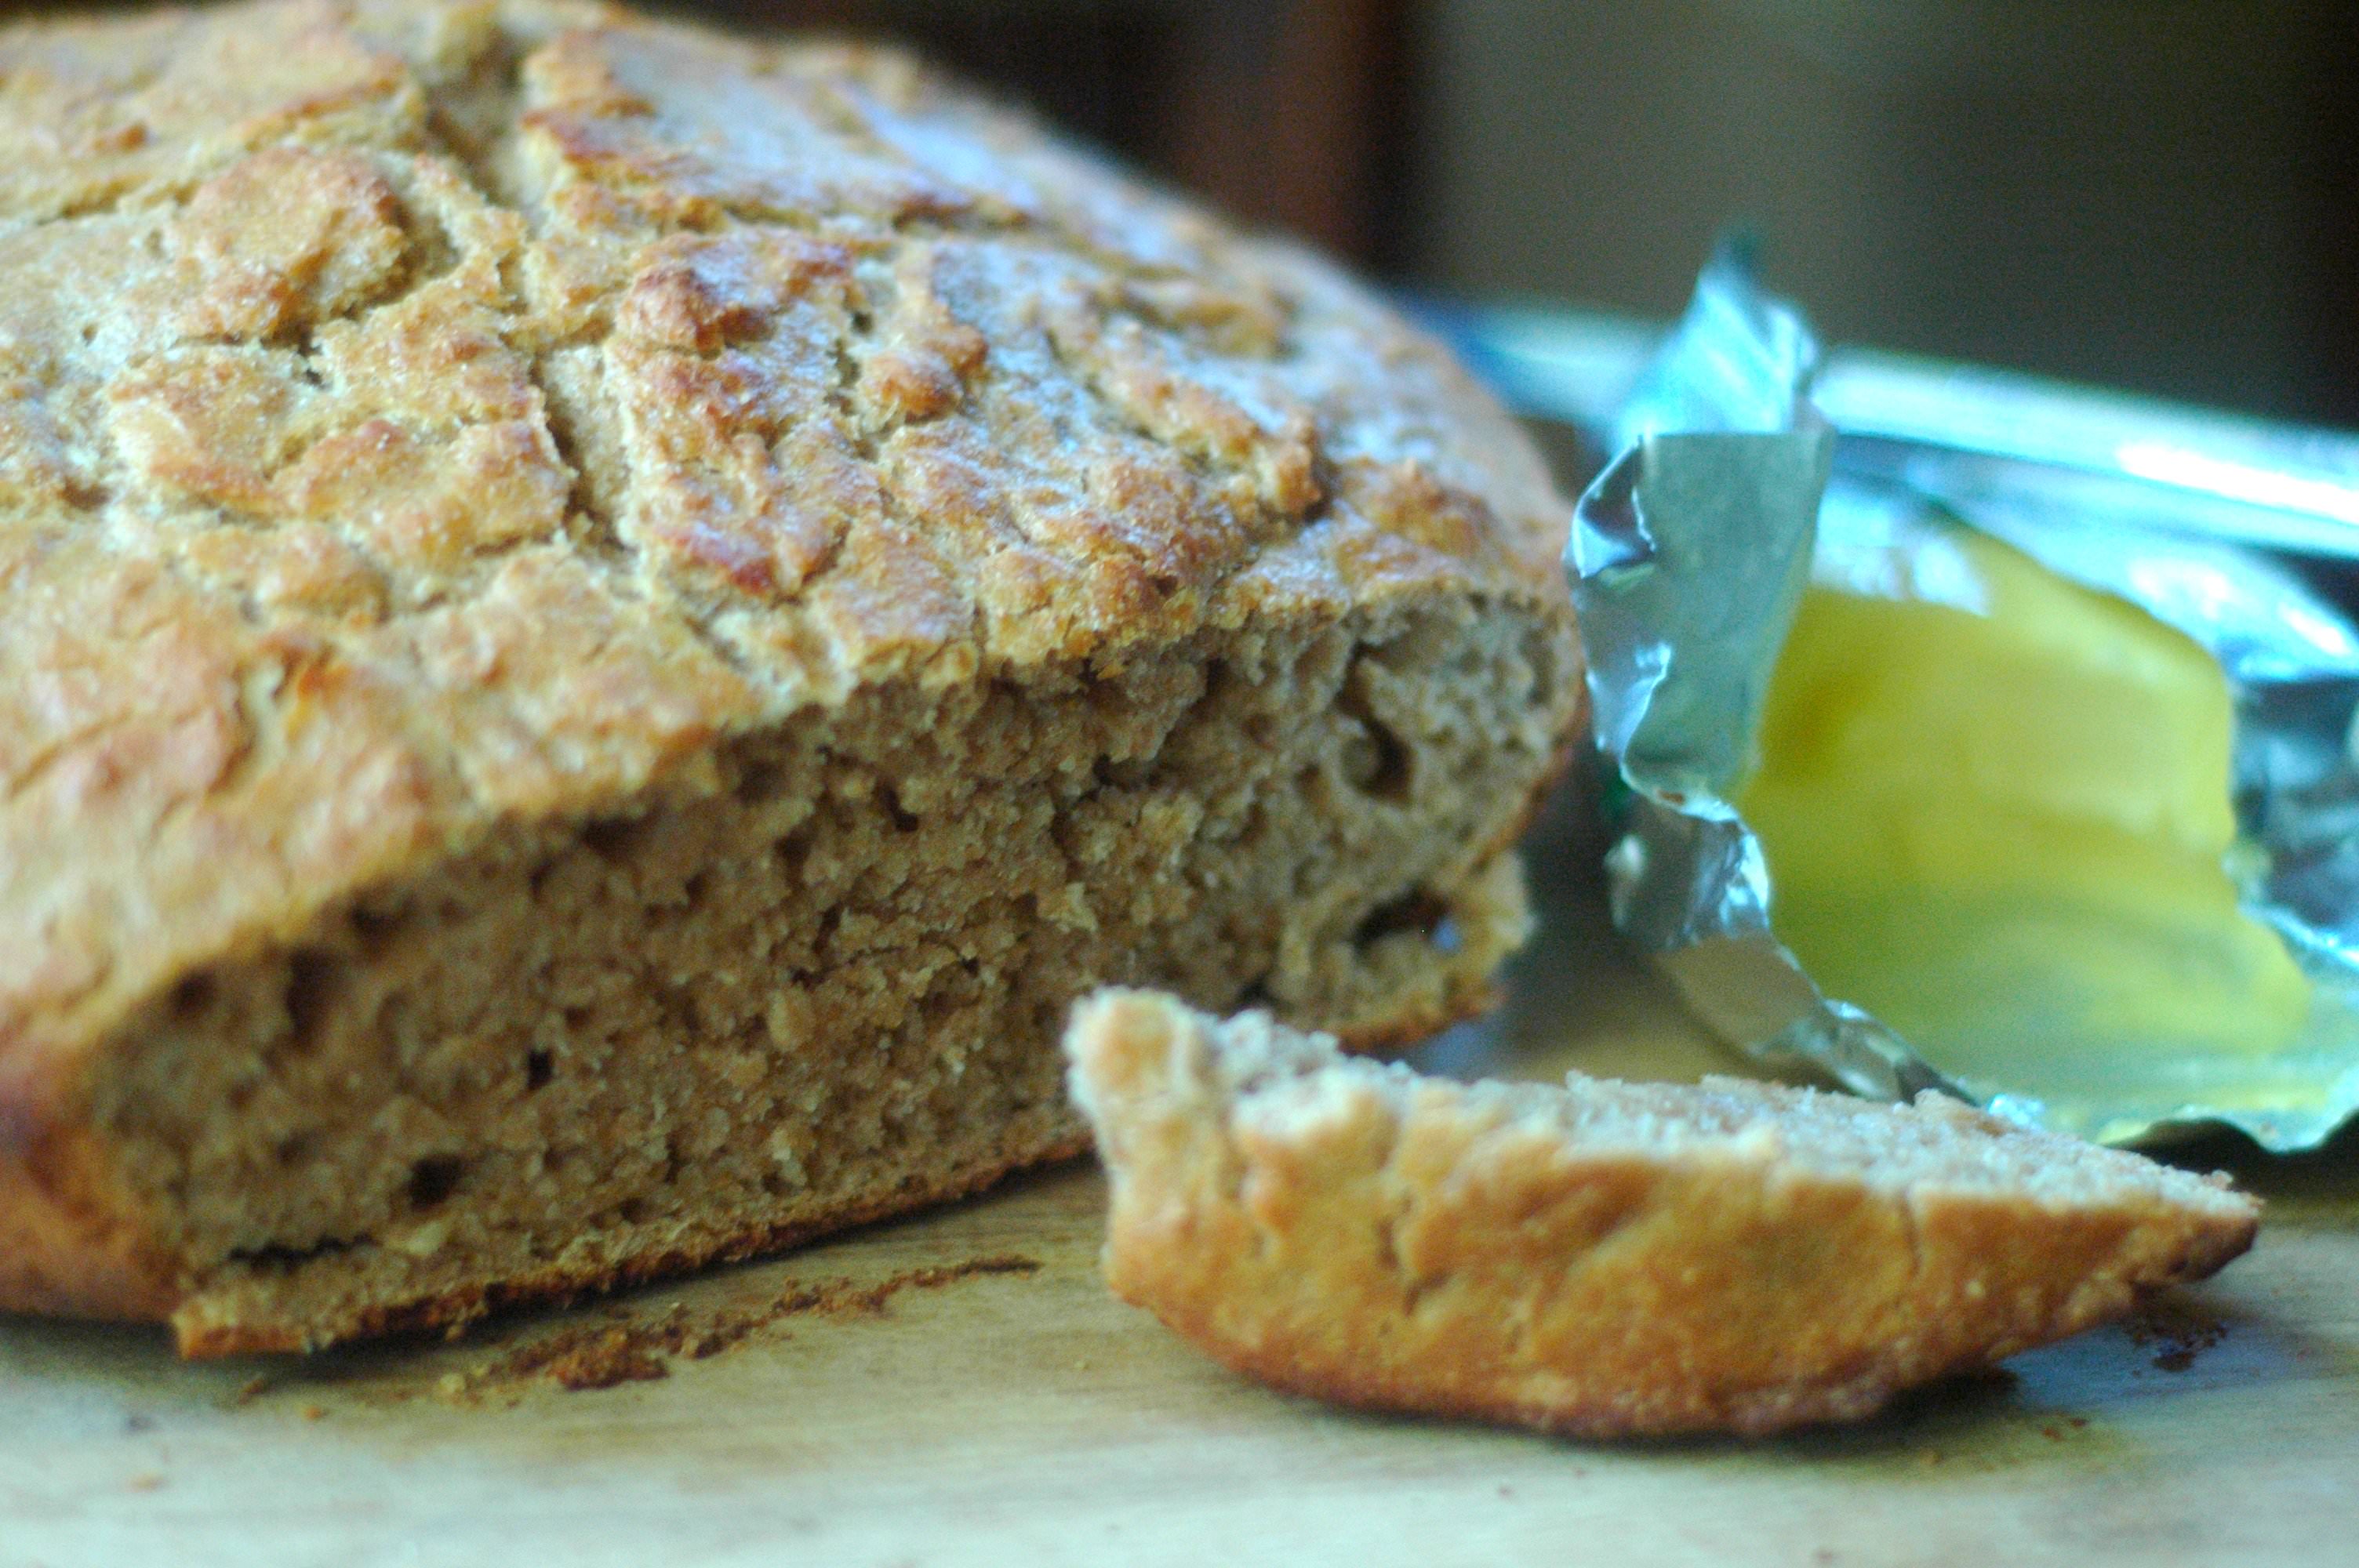
I can barely stand it. Even though I bake fresh bread multiple times per week, I still can't help burning my fingertips as I eagerly slice off the end (my favorite part) and slather it with butter.
This bread has a very traditional sourdough taste. Though not overly sour, it has a delicious body of flavor.
Was that the right way to say that? Delicious body of flavor?
Flavor body?
Flavor profile?
Delicious flavor?
I digress.
I hope this recipe will encourage some of you to give home-bread-baking a try. Total hands on active time is approximately five minutes. Maybe seven after washing the dishes. Not too bad, I'd say.
Also, this has nothing to do with the price of rice in China, but I want to post some pictures from our trip to Macon last weekend so you can see some beautiful faces and small details I don't want to forget. We had such a great time!:


For great recipes monthly make sure to check out The Elliott Homestead Cooking Community HERE.
No-Knead Sourdough Artisan Loaf
- 7 cups whole wheat flour (freshly ground is best)
- 3 cups recently fed sourdough starter (find cultures here)
- 3 ½ cups water
- 2 tbsp sea salt
- 1 tbsp additional flour or cornmeal
Mix all the ingredients together in a bowl. The resulting dough will be pretty liquidy and sort of shaggy. Ain't no thang.
Cover with plastic wrap. Let the dough sit out, in a warm place, for at least 12 hours. 18 is even better – it helps to develop that delicious sourdough flavor.
When the dough has properly fermented and doubled in size, preheat your dutch oven (with lid) in a 500 degree oven for 45 minutes. Yes. 500 degrees. Or at least as hot as your oven will go. I'm sure you could bake this in a variety of lidded pots, but I don't mess with trying to find a substitute for my fantastic dutch oven. I've literally use this almost every day. Don't ask me about what baking dishes will and won't work – I'll just go tell you to buy a lidded dutch oven. Bah ha.
Once the oven has preheated, carefully remove the preheated dutch oven. Remove the lid. Sprinkle the bottom with the additional flour or cornmeal. Grab a spatula and gently, gently, gently scrap the dough into the dutch oven. It's going to just sort of pour in. That's perfect.
Put the lid back on and quickly put back into the oven. Bake for 30 minutes. Remove the lid. Turn the oven down to 400 degrees and bake for another 15 minutes.
Tap the bread. Does it sound hollow? Perfect. It's done.
Remove to a wire rack. Let it cool for an hour before slicing into it – that is, if you happen to have more self control than me.


mine sometimes looks like a sponge, even though i use a sprouted spelt sourdough starter and flour- help me!!! tell me how to make it not look like or turn into a sponge.
by the way, i recently found you and really love learning from you. i would also appreciate it if you would stop posting all the new toys you want from amazon!! i keep adding them to my cart and my husband just shakes his head, knowing its your fault. ok don’t stop posting your new toys, i like them, too. 🙂
this bread is stinkin’ awesome!!!! im burning my fingers while eating it, worth it!!! thank you so much.
I just love your pictures of your beautiful family and your nourishing food and homesteading life. I fully understand the raising of animals to feed your family but the picture you posted of the knife cutting the head off the fresh fish was disturbing to me. I wish you and others would post a separate link to show those type pictures with instruction for those that are interested. I was so enjoying your pictures, then that one showed up. I never want to see a picture of the moment of an animals death, though I know it happens. It just ruined the whole moment of enjoying your page for me…my own opinion…
Just a thought…almost always a fish is cleaned after it is dead. Chances are the fish had been dead for some time.
Oh! So glad to stumble onto this blog from VGN. Looking forward to making this sourdough bread 🙂 Pinning and sharing
This looks awesome! I found you through The Prairie Homestead. I co-host the From the Farm Blog Hop. The party just started yesterday, so we would love for you to come share with us!
Lisa
Fresh Eggs Daily
http://www.fresh-eggs-daily.com/2013/05/from-farm-blog-hop-34.html
Is your Dutch oven the Lodge on you had a link posted to? I saw that the handle knob was oven safe to only 400 degrees. That is all mine is safe to and was wondering if you had any problems with it. I would love to try this, but don’t want a plastic mess all over my dutch oven or the possibility of it catching fire.
Tangela, I’ve never had any problems with the knob in my oven! I’ve used it up to 500 degrees many times. Hope this helps!
Hi Shaye
I too make bread 2x/wk (kefir-style) but really want the sourdough bread to work out. I have ventured into the traditional sourdough making 2 previous times but got burnt-out! Like you, I want it to be simple & “brainless”. So I have a few questions…
Do you feed the starter daily when you leave it out on the counter? and how much do you feed it?
I always refreshed, used and put it back in the frig till the next bread batch was needed. I found that effort to be tedious (start over @ time with 3 freshens & discard portion of it each time… I hate wasting!)
Please detail the process of keeping the starter out and ready. If you discard, how much?
Thanks a million, Renee
I don’t discard I try and use the extra for crackers. Out on the counter, it does best being fed twice per day I’ve found. I feed it half of it’s volume in flour and water – so if my starter is currently two cups, I’ll feed it one cup of flour and water mixture.
I’ve tried this recipe a couple of times (taking it from your cookbook) and while I love the flavor, I can’t seem to get the middle fully cooked…I’ve tried cooking longer, but without much success..any ideas on why the middle is too doughy and dense? Thanks!
Do you cook it with the lid on the dutch oven? If it’s still doughy with using the lid, try splitting it into two loaves!
Yes, I do put the lid on, but still doughy :-/ I will definitely try two loaves — good idea? Why didn’t I think of that? 😉
Mine was a bit doughy as well…but I still ate a slice with apple butter..yum! I’m gonna try splitting it or halving the recipe…I am just one person, how much bread can one person need at a time, right? Doughy or not, I ‘m in bread love. 😉
Hey, thanks for the recipe! I made this bread yesterday…wow was it sour! I was so happy with the results – I think this’ll be my go-to bread 🙂
Just to clarify, you use the the white flour to feed it but when adding your 7 cups then you use whole wheat? I also wonder have you ever seen a large rise on the bread? Whenever I buy true sourdough it’s a very puffy loaf, I want to make that!! 🙂
Yes, I feed my started white flour and then use wheat flour to bake with!
Hello,
Instead of using my dutch oven, would it work out to split the dough into two loaf pans???
Nope, you really need something with a lid to get it cooked thoroughly and to get that crispy crust!
Hi, This sounds so wonderful but mine turned was very doughy. I followed the times with the lid on @500 and off @400. I then kept adding time, but after an additional time in the oven (>45 mins), it was still very doughy. Looking at your pictures, I think I might have a smaller dutch oven since your bread looked quite a bit thinner. Mine is a 5.5 quart. Could this be the problem? If I knew the size of yours, I could ratio the ingredients down to fit my dutch oven. Or maybe you have other suggestions for me. I would love to give it another try. BTW, I love your site. Thanks in advance, Linda
I’m new to the sourdough thing so just to confirm – it’s okay to feed the sourdough starter traditional white flour, yet cook with freshly ground whole wheat? And my other question: What size is your dutch oven? It’s on my “to get” list! ( I’m so excited to try your recipe. The first recipe I pulled from another online source made two very handy door stops – lol – they were like bricks! Probably user error – but I’m hoping this recipe will turn out lighter, especially since it looks so easy!!)
I cut the recipe in half. Should I reduce the cooking time? (not the pre-heating, but actual baking?)
That’s such an amazing recipe. My first loaf didn’t come out of the dutch oven so I destroyed it. But it was delicious nevertheless. The second loaf was perfect even as I forgot to turn down the heat. And with parchment paper it came out of the oven easily. I used organic einkorn flour only. Thank you so much for your great blog and the great recipes.
Mine came out pretty underdone, so tasty, but almost too soft to cut. Any ideas on how to save this giant load of tasty underdone bread? Next time I will definitely bake in two loaves! I baked it in a large ceramic chicken roaster bc that’s what I have. I may just throw it back in for another 20 min on 500 and see how it goes.
Oh also im going to butter my pot and dust with chickpea flour. Was so difficult to excavate last time!